orecchiette with potatoes and arugula
August 2, 2013 § 33 Comments
I could not be happier about this pasta recipe. Years ago, on a number of occasions I frequented an Italian restaurant called La Vecchia Verace and was so enamored by this particular pasta dish. I ordered it every time I visited. Occasionally I think about this pasta and living hundreds of miles away from La Vecchia Verace showing up is not an option. Having said that, the other day I was thumbing through a pasta cookbook “Four Seasons Pasta” by Janet Fletcher and there it was, a recipe for my favorite pasta dish served at La Vecchia Verace restaurant!
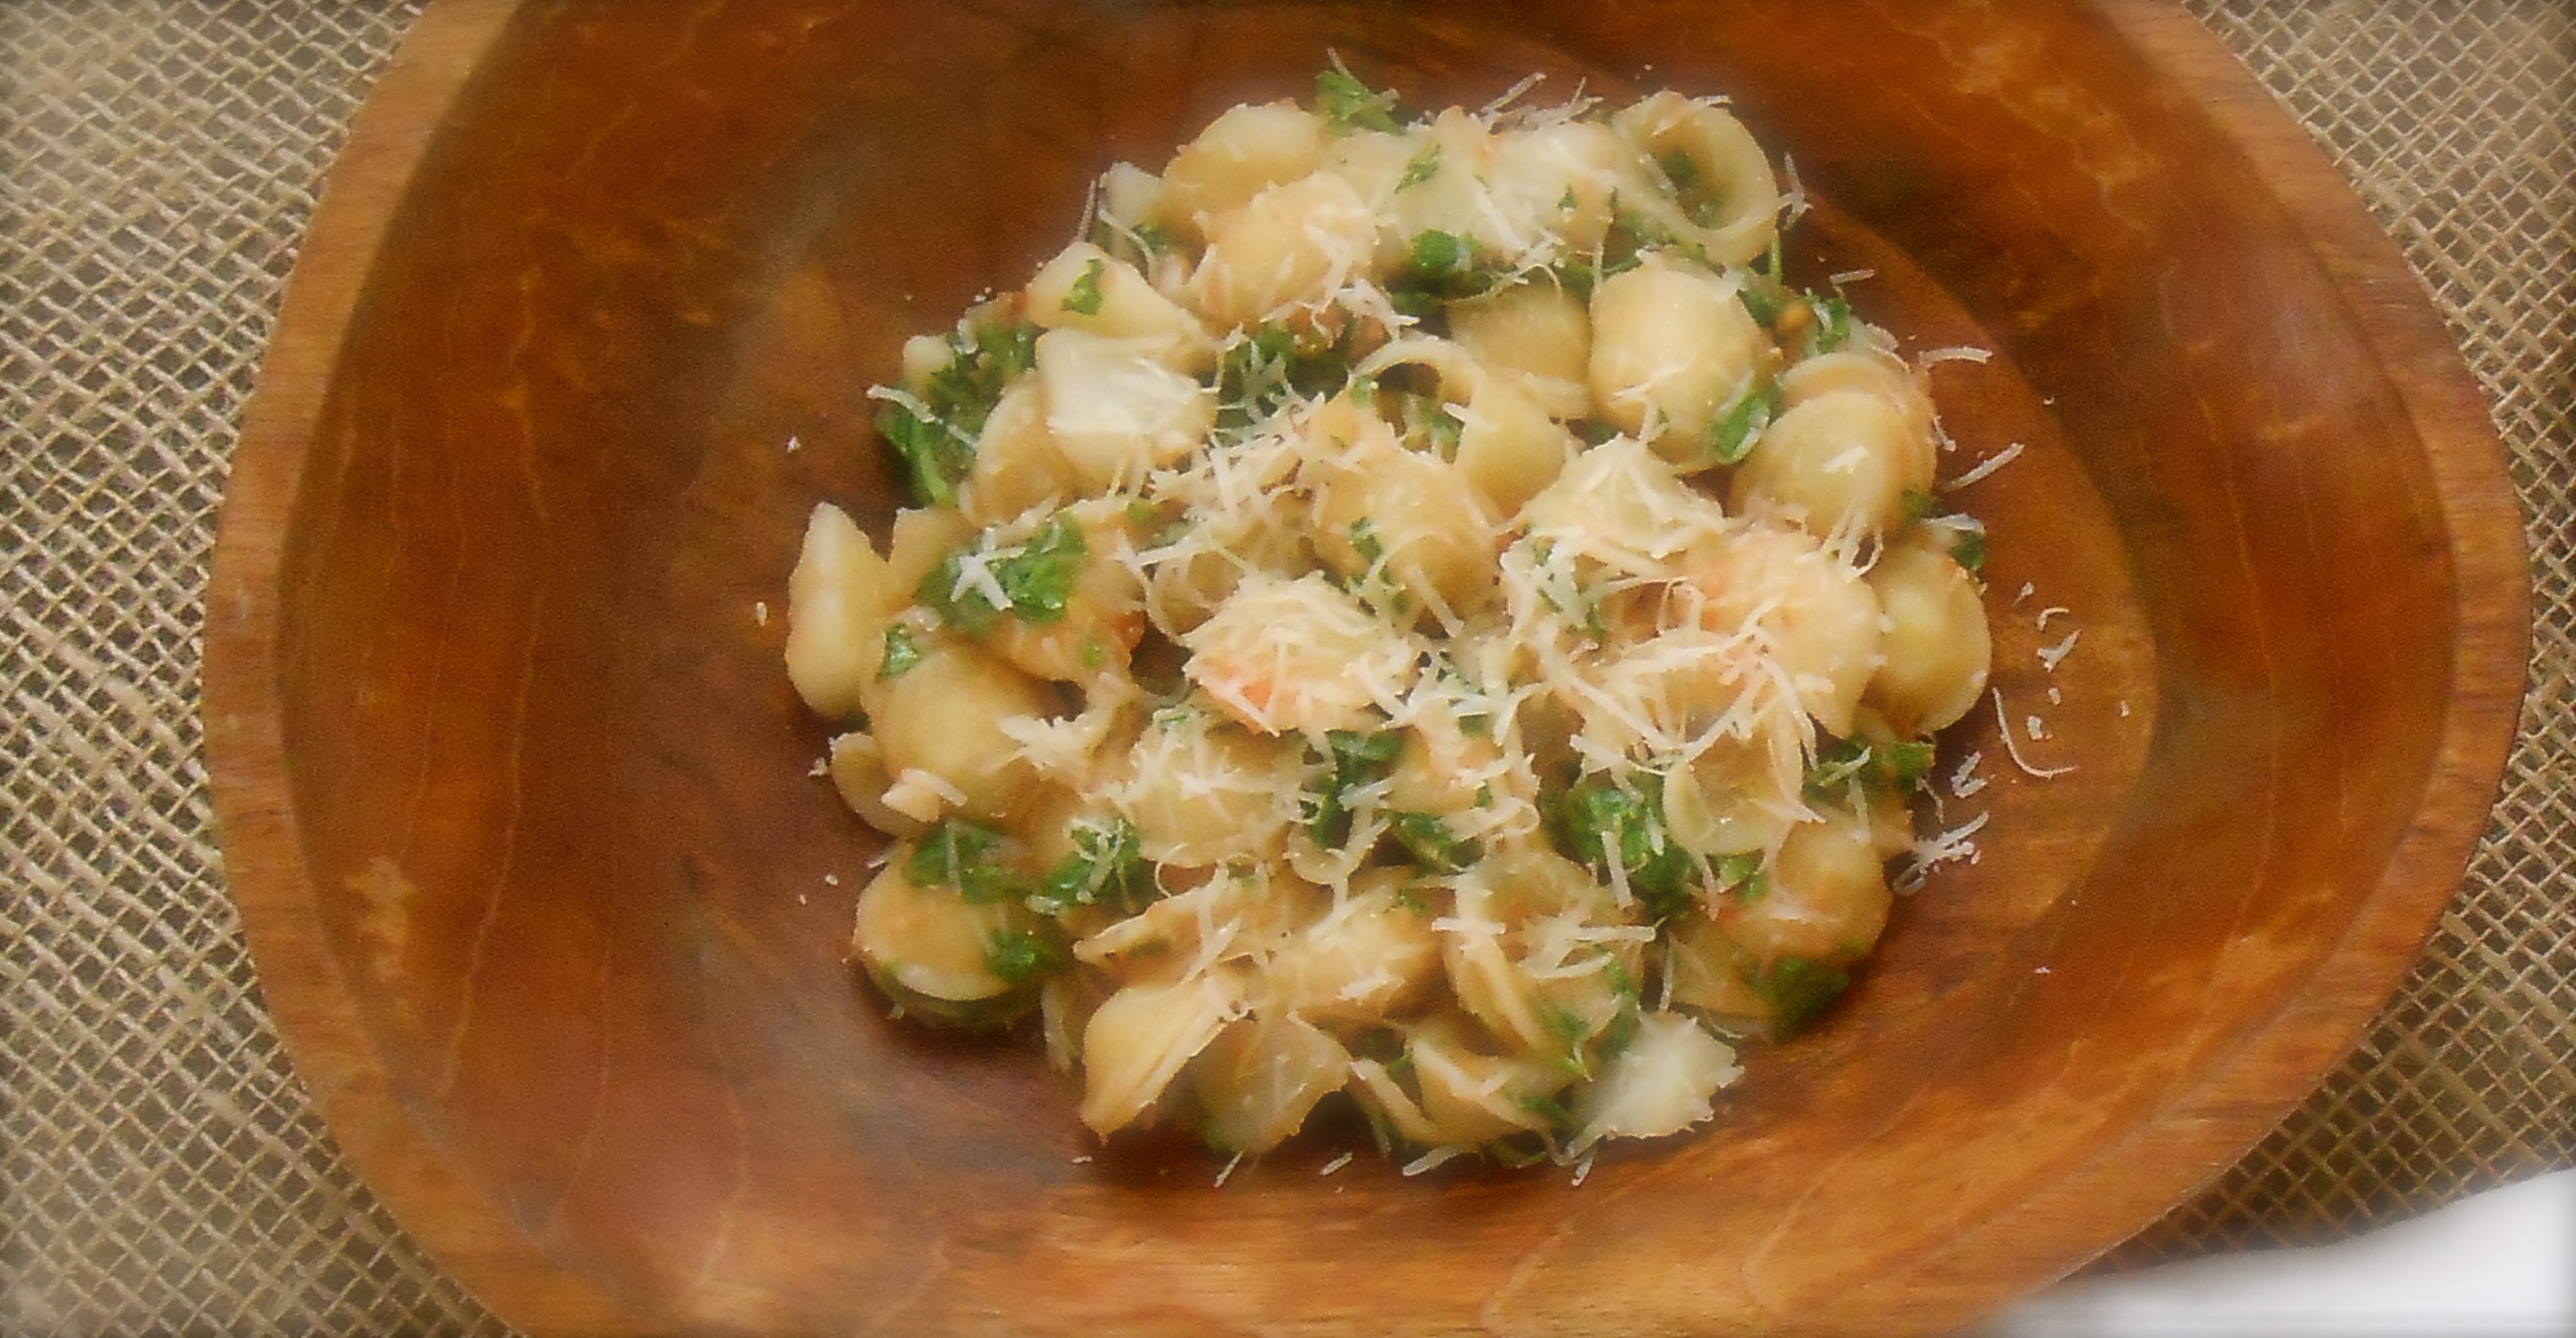
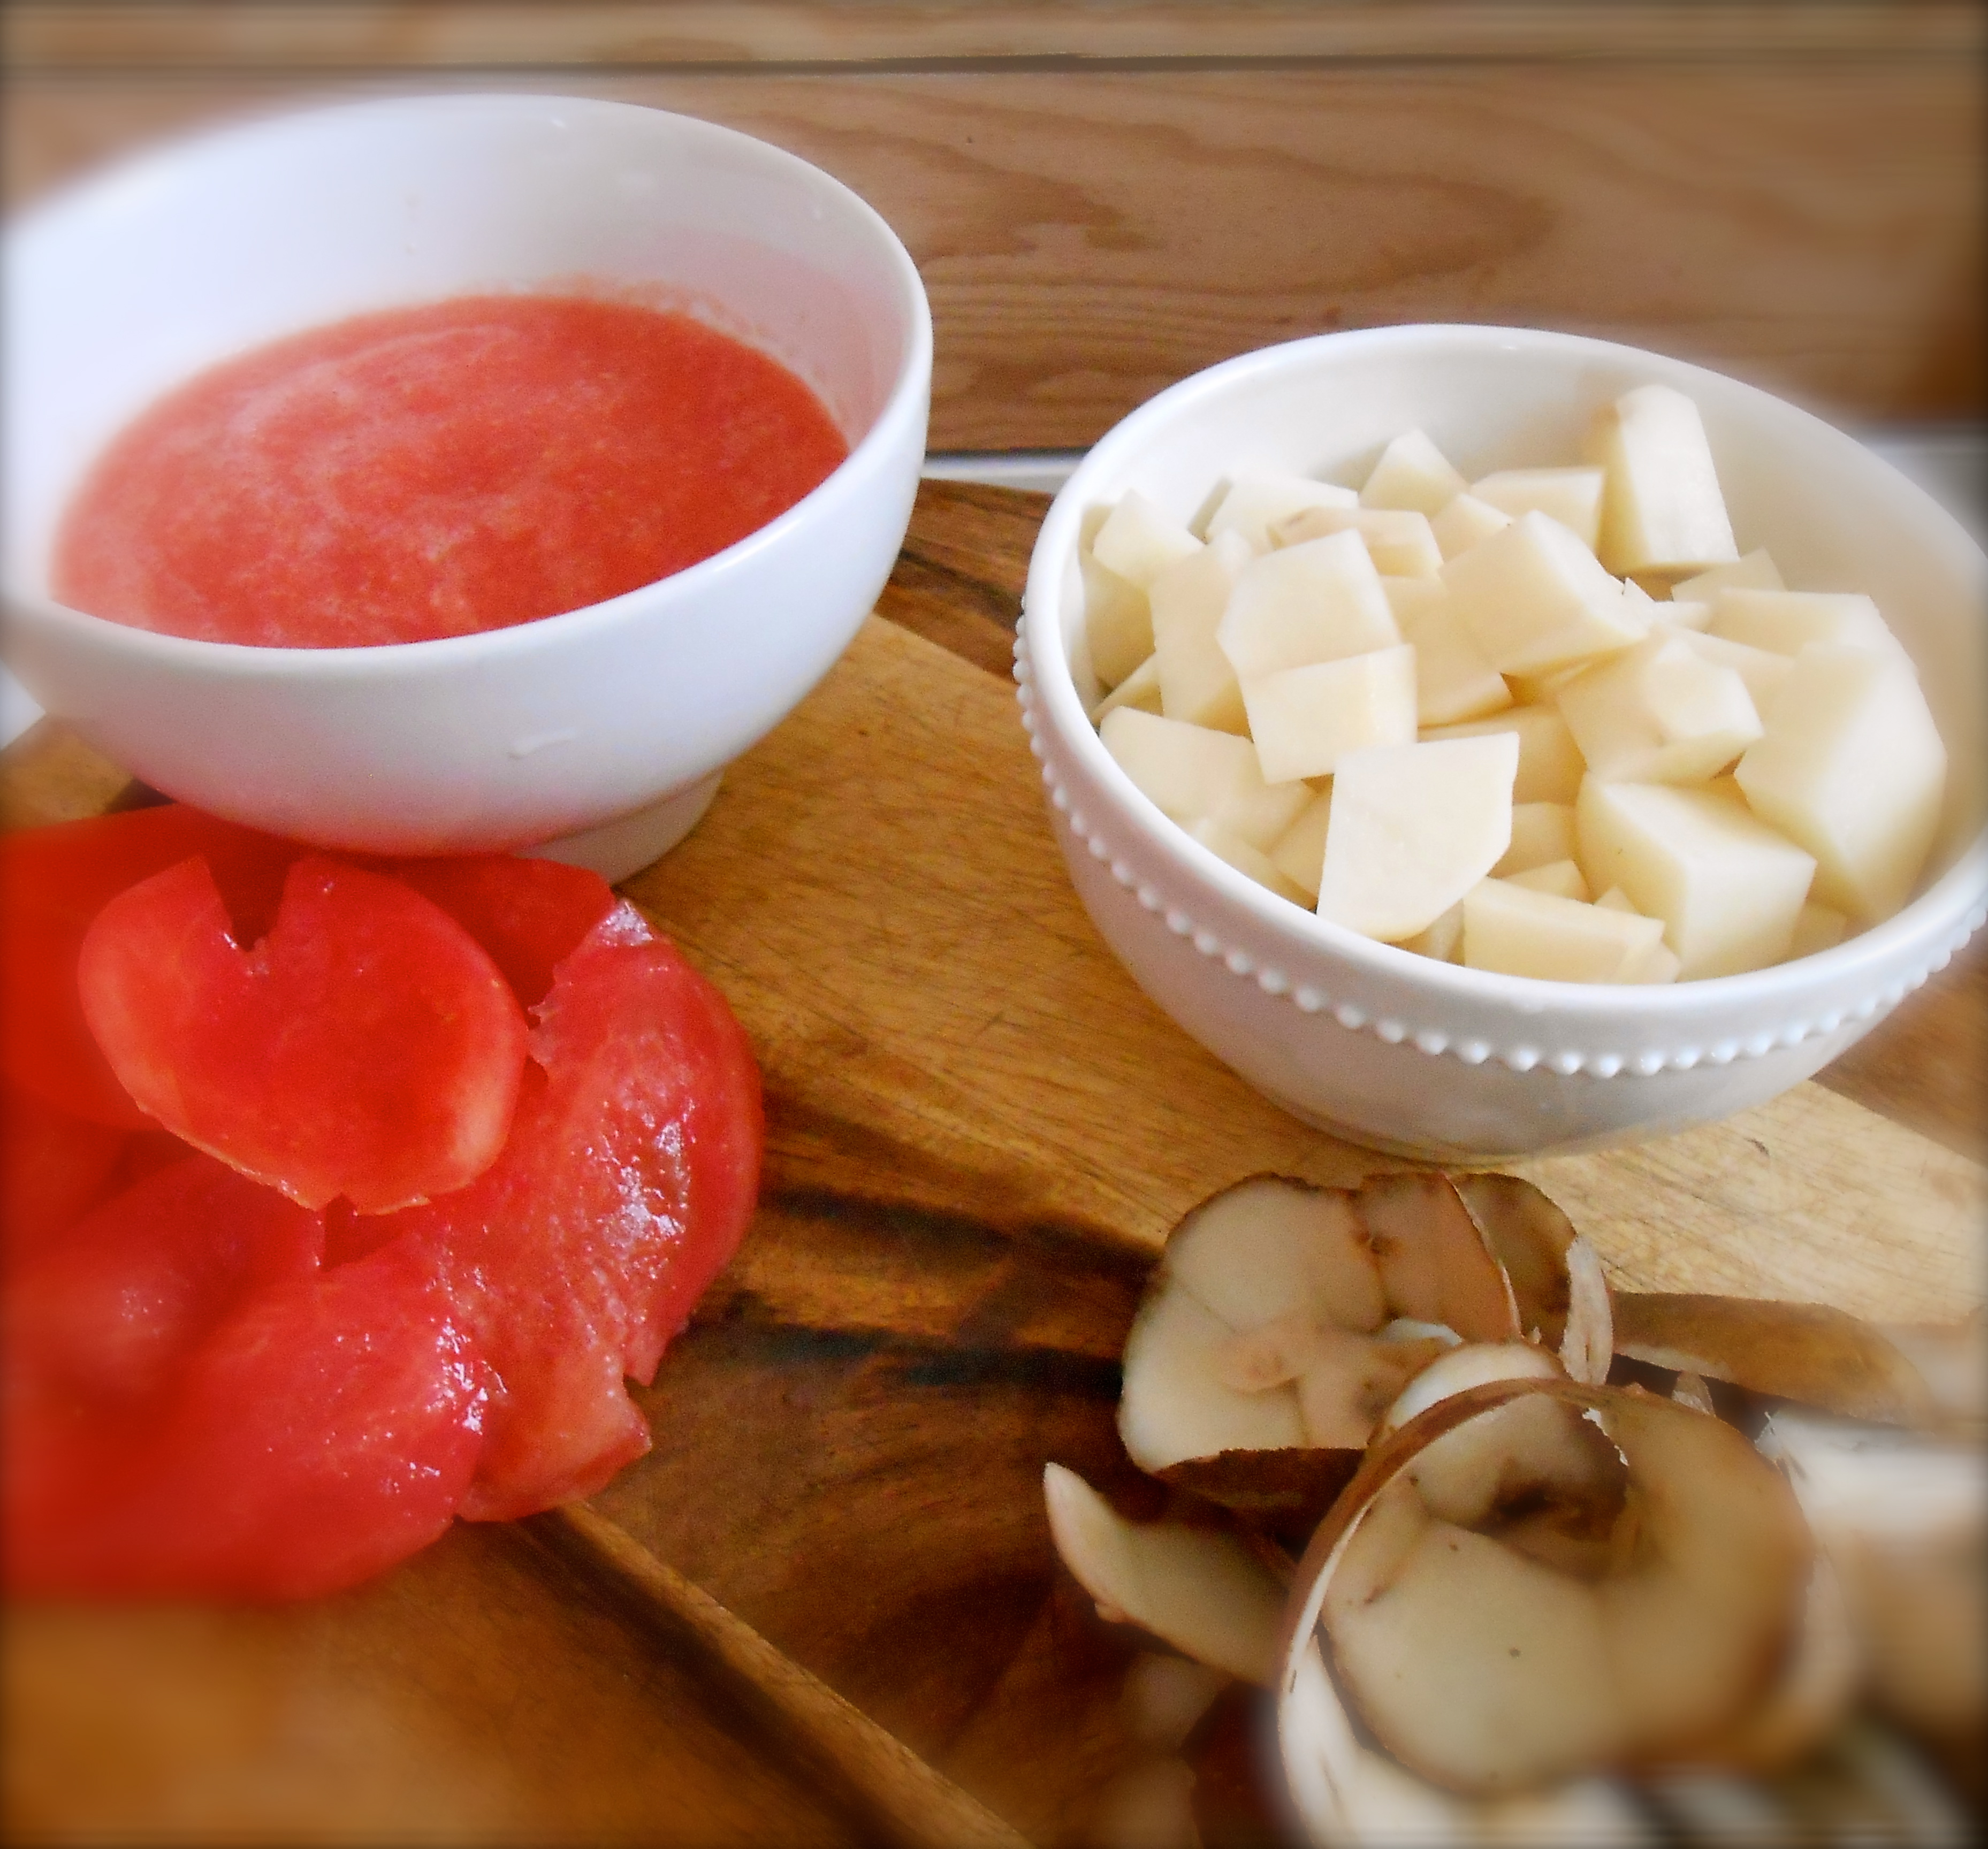
This sauce is garden fresh and the end result is a texturally thick somewhat starchy bowl of summer comfort. Potatoes are boiled in with the pasta until al dente and gently tossed in a fresh tomato sauce with wilted arugula. The potatoes break up just enough to nicely coat the orecchiette. In this cookbook I learned how to use fresh grated roma tomatoes to create a thick, tasty sauce. Roma’s are used because of their high proportion of flesh to juice and they are grated to produce a skinless, seedless pulp. A considerable alternative using fresh tomatoes while in season, rather than open a can of puréed tomatoes.
To grate tomatoes, cut the tomatoes in half and scoop out the seeds and juice with your fingers. Holding the cut side of a tomato half against the grater’s holes, grate until only the thin skin remains in your palm.
Here is a bit of useful information. I read this recently in a Bon Appetit article: “Don’t dump the pasta water. Starchy, salty pasta water is the secret ingredient in most sauces. Scoop out some of the cloudy water (it’s supposed to look like that) with a coffee mug or measuring cup, and pour a few splashes into the sauce. Save the rest; you might need more than you’d expect. Then simmer until the water and oil emulsify and begin to form a slightly creamy sauce. It’s a little like deglazing a pan with stock or wine, a simple step that gives a dish body and flavor.”
For this recipe reserve a cup or two of the pasta water before draining and use it after tossing with the sauce to help the sauce adhere to the pasta. It brings the flavors together and helps moisten the pasta without adding more oil.

I n g r e d i e n t s
- 1/3 cup extra virgin olive oil
- 4 large cloves garlic, minced
- tablespoon hot pepper flakes
- 1 1/2 pounds ripe roma tomatoes, grated
- salt
- 6 ounces (large handful) arugula, coarsely chopped
- 1 pound russet potatoes, peeled, 1/2 inch diced
- 1 pound orecchiettte
- freshly grated grana padano or parmesan
Heat olive oil in a large skillet over moderate heat. Add the garlic and hot pepper flakes and cook for about 1 minute to release the garlic fragrance. Add the tomatoes and salt to taste. Cook, stirring often, until the tomatoes soften and become sauce-like, 15 to 20 minutes, adding water if the tomatoes threaten to cook dry. Stir the arugula into the sauce and cook just until it wilts, about one minute (once the pasta is al dente).
Bring a large pot of salted water to a boil over high heat. Add the potatoes and pasta and cook until the pasta is al dente. Set aside at least one cup of the pasta water, then drain the pasta and potatoes and return them to the warm pot over low heat. Add the sauce and stir gently to avoid breaking up the potatoes. Moisten with some of the reserved pasta water as needed. Divide among warm bowls, top with freshly grated grana padano and serve immediately.
Serves 4.
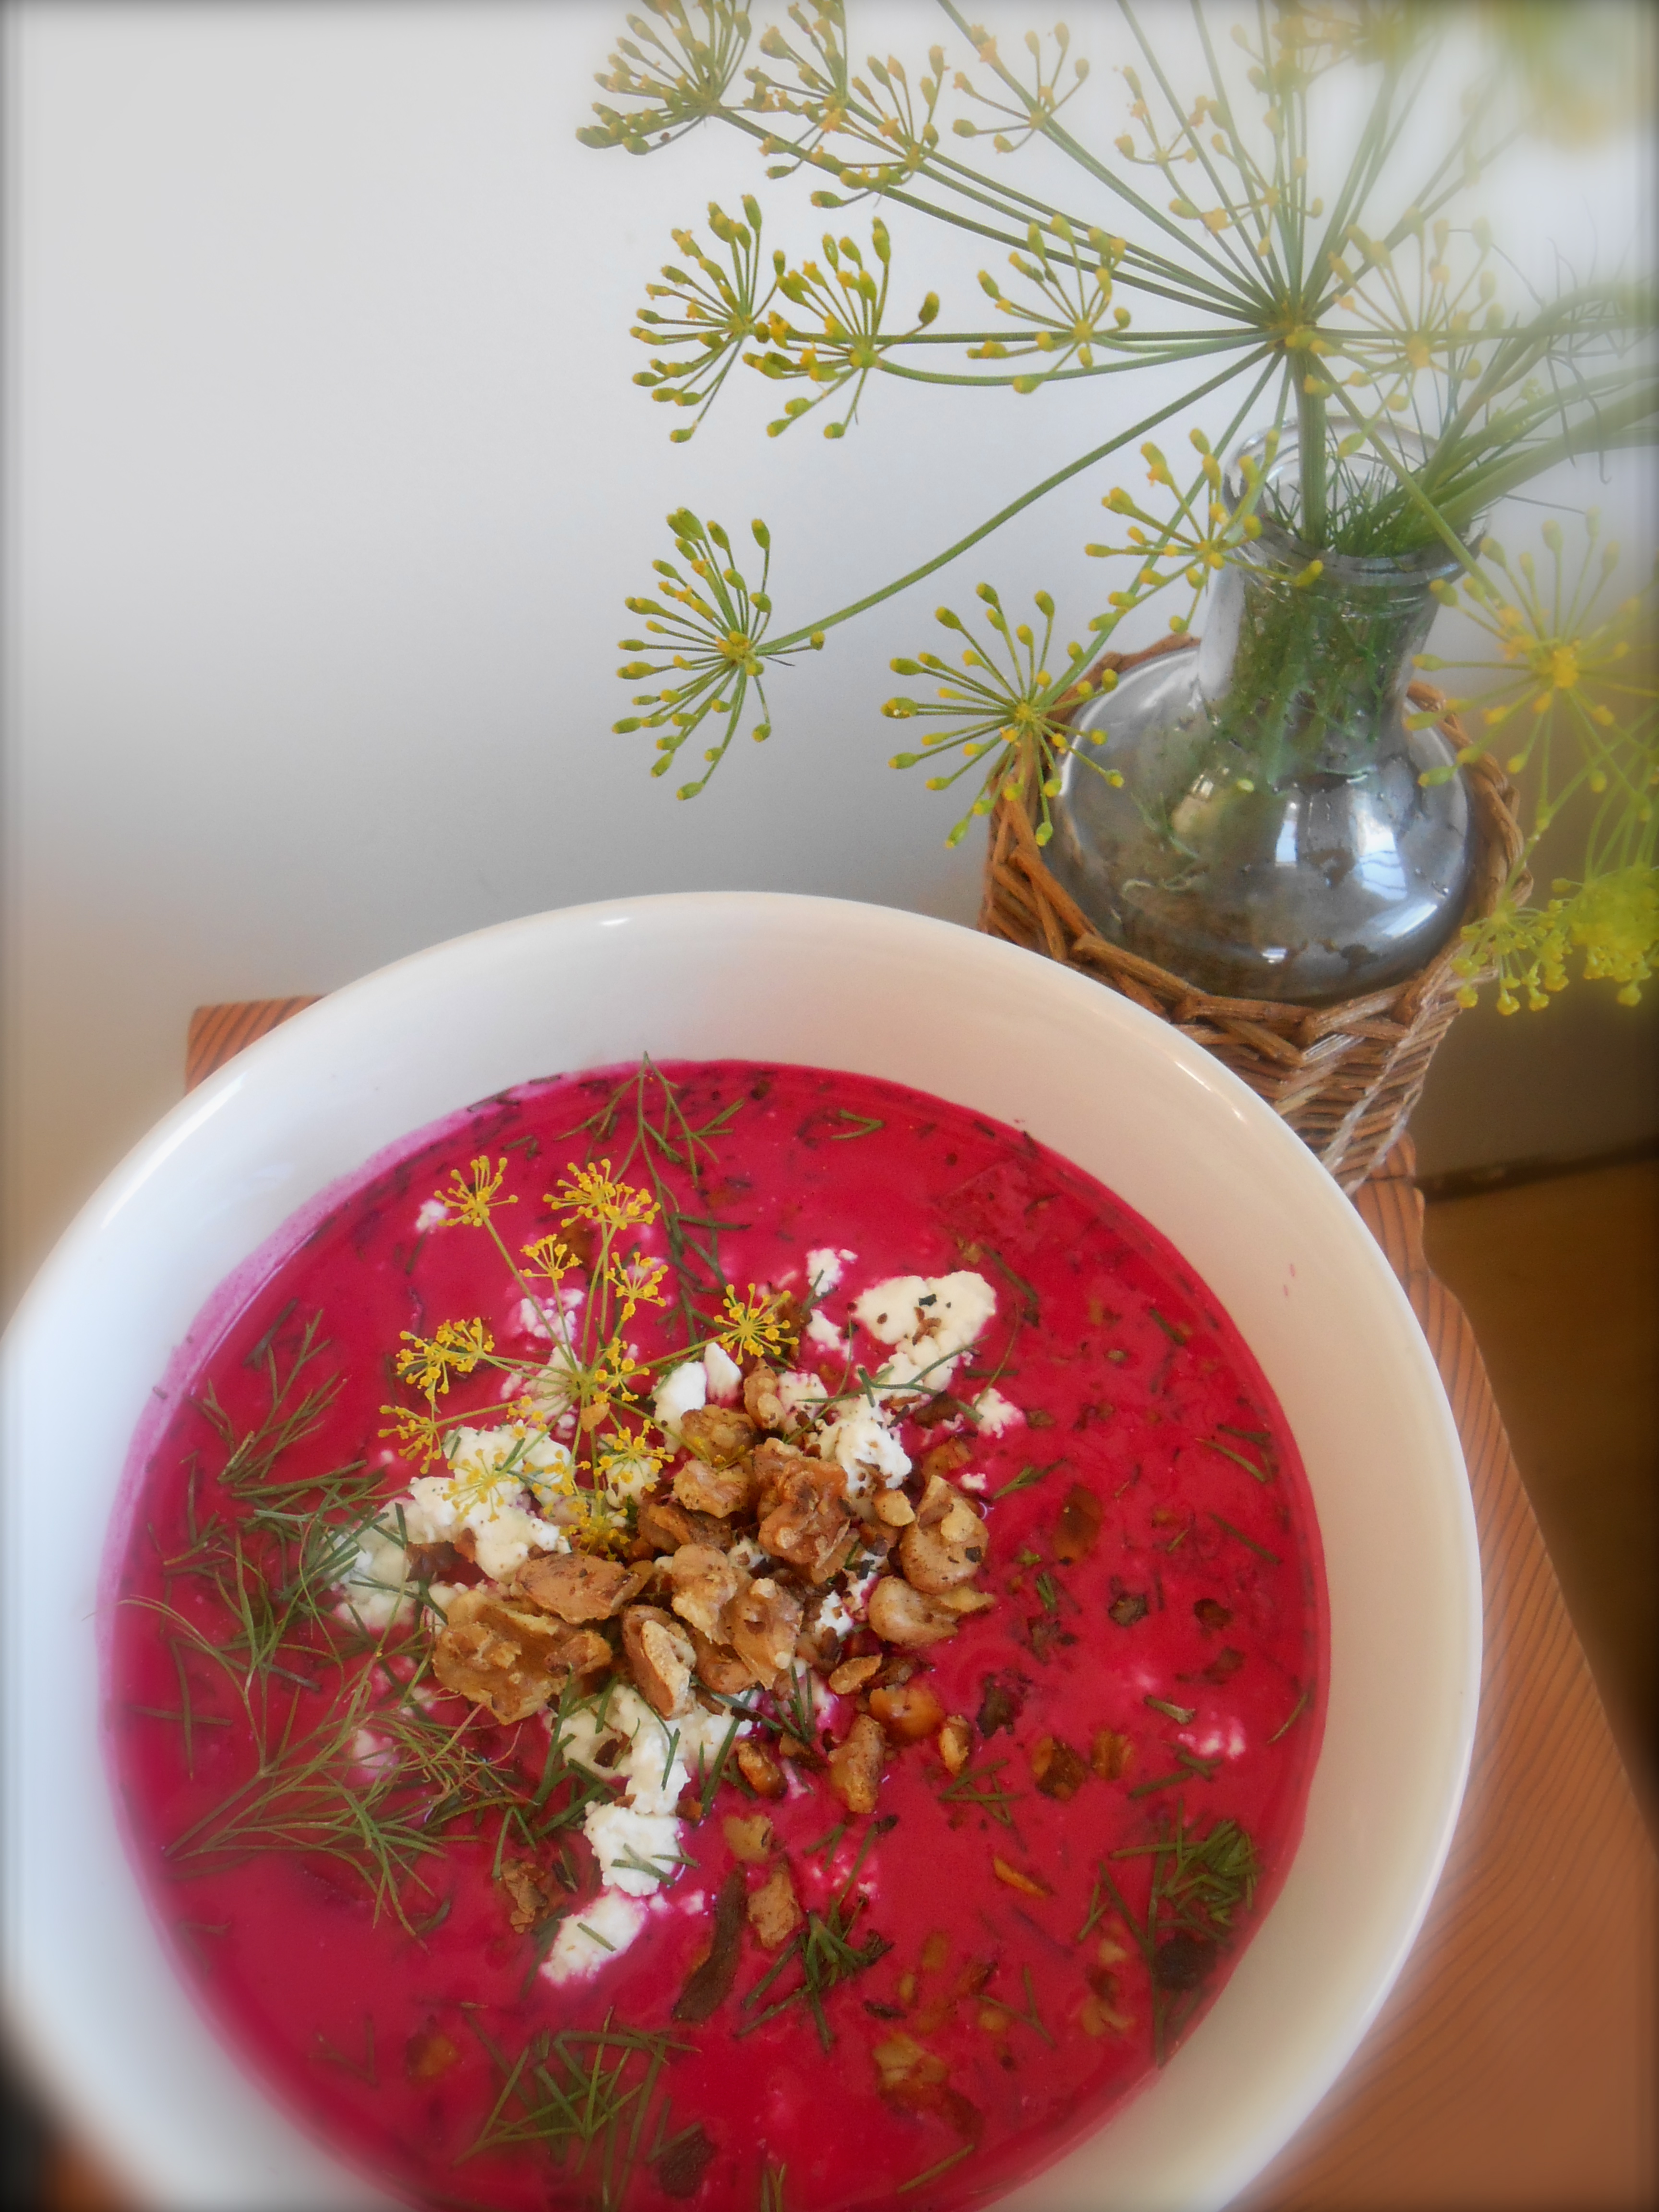
cool summer borscht
July 31, 2013 § 57 Comments
We have a serious affection for beets around here. I have been baking beets every week for the past several, therefore it only seemed natural to seek out a beet soup recipe. I prefer my soups warm with the exception of gazpacho, which to me is much like salsa. I can eat bowls and bowls of gazpacho! Knowing we love beet salad with toasted walnuts and goat cheese I had a feeling we would also enjoy a cool borscht. I read a few recipes, gathered a few ideas and came up with my own palate pleasing soup. Bringing in the beet salad idea we used toasted walnuts and goat cheese crumbles to top it off. A soup and salad in one bowl!
I n g r e d i e n t s
- 5 medium fresh beets
- 2 cups vegetable stock
- 16 ounces greek yogurt
- 2 tablespoons freshly squeezed lemon juice
- 2 teaspoons red wine vinegar
- 1 large cucumber, seeds removed and diced
- 1/2 cup chopped scallions
- 1/2 cup chopped walnuts, dry toasted
- crumbled goat cheese
- 2 tablespoons chopped fresh dill, plus extra for serving

Place the beets in a large pot of boiling salted water and cook uncovered until the beets are tender, 30 to 40 minutes. Remove the beets to a bowl with a slotted spoon and set aside to cool. Strain the cooking liquid through a fine sieve and also set aside to cool.
In a large bowl, whisk together 1 1/2 cups of the beet cooking liquid, the vegetable stock, yogurt, lemon juice, vinegar, salt and pepper.
Peel the cooled beets with a small paring knife or rub the skins off with your hands. Dice the beets into small/medium bite size pieces. Add the beets, cucumber, scallions, and dill to the soup. Cover and chill for at least 4 hours or overnight.
Prior to serving, place the walnut bits in a dry, non stick skillet over medium heat and cook until toasted and brown, giving the skillet a shake every now and them.
Season soup with salt and pepper, serve cool with a sprinkling of crumbled goat cheese, toasted walnuts and an extra sprig of fresh dill.
fresh made tortilla chips and tomatillo salsa
July 26, 2013 § 45 Comments
I learned how to make tomatillo salsa when I was a community supported agriculture (CSA) member and receiving weekly boxes of fresh fruits and vegetable from a local farm here in the Pacific Northwest. I remember discovering a large bag of tomatillos in my box and not knowing what to do with them. I was familiar with salsa verde and set out to find a recipe. By definition a tomatillo is a small green fruit, similar to a tomato, with a paper-like husk. They are very tart in flavor and aside from salsa verde I have not experimented with them. This is a wonderful salsa served warm with freshly made tortilla chips.

I n g r e d i e n t s
- 10 tomatillos, papery skins removed and washed
- 2 shallots, roughly chopped
- two large jalapeños, split and seed removed
- 5 cloves garlic, peeled
- large bunch cilantro, washed and roughly chopped
- sea salt
M e t h o d
Remove the papery skins off of a pound of tomatillo (roughly 10 tomatillos). Place them (whole) in a saucepan and cover with water. Add one roughly chopped shallot, two large jalapeños (depending on your machismo) and five whole cloves of garlic.

Boil until very tender, about 7-10 minutes. Drain out all but one cup of water and return to the pan. Blend into a salsa consistency using a hand blender. You may use a blender if you do not have a hand blender. If you are using a blender start slow so the hot liquid does not splash on you. Puree until mostly smooth. Add a handful of cilantro and a pinch of sea salt. Transfer to a serving bowl. Finely chop another shallot and add to the bowl of salsa. Stir to incorporate.
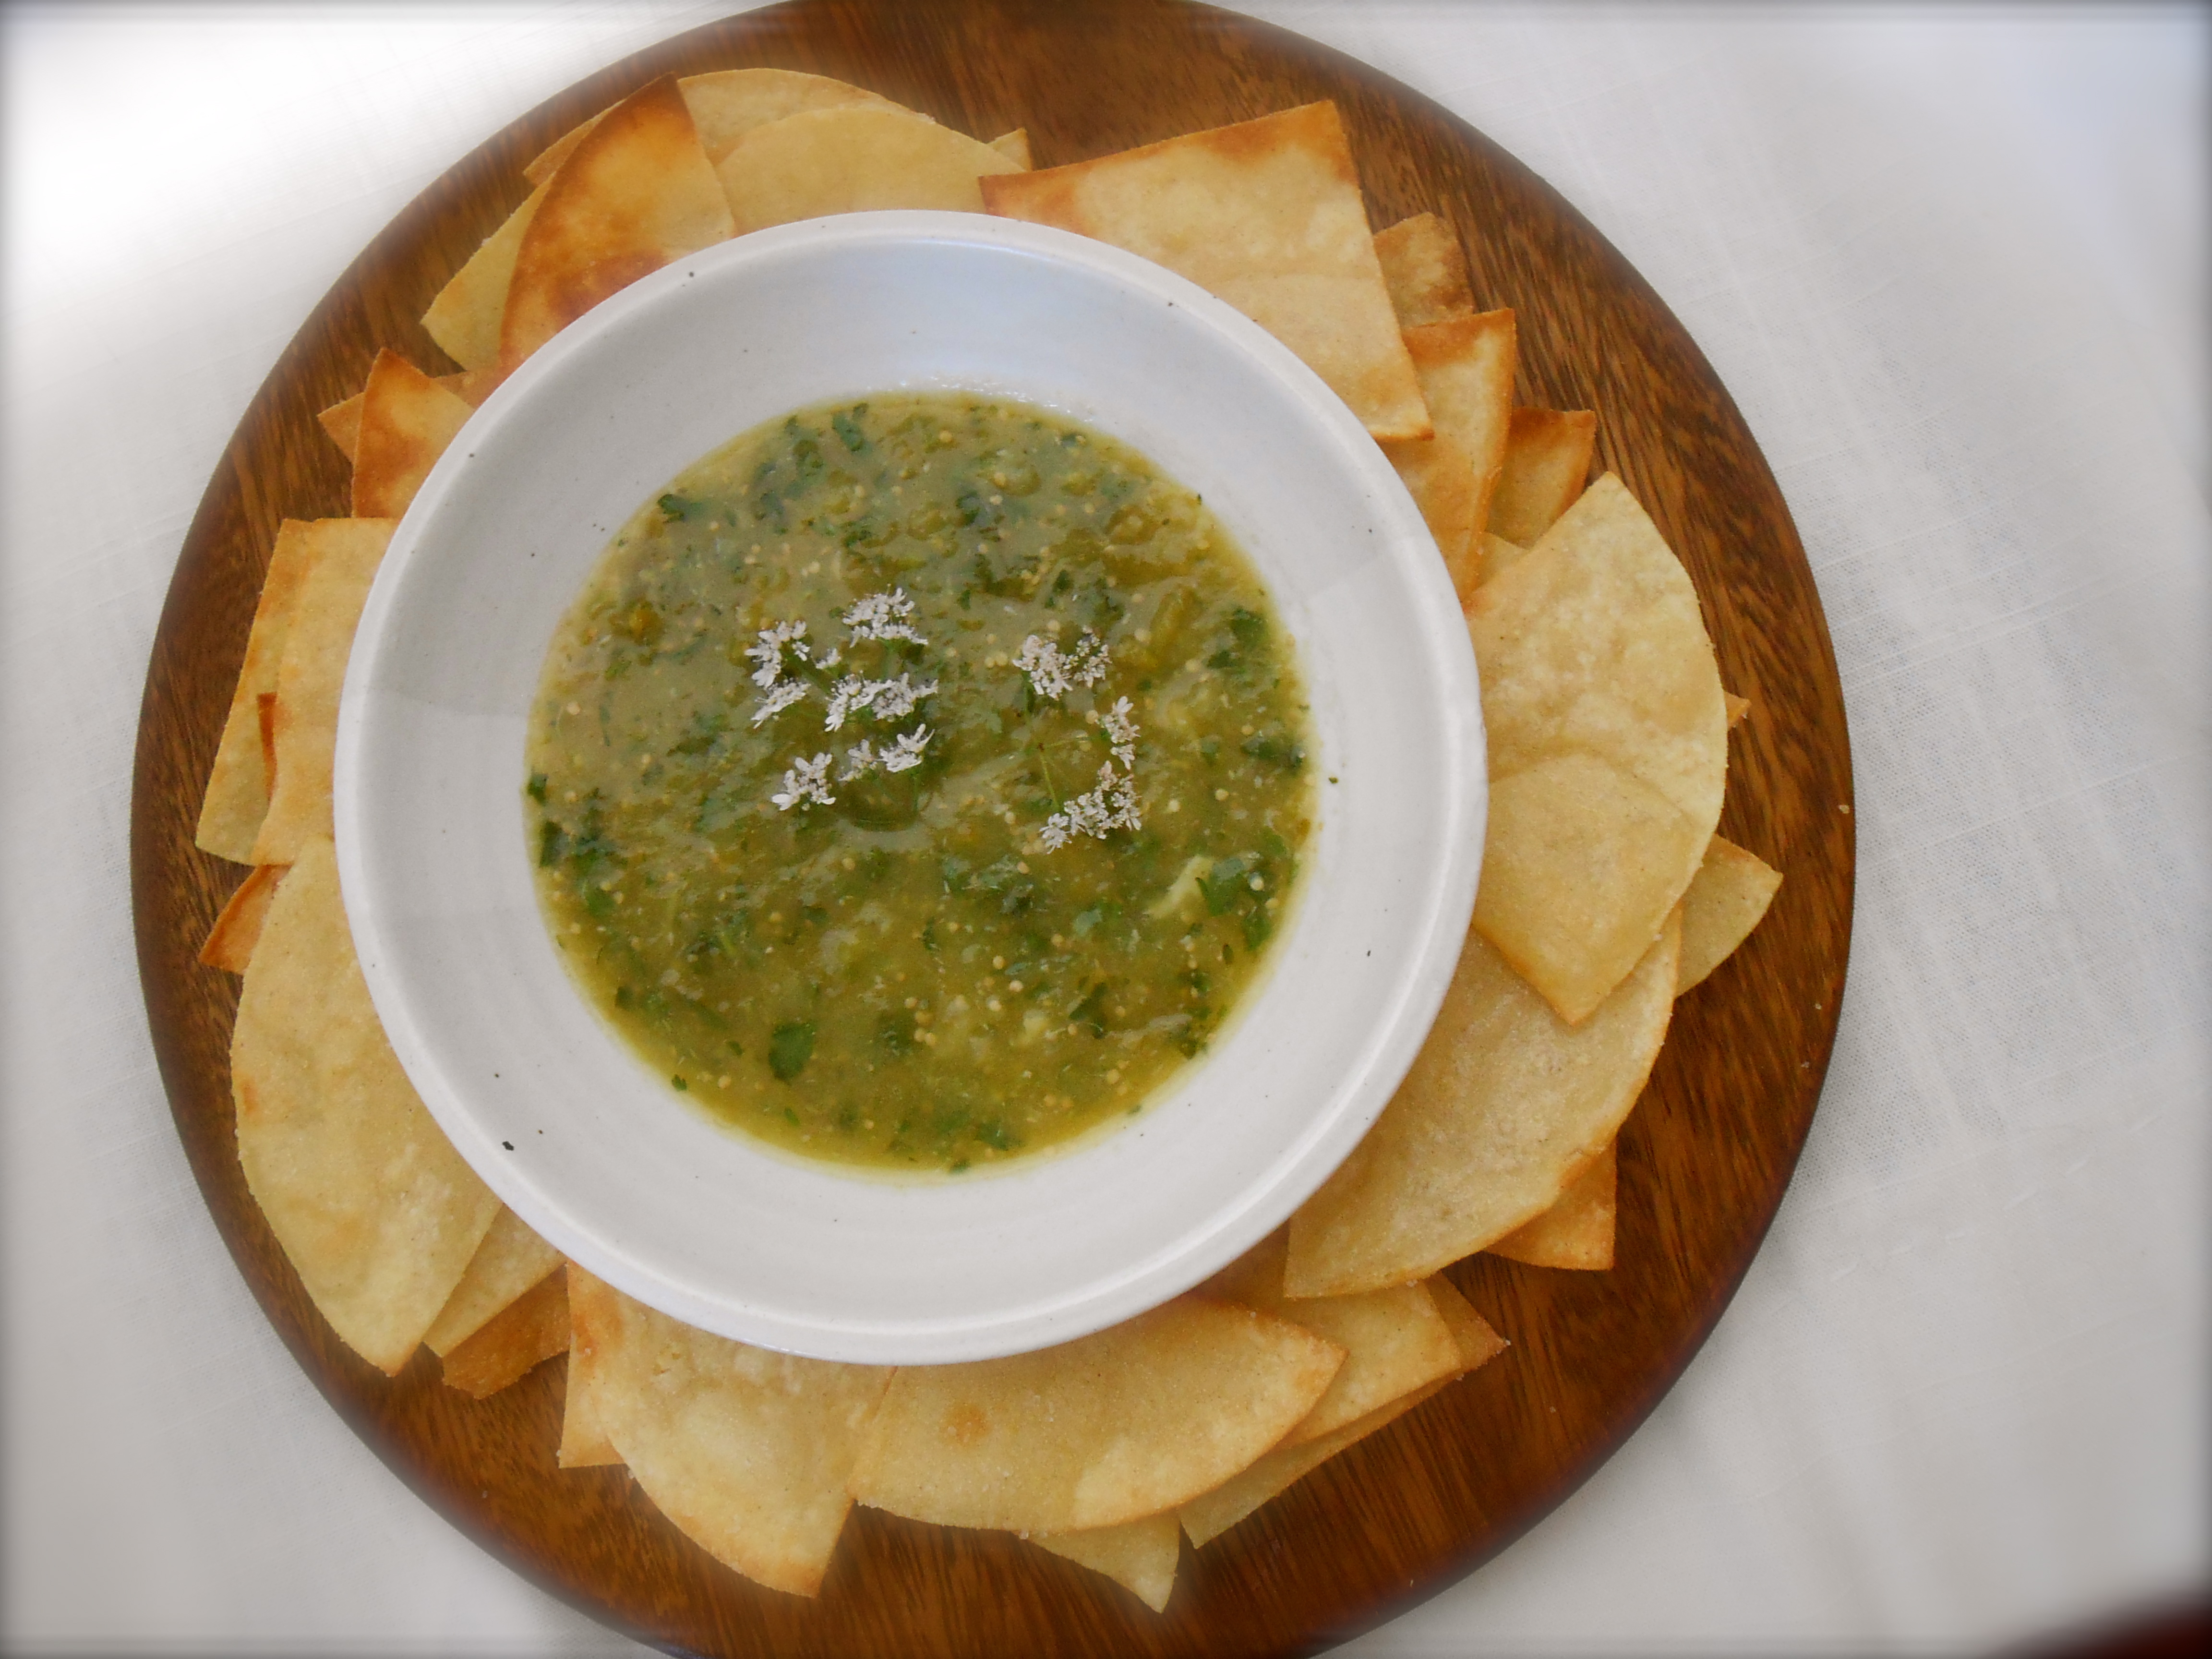
We like to eat this salsa warm, but it also keeps in the fridge. Served with fresh homemade tortilla chips.
Tortilla Chips
- 1 dozen good quality corn tortillas
- at least 1/2 cup olive oil
- salt
Heat a good amount of olive oil in a non stick skillet over medium high. Cut your tortilla’s into desired shape, fry until crisp, using tongs to turn. Remove to paper towel, salt and let them cool. Transfer to your serving basket or bowl.
Serves several as an appetizer.
summer linguine with fresh hand formed mozzarella
July 24, 2013 § 49 Comments
Right now heirloom cherry tomatoes are starting to appear in the markets in great quantities and I could not be happier. Although I have five different cherry sized heirloom varietals growing in my own garden, which still need a few more weeks to ripen, I found myself with a basket of them at the checkout stand. This particular market makes their own hand formed mozzarella and offers the best artisanal crusty breads the city has to offer. With my greek basil bush doing so well I decided I would make bruscetta “caprese style” for lunch today.

We sliced the tomatoes in half, put them in a bowl with fresh bush basil leaves, a drizzle of olive oil and a sprinkling of salt. We let it sit and marinade for 30 minutes. The tomatoes were placed on top of crusty bread and a slice of fresh mozzarella. A fabulous lunch, of which I did not photograph.
With a large bowl of marinaded tomatoes and half of the fresh mozzarella left I extended the caprese idea into a summer pasta.
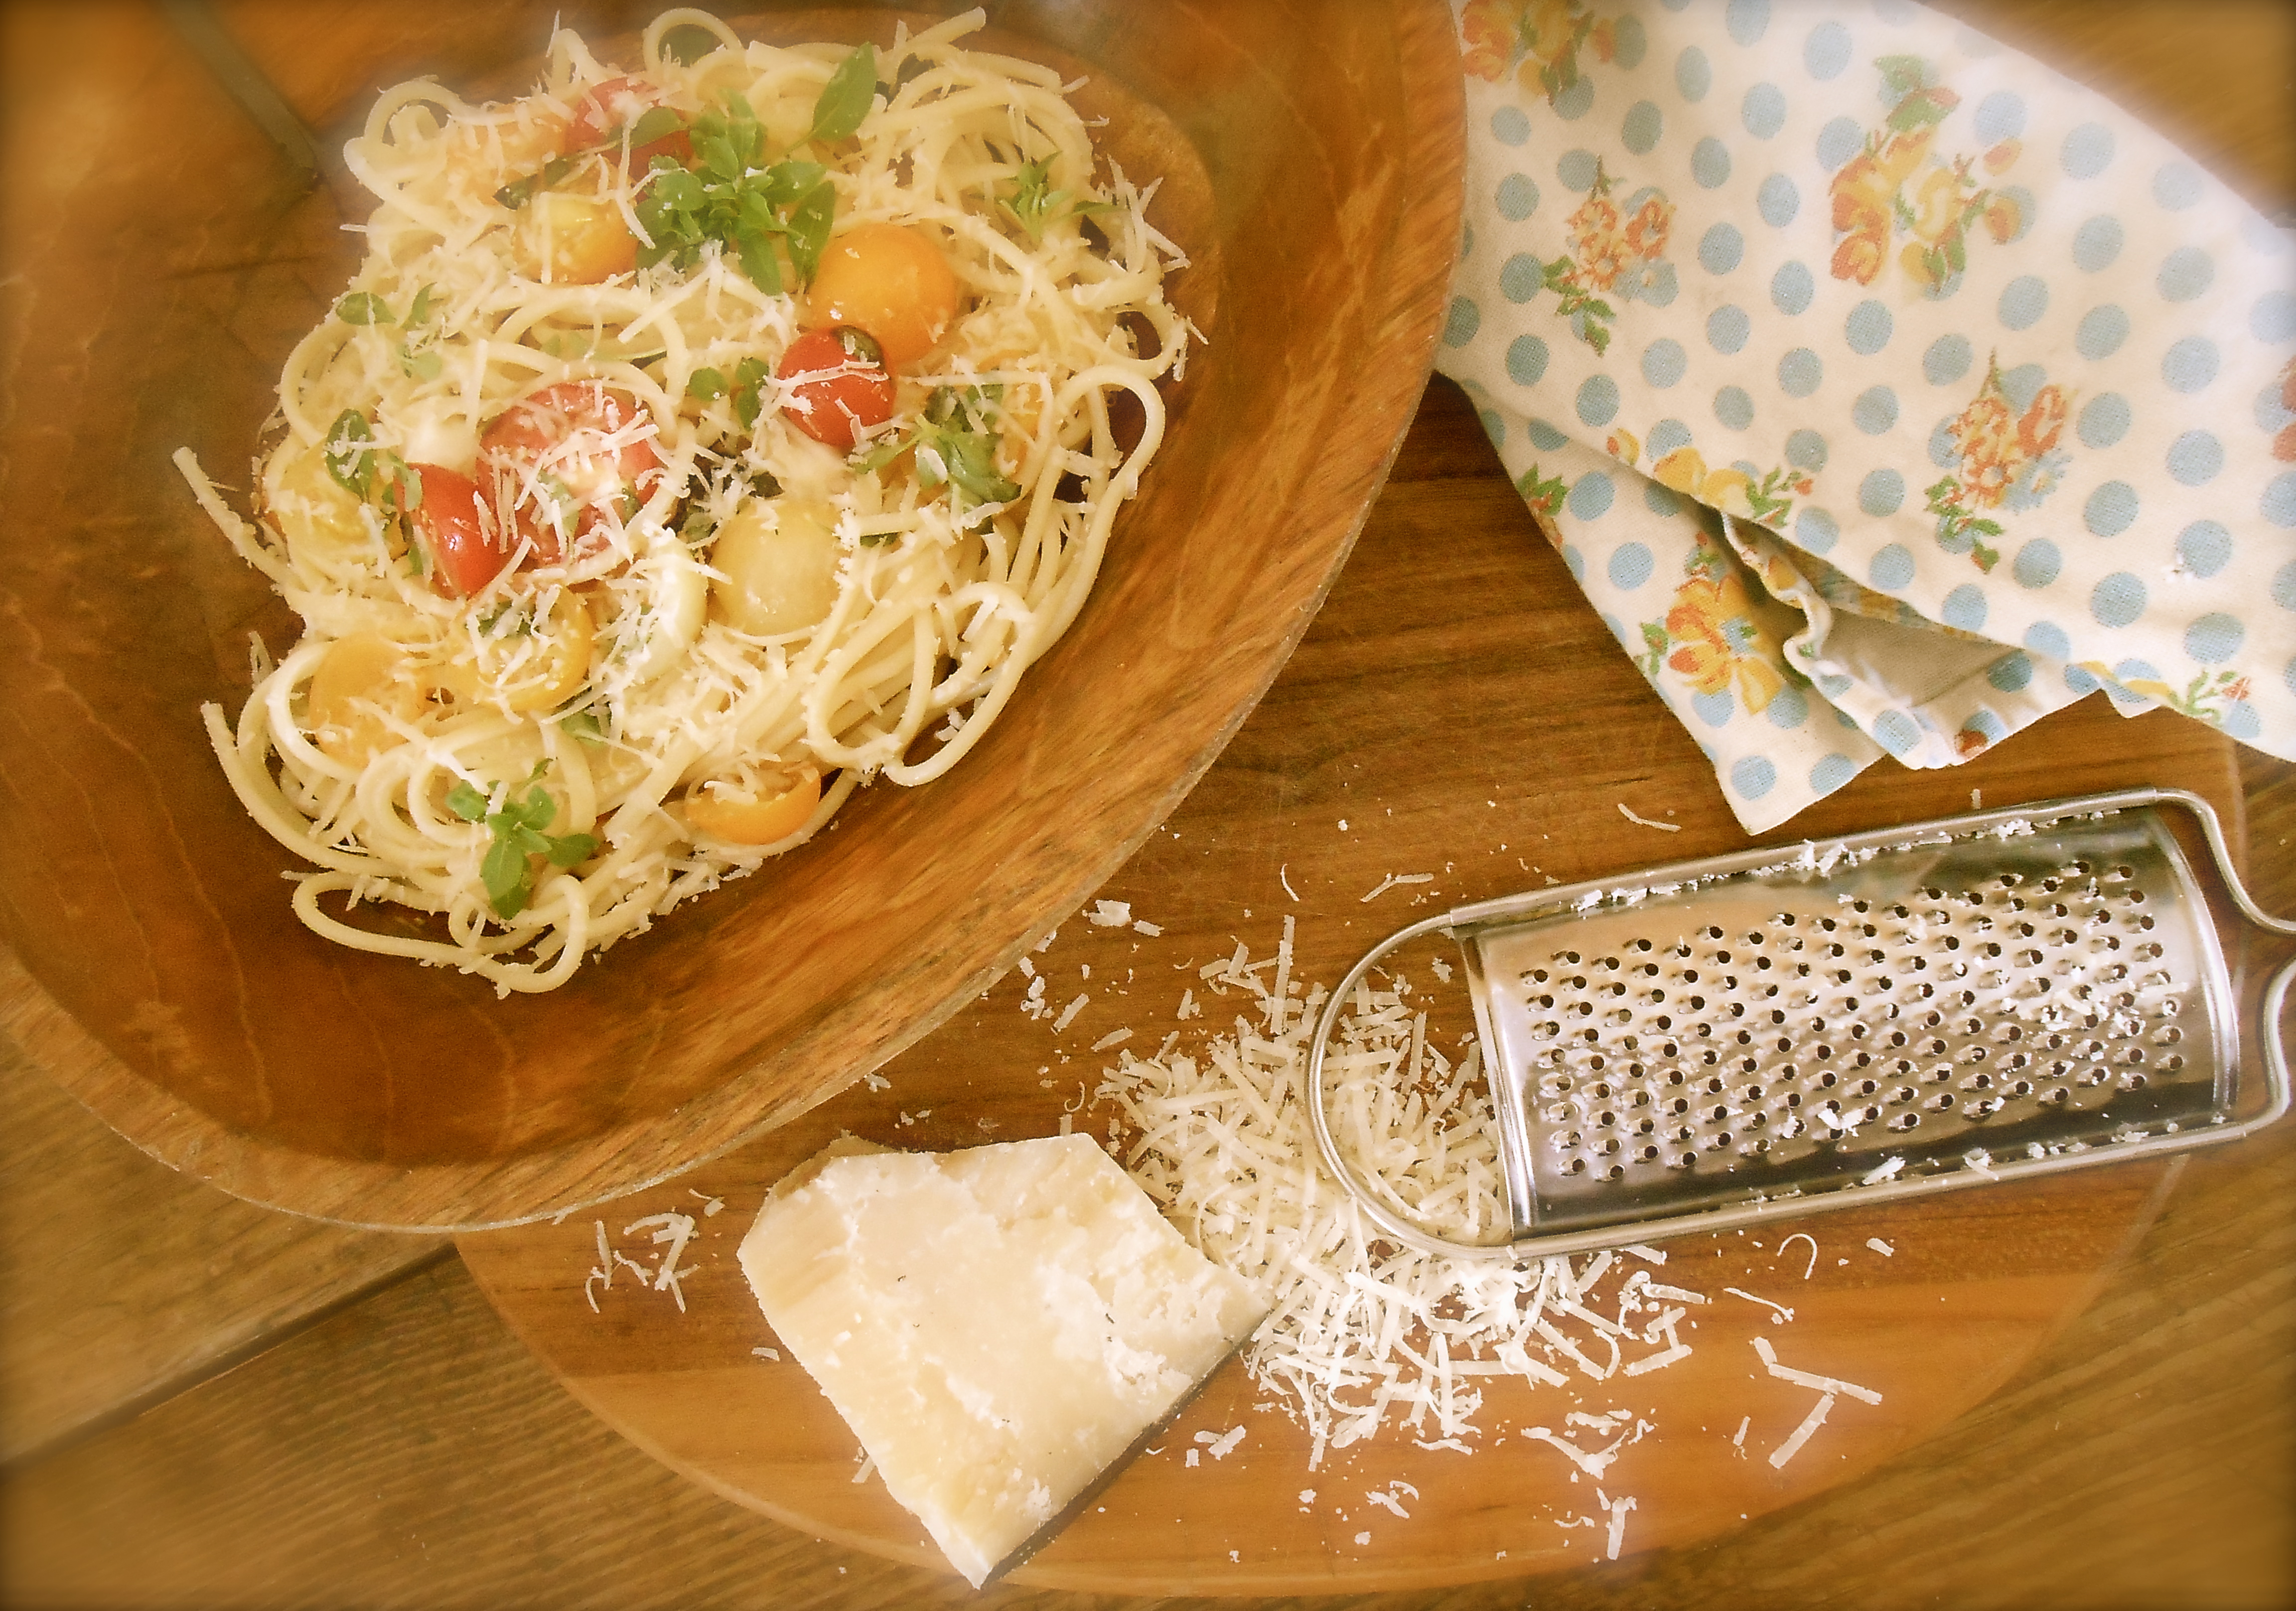
To the marinaded tomatoes I added minced garlic, a little more basil and some of the best cheese I have had in awhile…Grana Lodigiano. A hard texture cheese much the same as Grana Padano. I liked it’s black rind which I learned is a tradition held onto for centuries. In ancient times the wheels were matured with a clay coating, grapeseed oil and charcoal. This compound gave it a black hue. Today the wheels are still hand coated with natural ingredients to create the same black hue to specifically set it apart from Parmesan. I do enjoy talking with the cheese monger at the market…
I n g r e d i e n t s
- 1 pint of heirloom cherry tomatoes, halved
- 4 cloves garlic, minced
- 1/2 cup shredded basil leaves
- 8 ounces fresh hand formed mozzarella cheese, diced
- 1/2 cup olive oil
- 1/4 cup reserved pasta water
- sprinkling salt and black pepper
- 3/4 pound linguine
- 1/2 cup freshly grated Grana Lodigiano cheese or Parmesan cheese
M e t h o d
Place the tomatoes, garlic basil, mozzarella, olive oil, salt and pepper in a large serving bowl. Stir to mix and set aside at room temperature for at least 1 hour. Cook the pasta until al dente. Drain briefly, reserving 1/4 cup of pasta water. Add pasta and reserved water to the tomato mixture. Add the Grana Lodigiano and toss to mix. Serve right away while the pasta is still warm.
Serves 4.
buon appetite
grilled carrots and zucchini
July 15, 2013 § 40 Comments
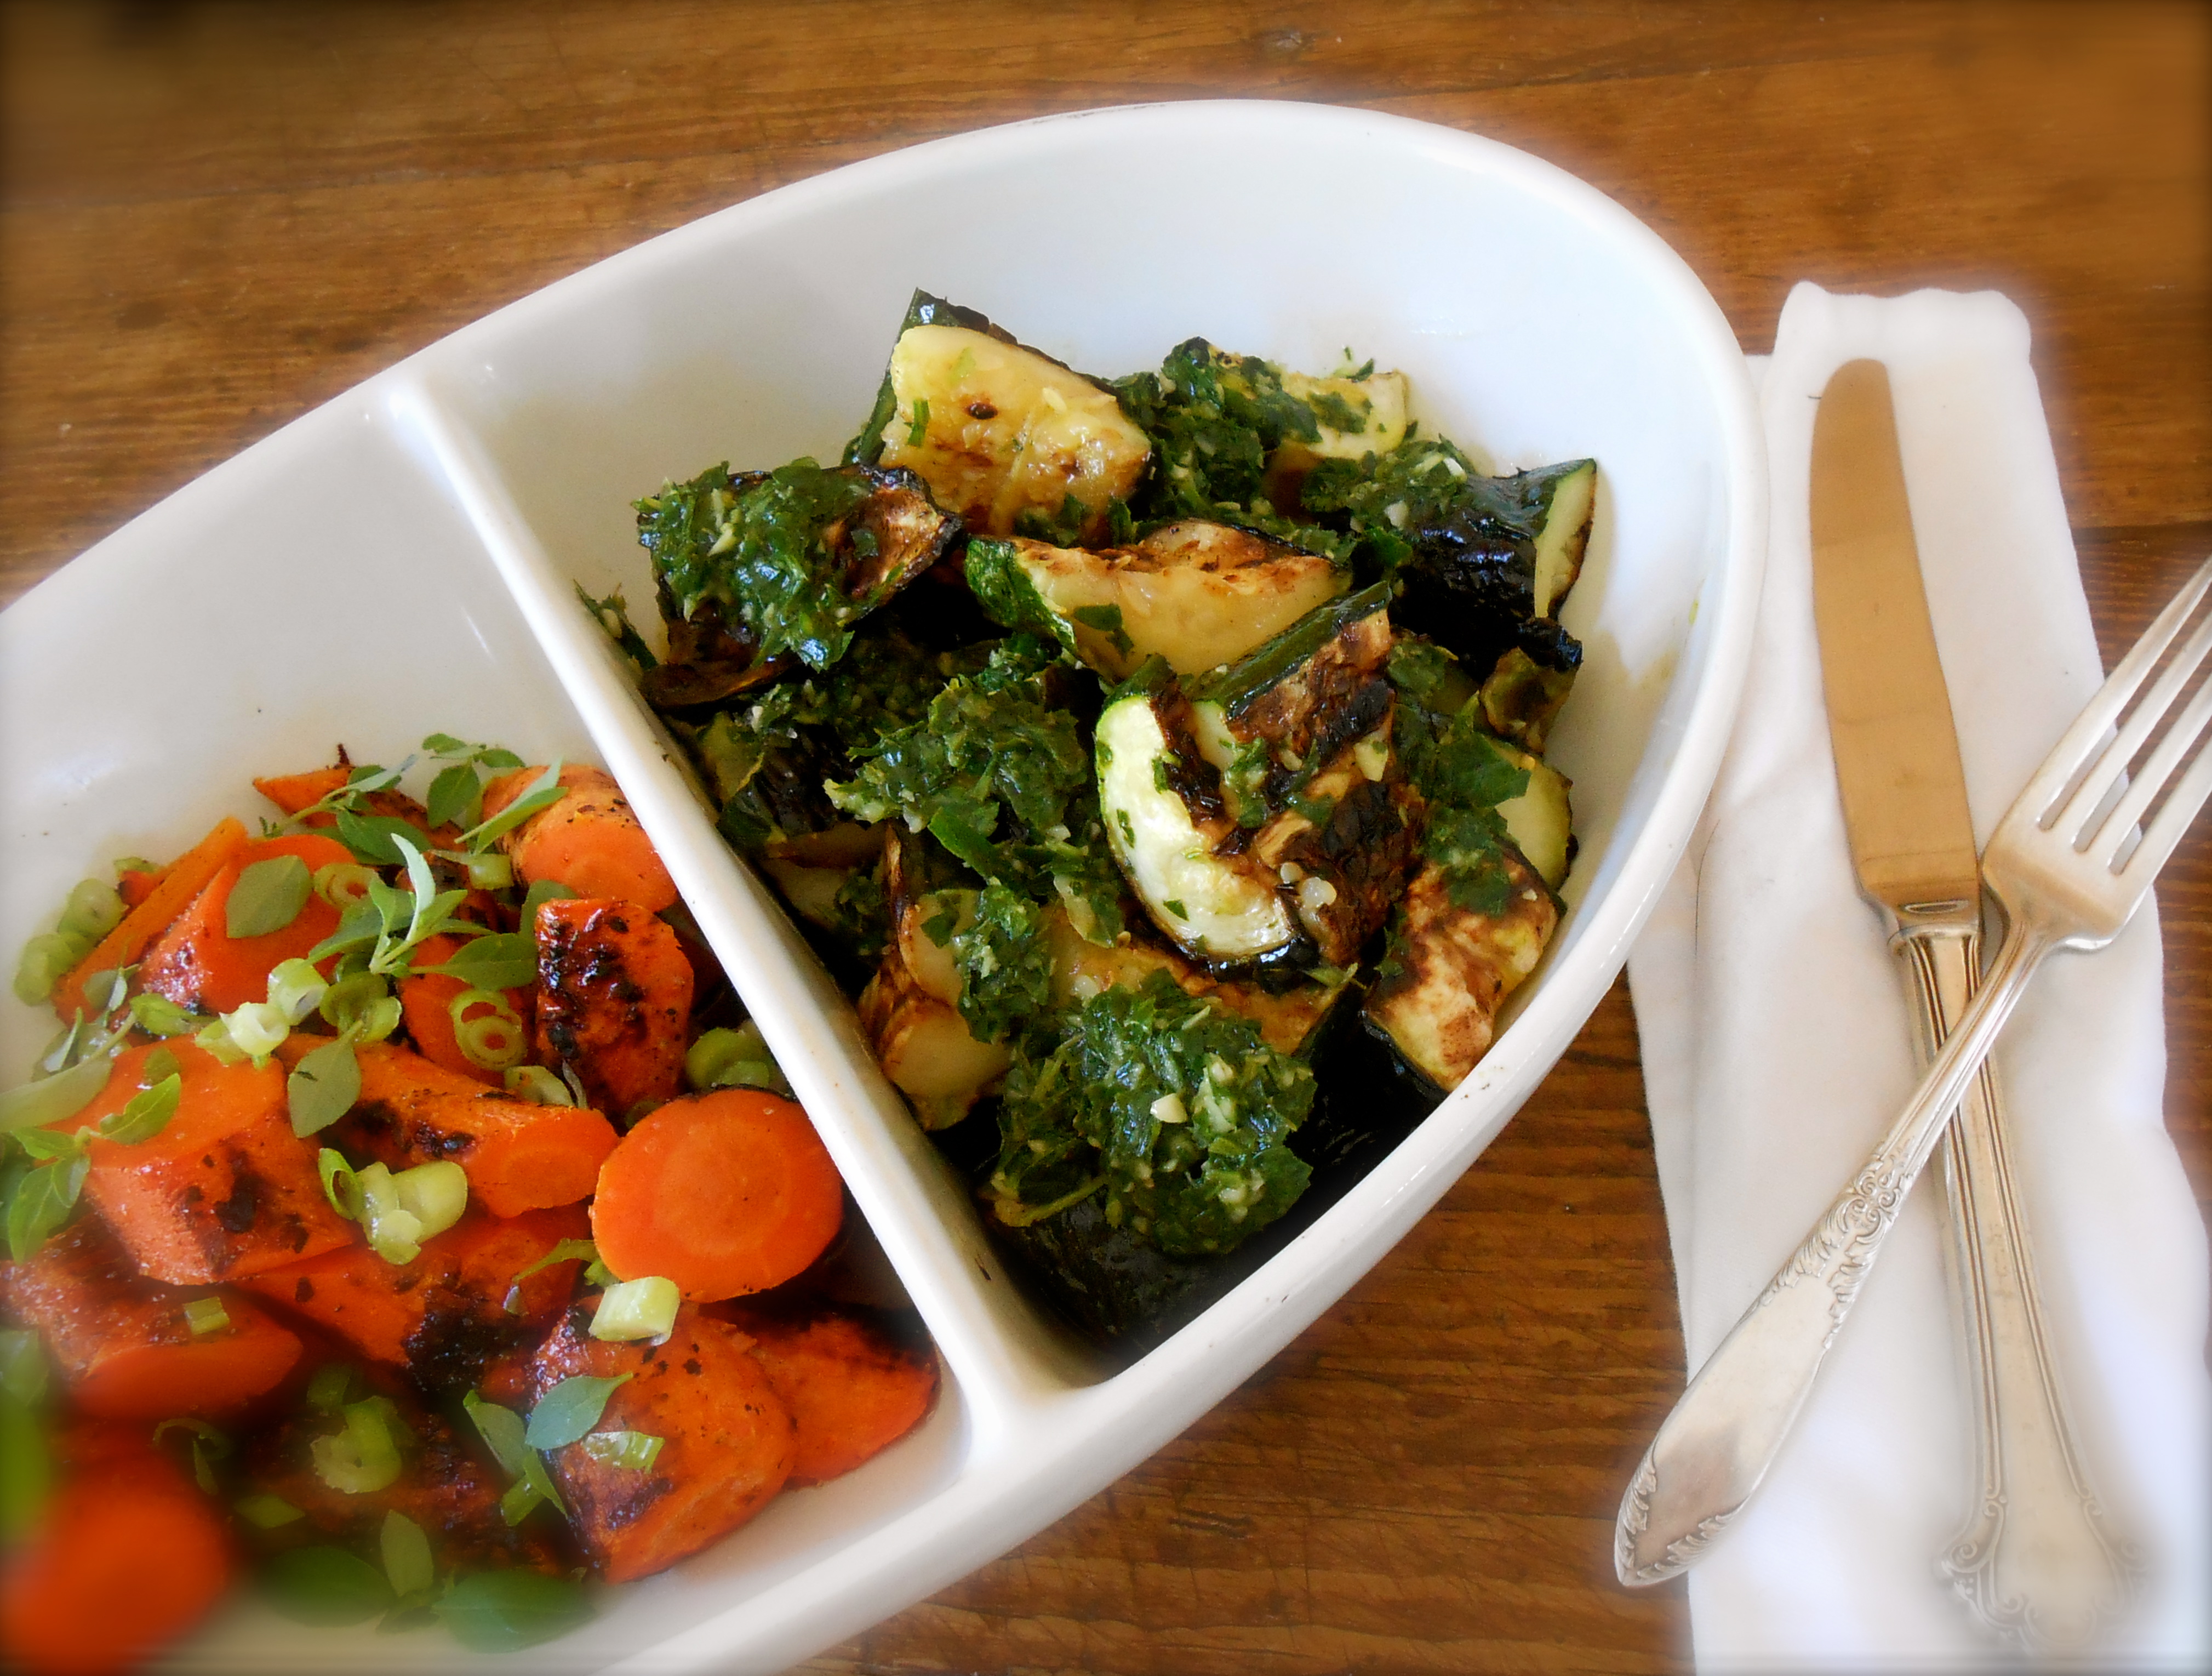
One of my favorite summertime dinners is grilled vegetables. I delight in lighting the mesquite charcoal and piling as many vegetables as I can fit onto the grill. This particular evening we grilled carrots, zucchini and a whole head of garlic.
Carrots are topped with olive oil, scallions and bush basil. The zucchini has a gremolata style sauce made with parsley, garlic, olive oil and lemon.
Ingredients
- 4 medium zucchini, sliced in half
- 5 medium carrots, peeled, if you prefer
- a little olive oil
- sprinkling salt
- handful of flat leaf parsley
- 3 tablespoons lemon
- 2 cloves garlic
- 3 scallions, finely sliced
- fresh basil
- 5 tablespoons olive oil
After cutting your vegetables brush all sides with olive oil and set aside. Once your charcoal is ready or your grill is hot begin with the carrots. Carrots take a good 15 minutes longer to soften up then the zucchini. My grill was far too hot and the carrots started to char. Turn frequently to prevent too much charring and move to a cooler area of you grill. If they do char too much you may use a peeler to peel away the black areas once they cool off. After 15 minutes add the zucchini to the grill and cook 15-20 minutes until tender and brown.
Remove from the grill and toss with your herbs and dressings.
g r e m o l a t a f o r z u c c h i n i
Using a food processor, whizz 3 tablespoons of olive oil with handful of parsley, two garlic cloves and 3 tablespoons of lemon juice. Add a little salt and toss with zucchini.
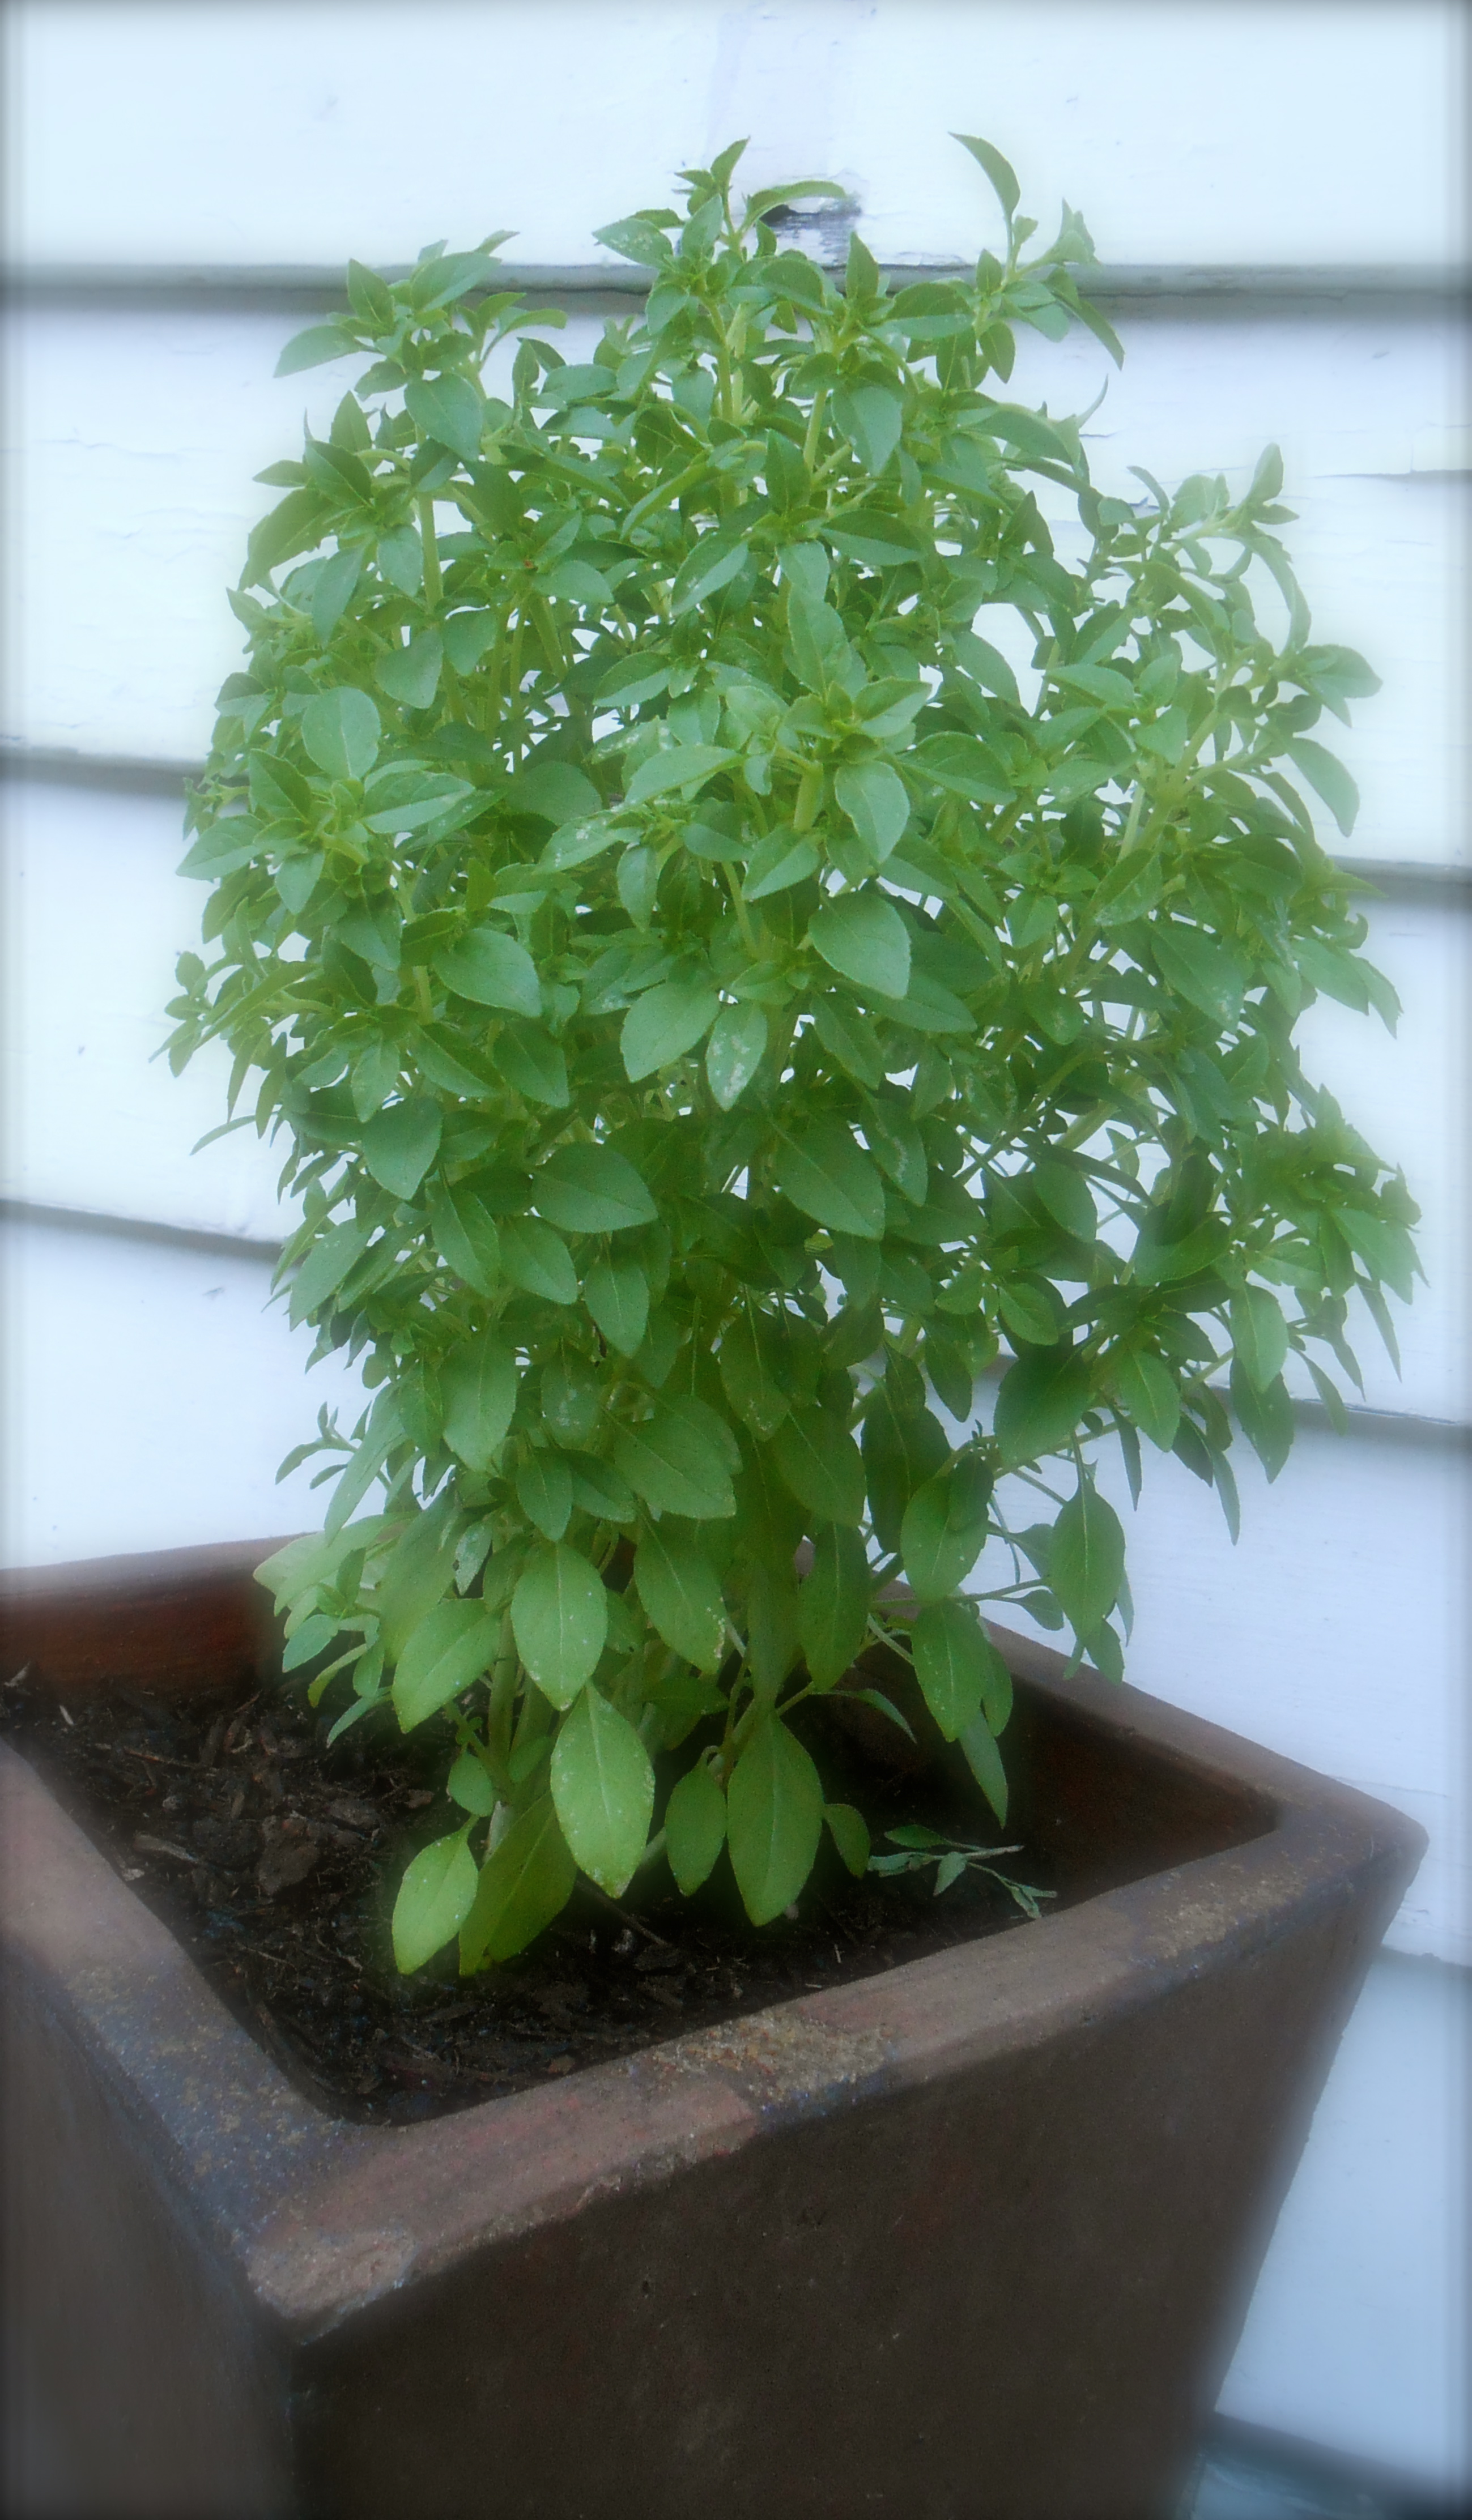
b u s h b a s i l ( a. k. a. g r e e k b a s i l )
Where have I been? I have been buying herbs for years and particularly basil. This is the first year I have seen this basil varietal. The leaves are very small and have a slightly floral aroma. I have seen these trimmed into a cute little topiary trees. Mine stands about 14 inches tall. I purchased it at the farmer’s market for $2. As you can imagine, I was thrilled.
conchiglie with yogurt, peas and chile
July 10, 2013 § 60 Comments
I love visiting food blogs specifically looking for something to prepare for dinner…”tonight”! The other day I visited one of my favorite blogs (I have too many to count) and found this recipe. I am a huge fan of Molly’s blog and I took heed to her urgency about cooking this pasta. I ran out and pick up what I needed, came home that late afternoon and made one of the most delicious pasta dishes we have ever had. I never imagined pasta prepared with yogurt sauce. This was so creamy, yet light, a bit spicy from the chile, yet a little sweet from the peas, nutty from the pine nuts and lightly salty from the feta. All melty hot and delicious.
I have yet to pick up my copy of Jerusalem, by Yotam Ottolenghi and Sami Tamimi. Convincingly after making this recipe I am heading out today to do so.
I could never in my wildest dreams come up with this so I am giving you Molly’s posted recipe “verbatim”. And if you haven’t read Molly’s book A Homemade Life it is quite charming and features some incredible recipes.

A s w r i t t e n o n O r a n g e t t e . . . .
Pasta with Yogurt, Peas, and Chile
Adapted slightly from Jerusalem, by Yotam Ottolenghi and Sami Tamimi
The original version of this recipe calls for conchiglie, or shell-shaped pasta, but you could use any small pasta shape you like: orecchiette, penne, farfalle, and so on.
If you have some exotic type of dried chile, like Urfa chile, Aleppo chile, or Kirmizi biber, you lucky lucky dog, this is a great place to use it. If not, you can use regular red pepper flakes. I happened to have some Aleppo chile, and though it was ground, not in flakes, and probably a few years old, it worked beautifully. Oh, and if you’re worried about the amount of heat, consider starting with a little less of the chile than what is called for – or just don’t put much chile oil on your pasta.
- 2 ½ cups (500 g) whole-milk Greek yogurt
- 2/3 cup (150 ml) olive oil
- 2 medium cloves garlic, crushed or pressed
- 1 pound (500 g) fresh or thawed frozen peas
- Kosher salt
- 1 pound (500 g) pasta shapes of your liking
- Scant ½ cup (60 g) pine nuts
- 2 teaspoons Turkish or Syrian chile flakes, or red pepper flakes
- 1 2/3 cups (40 g) basil leaves, coarsely torn
- 8 ounces (240 g) feta cheese, coarsely crumbled
In the bowl of a food processor, combine the yogurt, 6 tablespoons (90 ml) of the olive oil, the garlic, and 2/3 cup (100 g) of the peas. Process to a uniform pale green sauce, and transfer to a large mixing bowl.
Bring a large pot of water to a boil, and salt it until tastes like pleasantly salty seawater. Add the pasta, and cook until it is al dente. While the pasta cooks, warm the remaining olive oil in a small frying pan over medium heat. Add the pine nuts and chile flakes, and cook for 4 minutes, or until the pine nuts are golden and the oil is deep red. Also, warm the remaining peas in some boiling water (you could scoop out a bit of the pasta water for this); then drain.
Drain the cooked pasta into a colander, and shake it well to get rid of excess water that may have settled into the pasta’s crevices. Add the pasta gradually to the yogurt sauce; adding it all at once may cause the yogurt to separate. Add the warm peas, the basil, feta, and 1 teaspoon kosher salt. Toss gently. Serve immediately, with pine nuts and chile oil spooned over each serving.
Yield: about 6 servings
spaetzle with brown butter sage
July 8, 2013 § 35 Comments
I made spaetzle this weekend. I have been wanting to make this for years and decided it would be a nice side dish with our grilled salmon. I searched around and found several recipes which all differed slightly. I got caught up in the Smitten Kitchen blog reading her post and the 400+ comments regarding her spaetzle. I ended up using a recipe from this blog. I really like her uncomplicated approach. It was just what I needed when I was feeling a little intimidated by the numerous other recipes. Some things need not be complicated. Spaetzle is one of them. I used brown butter and sage to flavor the spaetzle, then at the last minute I added cream. In hindsight the cream was unnecessary. I knew it right when I poured it in the skillet. However, it was out of this world delicious! As comforting as a good homemade mac and cheese. If you are serious about making spaetzle take a look at The Tasty Kitchen blog for a detailed tutorial.
- 2 whole Eggs, Beaten
- ¾ cups Water
- 1-½ cup All-purpose Flour
- ¼ teaspoons Salt
- drizzle of olive oil
- 2 tablespoons butter
- 5 large fresh sage leaves, sliced
- 1/2 cup cream (optional)

Bring a large pot of water to boil and add a bit of salt .
Add flour and salt to a large bowl and mix together. Beat the eggs and add them to your flour mixture. Add water and stir well to work out all the lumps.
Using your colander and spatula, pour the dough into the colander. Keep the colander above the steam so it doesn’t cook before it gets pushed through the holes. Press the batter through the colander with the spatula. Drops will fall into the water and cook instantly. Boil for 3 to 4 minutes. Remove the spaetzle from the water and strain it into a bowl. Toss with a bit of olive oil to prevent it from sticking together.
Heat the butter in a large skillet over medium high heat. Add the sage cook until aromatic. Toss in the spaetzle and brown to your liking. Here is where I added the cream (unnecessary) and allowed to simmer for 5 minutes stirring occasionally.
Serves 4, as a side dish
finnish strawberry pancake
July 3, 2013 § 45 Comments
After rising early last week I sat down with a cup of coffee and started reading the latest posts on my favorite blogs. I found this marvelous breakfast recipe from thethankfulheart. Having all the ingredients on hand I stood up and made Rhonda’s finnish pancakes. Right then and there, I made it and it was out of this world. Rhonda used raspberries in her pancake and I only had strawberries. However, I am certain these finnish pancakes are wonderful whatever fruit is used. I imagine peaches a little later in the season.
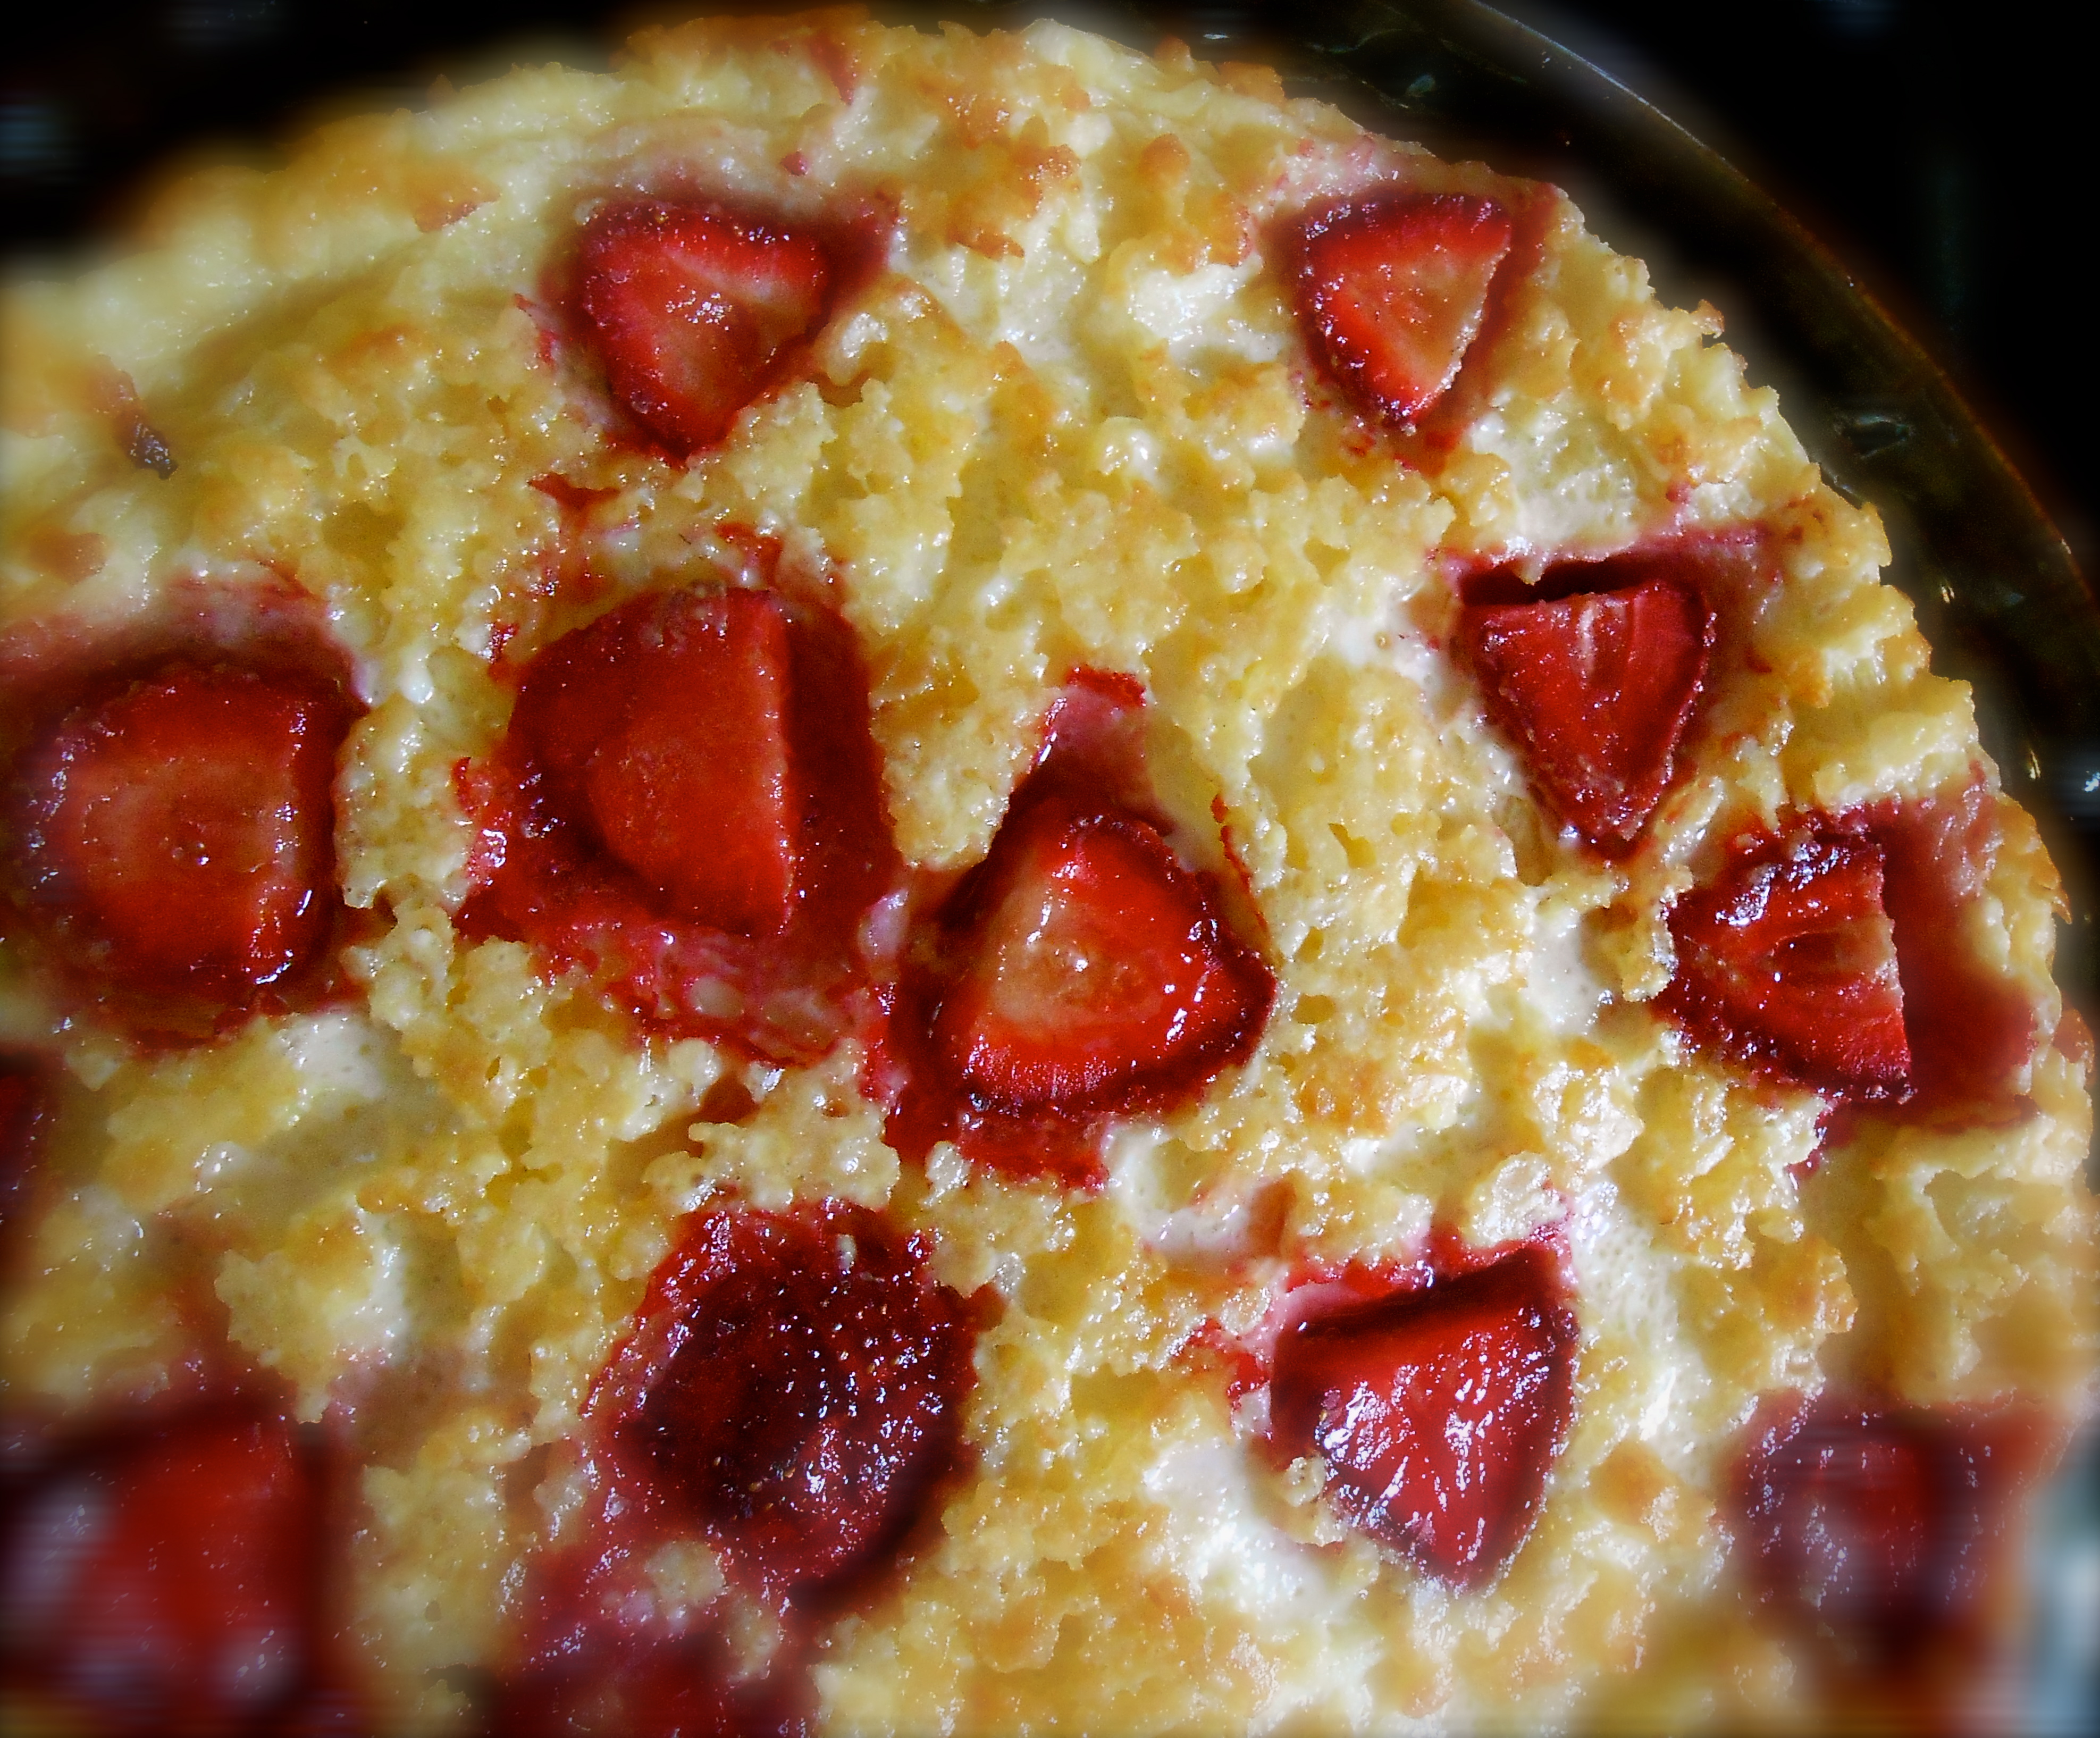
You know this is good when you leave it on the stove with one piece missing only to come back an hour later and it was gone! Yes, the 15 year old of the house got ahold of it! He said he couldn’t stop eating it after pouring pure maple syrup on top.
Here is the recipe exactly how Rhonda posted it. However, I know you would enjoy a visit to her blog.
- 1 cup flour
- 2 tab. sugar
- 1/4 tsp. salt
- 2 cups milk
- 1/4 cup melted butter
- 2 eggs
- 1 tsp. vanilla
- 6 oz. box of raspberries [or in this case, strawberries](about a cup)
- 1/4 cup sugar
In a mixing bowl stir together the flour, sugar and salt. Then whisk in the milk, melted butter, eggs and vanilla. Pour is it all into a 10″ baking dish sprayed with cooking spray. Sprinkle the raspberries and sugar on top and pop it into a 400 even for 45 minutes until it’s puffy and nicely browned.
orecchiette pasta with cilantro pesto
July 1, 2013 § 32 Comments
We are finally having HOT sunny days here in Seattle. Thank goodness for the tomato plants who have been very patiently waiting for the sun during the past three weeks. Seattle can be a unkind to tomatoes. Typically my plants are late bloomers and by the time their skins should turn red a blanket of clouds cover the sun once again leaving them an orange hue rather than red and a good supply of green ones too. I have learned it is best to plant “little” tomatoes such as cherry, grape, sun gold and/or a medium size roma varietal for our short lived tomato growing season. However, it could just be me and my lack of tomato growing knowledge.

s u g a r p l u m g r a p e t o m a t o e s
I have a pasta recipe here which requires only one burner on your stove for boiling the orecchiette. A summery fresh pasta while keeping the heat out of the kitchen!
I n g r e d i e n t s
- 1 pound good quality orecchiette
- 2 bunches cilantro, washing and thick stems removed
- 3 cloves garlic, smashed and peeled
- 1/2 cup pecans
- 1/2 cup olive oil
- 2 heaping tablespoons plain greek yogurt
- 1/2 cup grated parmesan cheese
- salt to taste
- sugar plum grape tomatoes
Bring a large pot of salted water to a boil. Add the pasta, and cook until it is al dente. While the pasta cooks prepare the pesto.
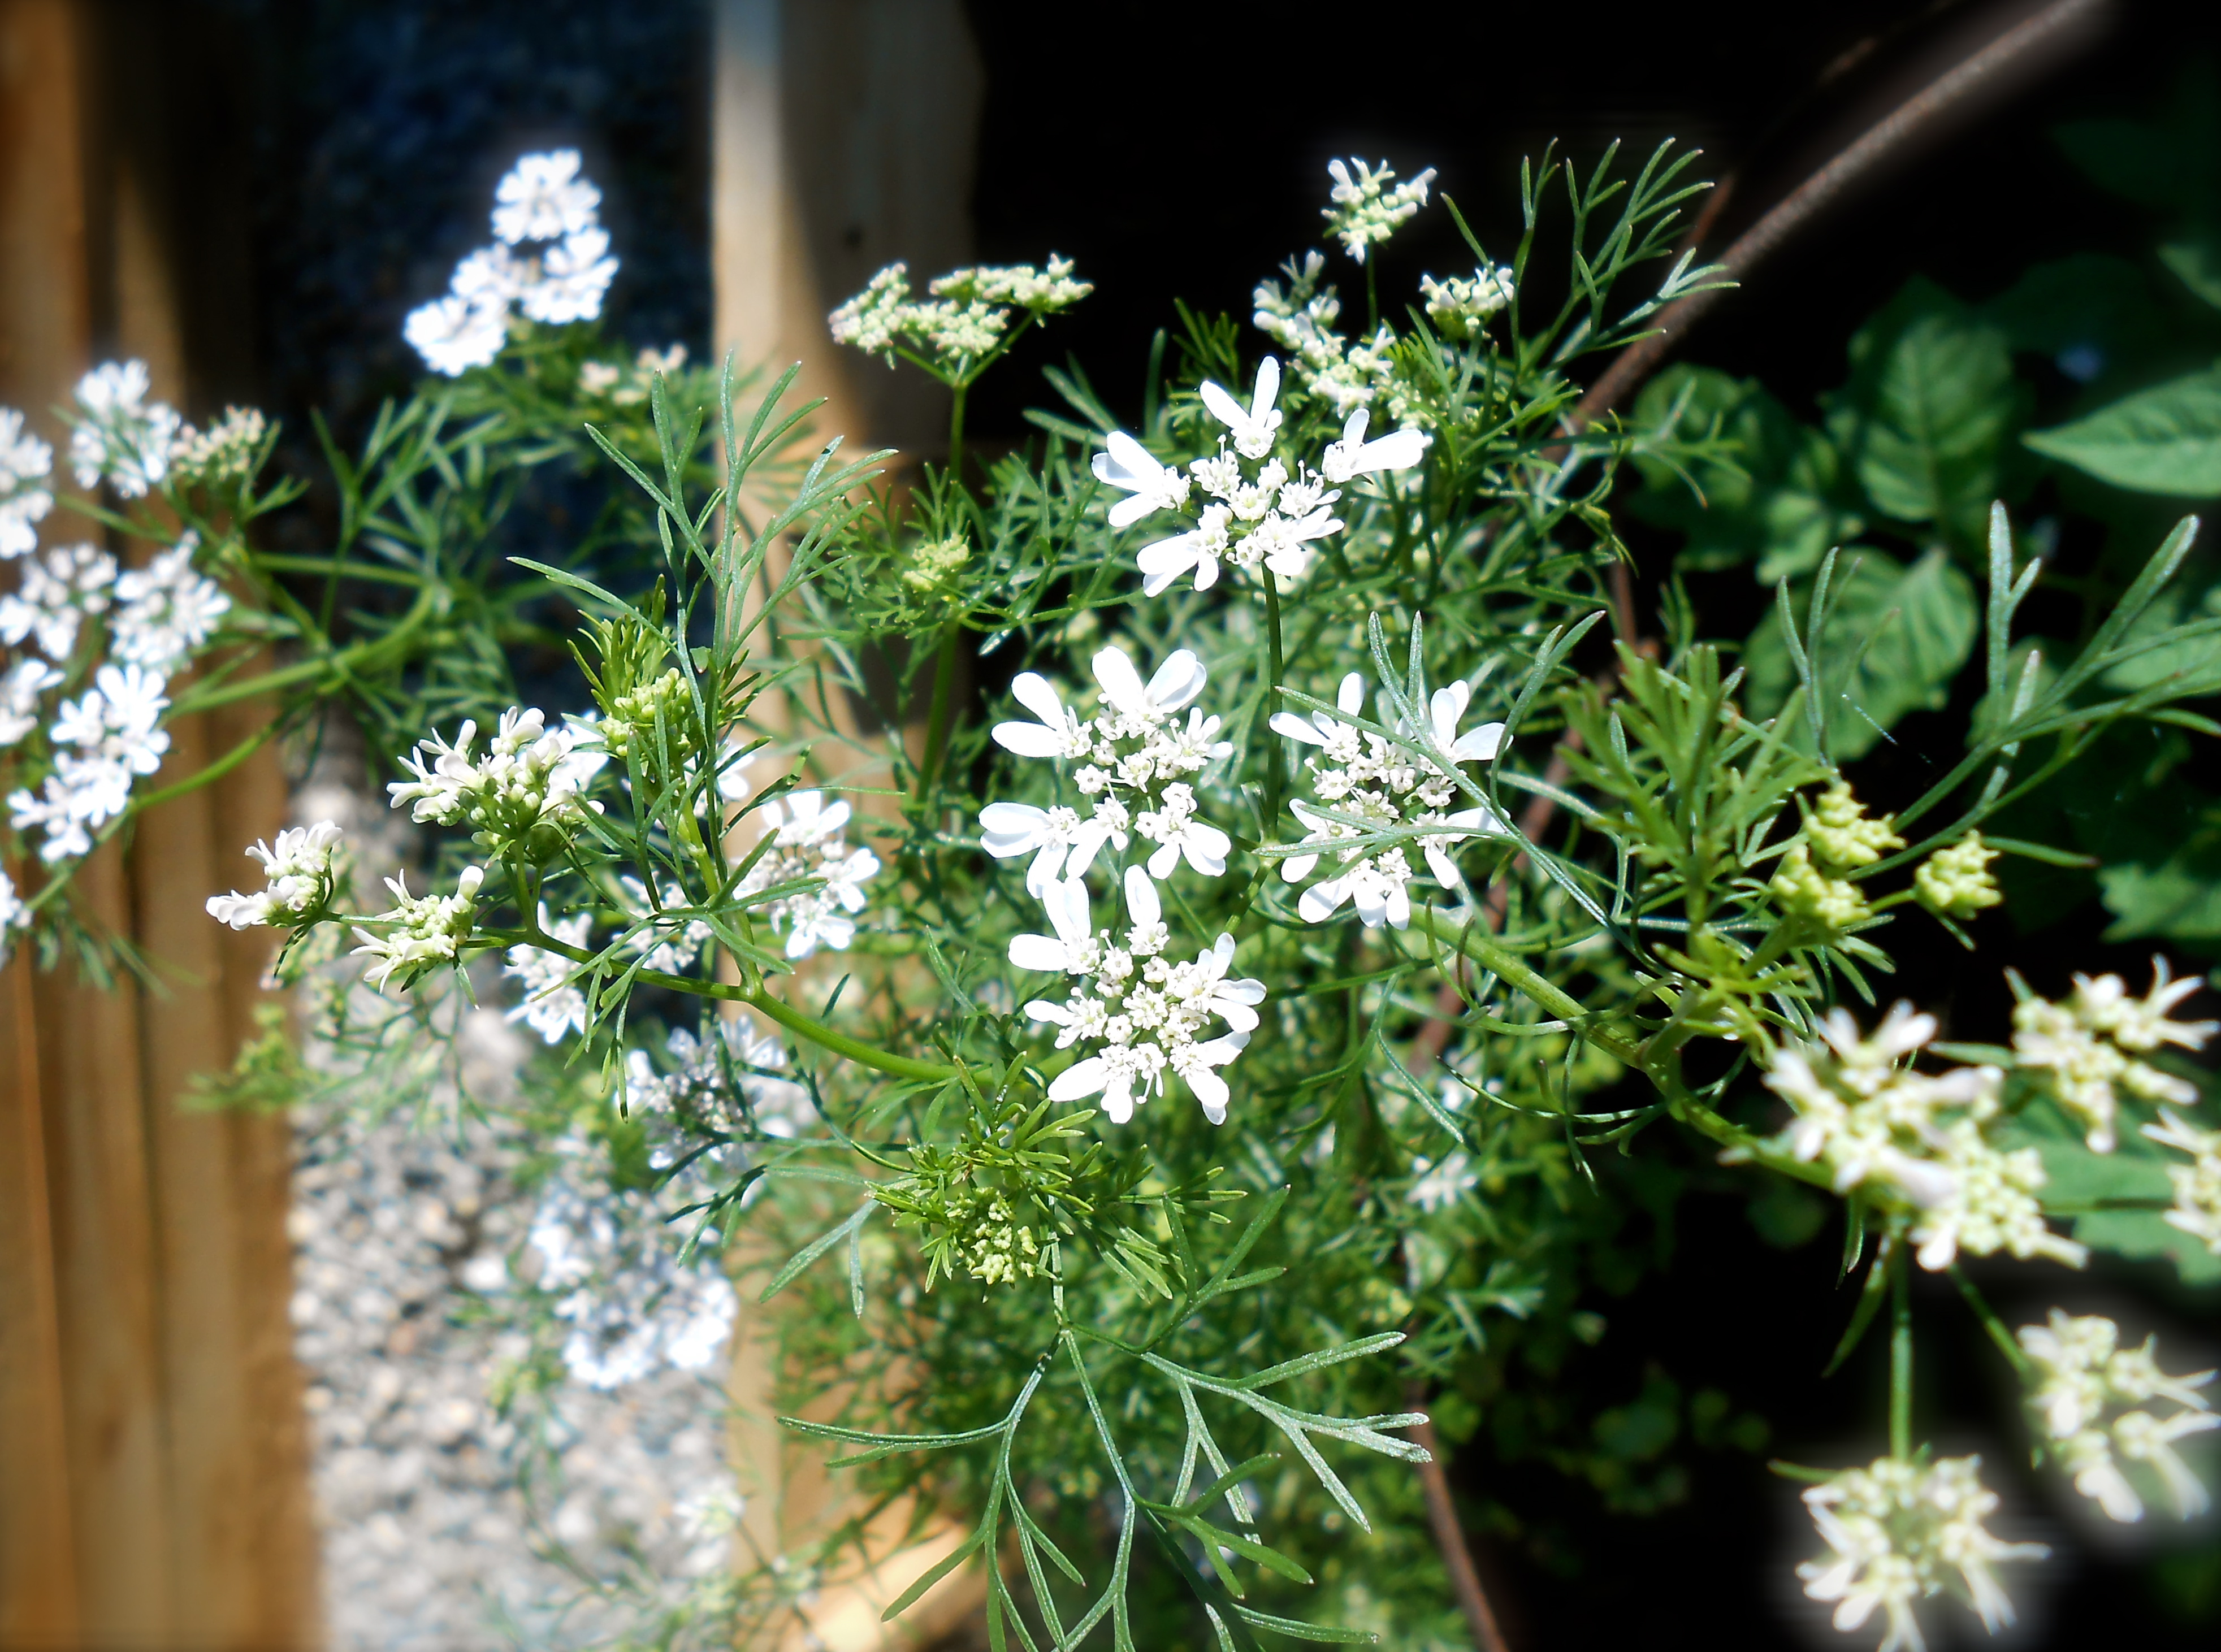
f l o w e r i n g c i l a n t r o
Place cilantro in food processor and whizz until finely chopped. Add the remaining ingredients and whizz until it is a well mixed pesto.
Slice sugar plum grape tomatoes into small bits and set aside.
Drain the cooked pasta without shaking the colander too much leaving a trace amount of the cooking water. Return to the pot and stir in the pesto. Taste to see if you need to salt. Place in serving bowls topped with sliced sugar plum tomatoes and a sprinkling of freshly grated Parmesan.
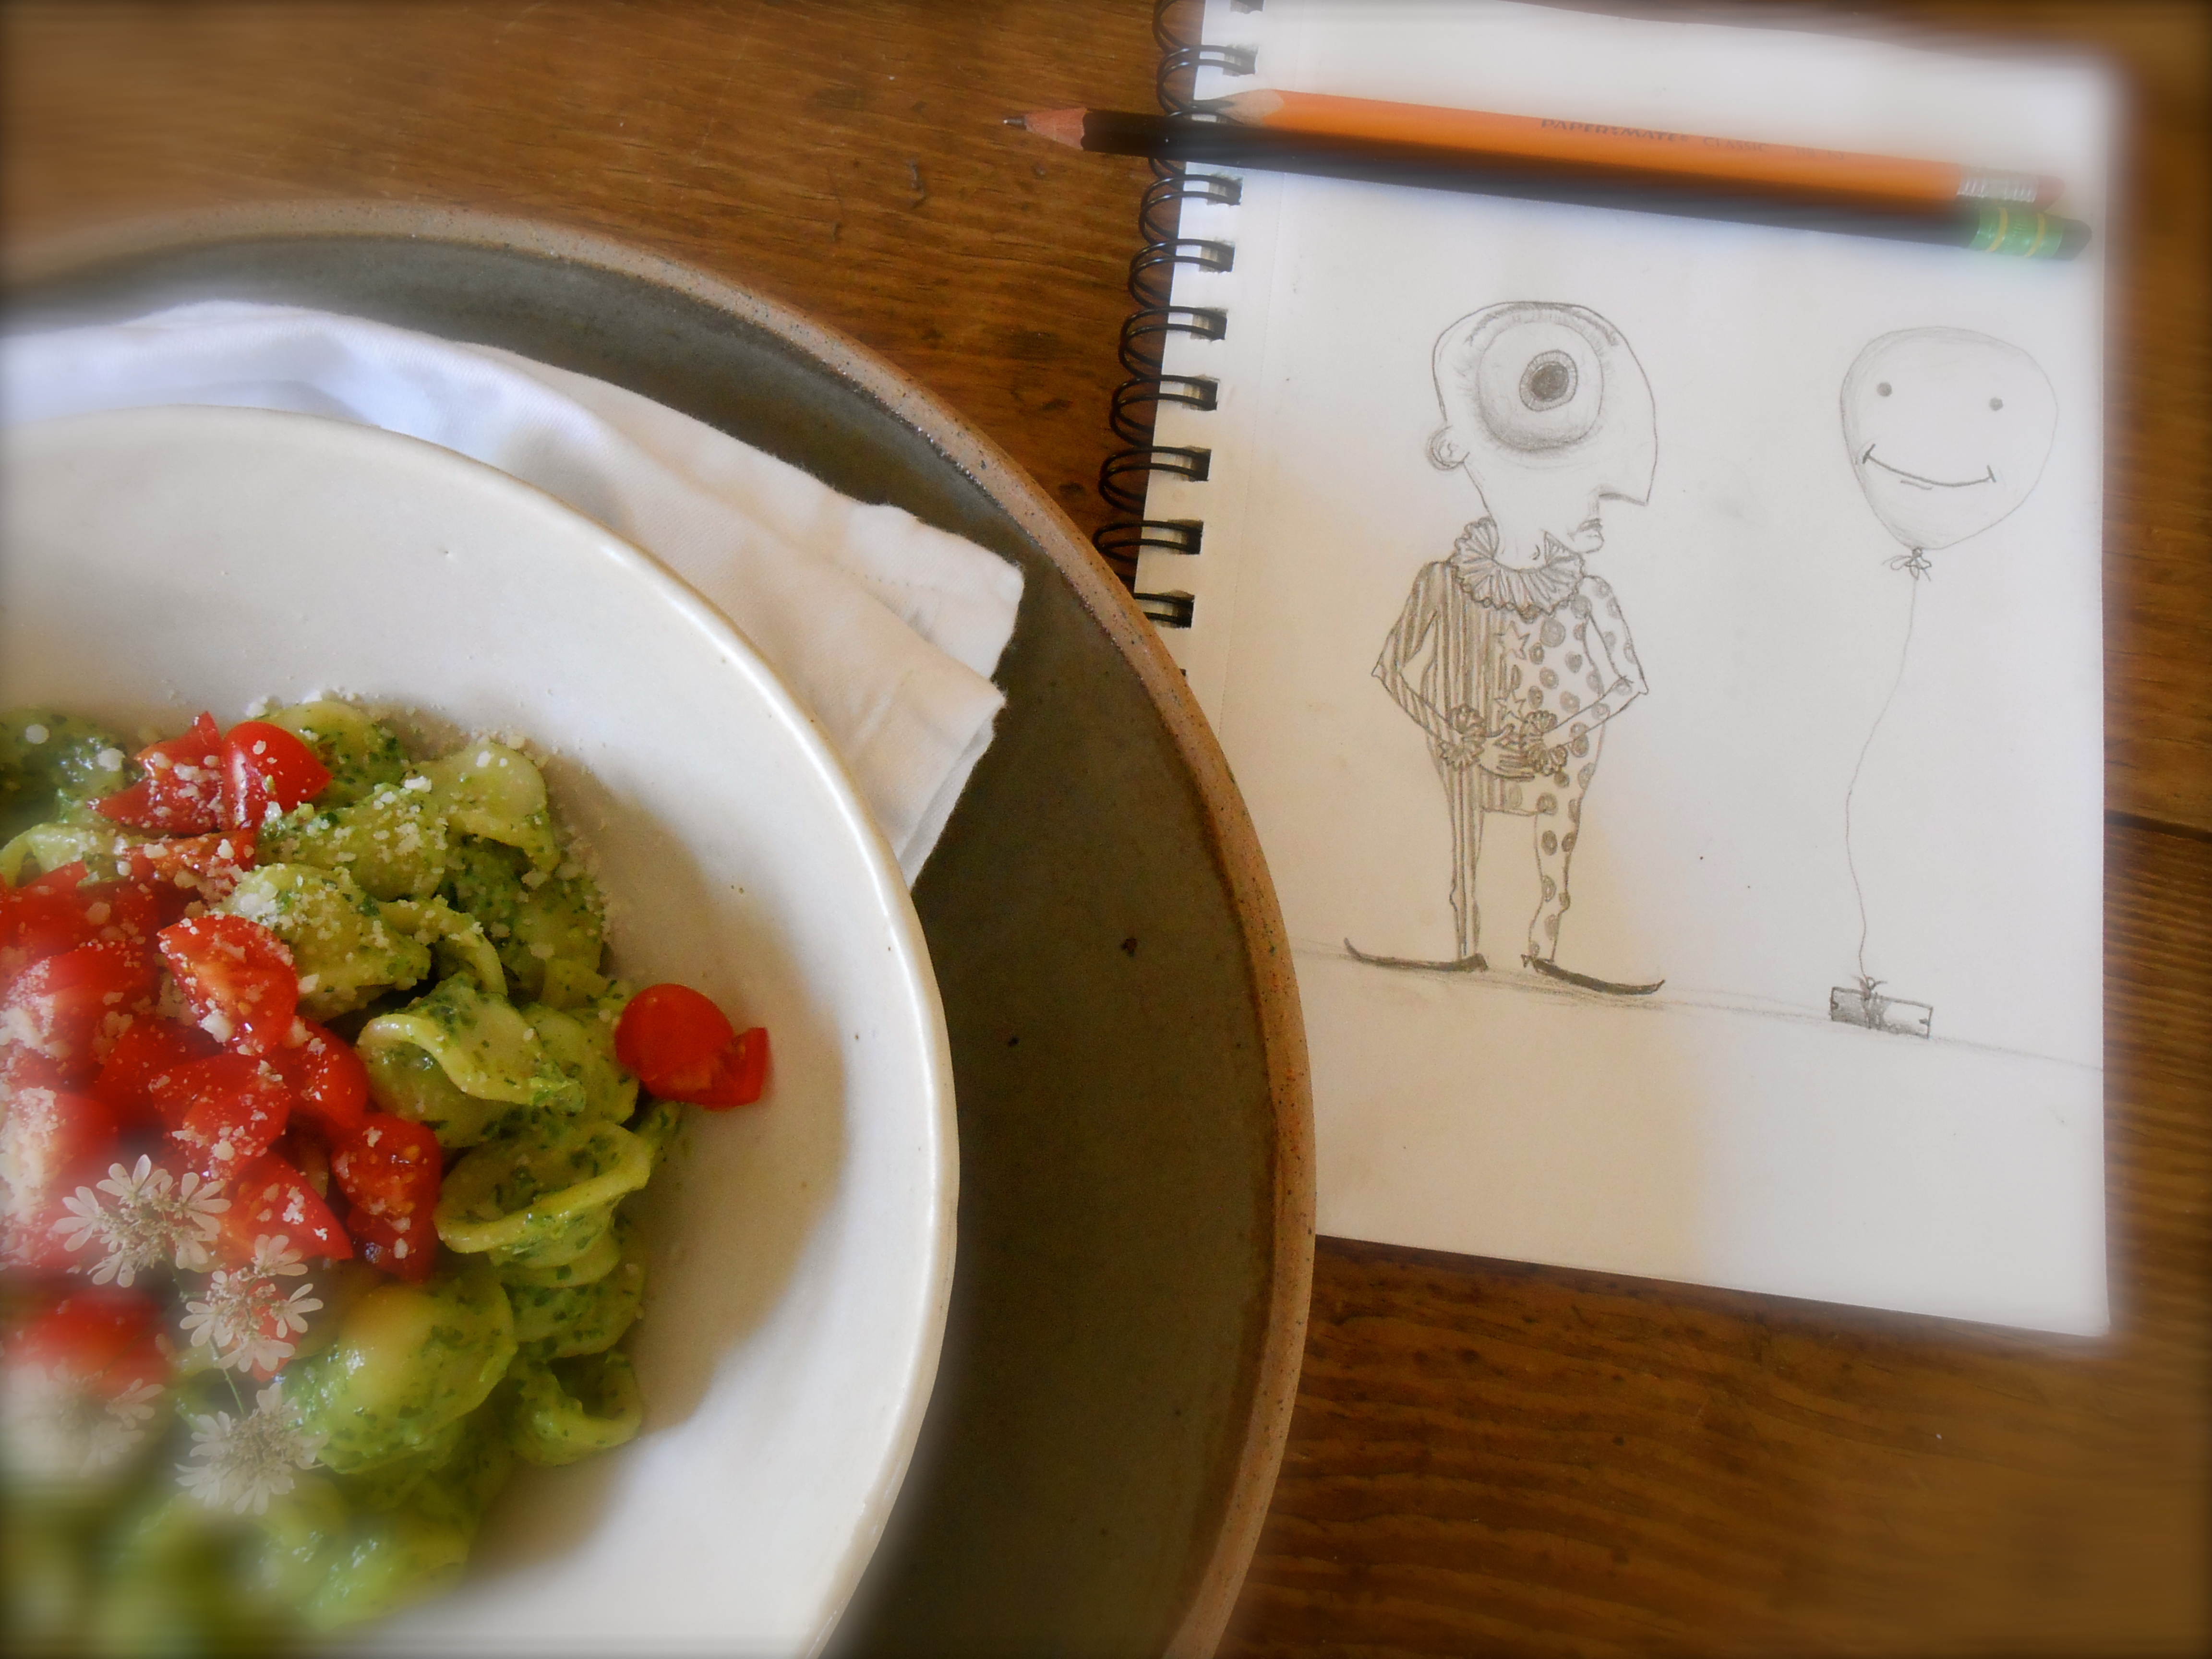
orecchiette pasta with cilantro pesto and a page in my son’s drawing journal
Serves 4
buon appetite.
asparagus lasagne
June 28, 2013 § 43 Comments
We have been cooking up bundles of asparagus this season. I am feeling as though we have come to the end of our season and this lasagne was my last act. I delighted in preparing this baked dish of luscious pasta layered with béchamel sauce, steamed asparagus, cheese and potatoes. The process was very satisfying and somewhat a test of my kitchen organizational skills. Preparing the layer ingredients prior to making the béchamel sauce helps to keep order in the kitchen. This is the first time I made a garlic, onion and thyme infused béchamel sauce and it is an especially nice flavor for the potatoes.
This is one of those posts. The dinner turned out perfect and the photographs didn’t. I almost scratched the whole idea of posting it and then something occurred to me. This lasagne is so delicious… I have to share the recipe!
I always have a sense of satisfaction and accomplishment when I place a lasagne in the oven. I just wish I had the same feeling about my photographs…

L a s a g n e
- 1 pound asparagus, trimmed
- 3 medium yukon gold potatoes, sliced into 1/8 inch thick rounds
- 12 ounces lasagne noodles
- 1 tablespoon olive oil
- 1 1/2 cup shredded aged white cheddar
- 1/2 cup freshly grated parmesan
- 2 tablespoons unsalted butter, cut into pieces
- chopped fresh parsley
Bring two large pots of salted water to a boil. In one pot add the asparagus and the other add the potatoes. Cook the asparagus 3-5 minutes until crisp tender. Remove using a skimmer and transfer to a bowl of ice cold water. Drain and pat dry. Keep the asparagus water boiling. Cook the potatoes until almost tender, 10 minutes. Drain and set aside. Place 1 tablespoon of olive oil into the boiling asparagus water and add the lasagne noodles a few sheets at a time stirring to keep separate. Cook until barely tender. Drain and set aside.
B é c h a m e l S a u c e
- 3 cups milk
- 1 small onion, sliced
- 2 garlic cloves, smashed and peeled
- 3 sprigs of fresh thyme
- 6 tablespoons unsalted butter
- 3 tablespoons all purpose flour
- 1/4 cup grated parmesan
Bring the milk, onion, garlic and thyme to a simmer in a medium saucepan over medium heat. Remove from the heat and allow it to sit and infuse of 10 minutes. Strain, discarding the solids. Melt the butter in a medium saucepan over medium low heat. Whisk in the flour and let it bubble without browning for 2 minutes. Whisk in the warm milk and bring to a simmer. Continue cooking whisking often until the sauce is smooth about 5 minutes. Remove from the heat, stir in the parmesan and season with salt and pepper. You may press a sheet of plastic wrap on top to keep a skin from forming.

A s s e m b l e
Preheat oven to 350°. Lightly butter a 13×9 inch baking dish. Spread a thin film of the béchamel sauce in the bottom of the dish. Arrange 3 or 4 pasta sheets in the dish, slightly overlapping as needed. Spread with one third of the sauce, half each of the potatoes, asparagus and aged white cheddar. Top with another layer of pasta, half of the remaining sauce and the remaining potatoes, asparagus and cheddar. Finish with a layer of pasta and spread with the remaining sauce. Sprinkle with the Parmesan cheese and dot with the butter.
Bake until the sauce is bubbling and the top is golden, about 30 minutes. Let stand for 10 minutes before serving.
Serves 6
buon appetite.
