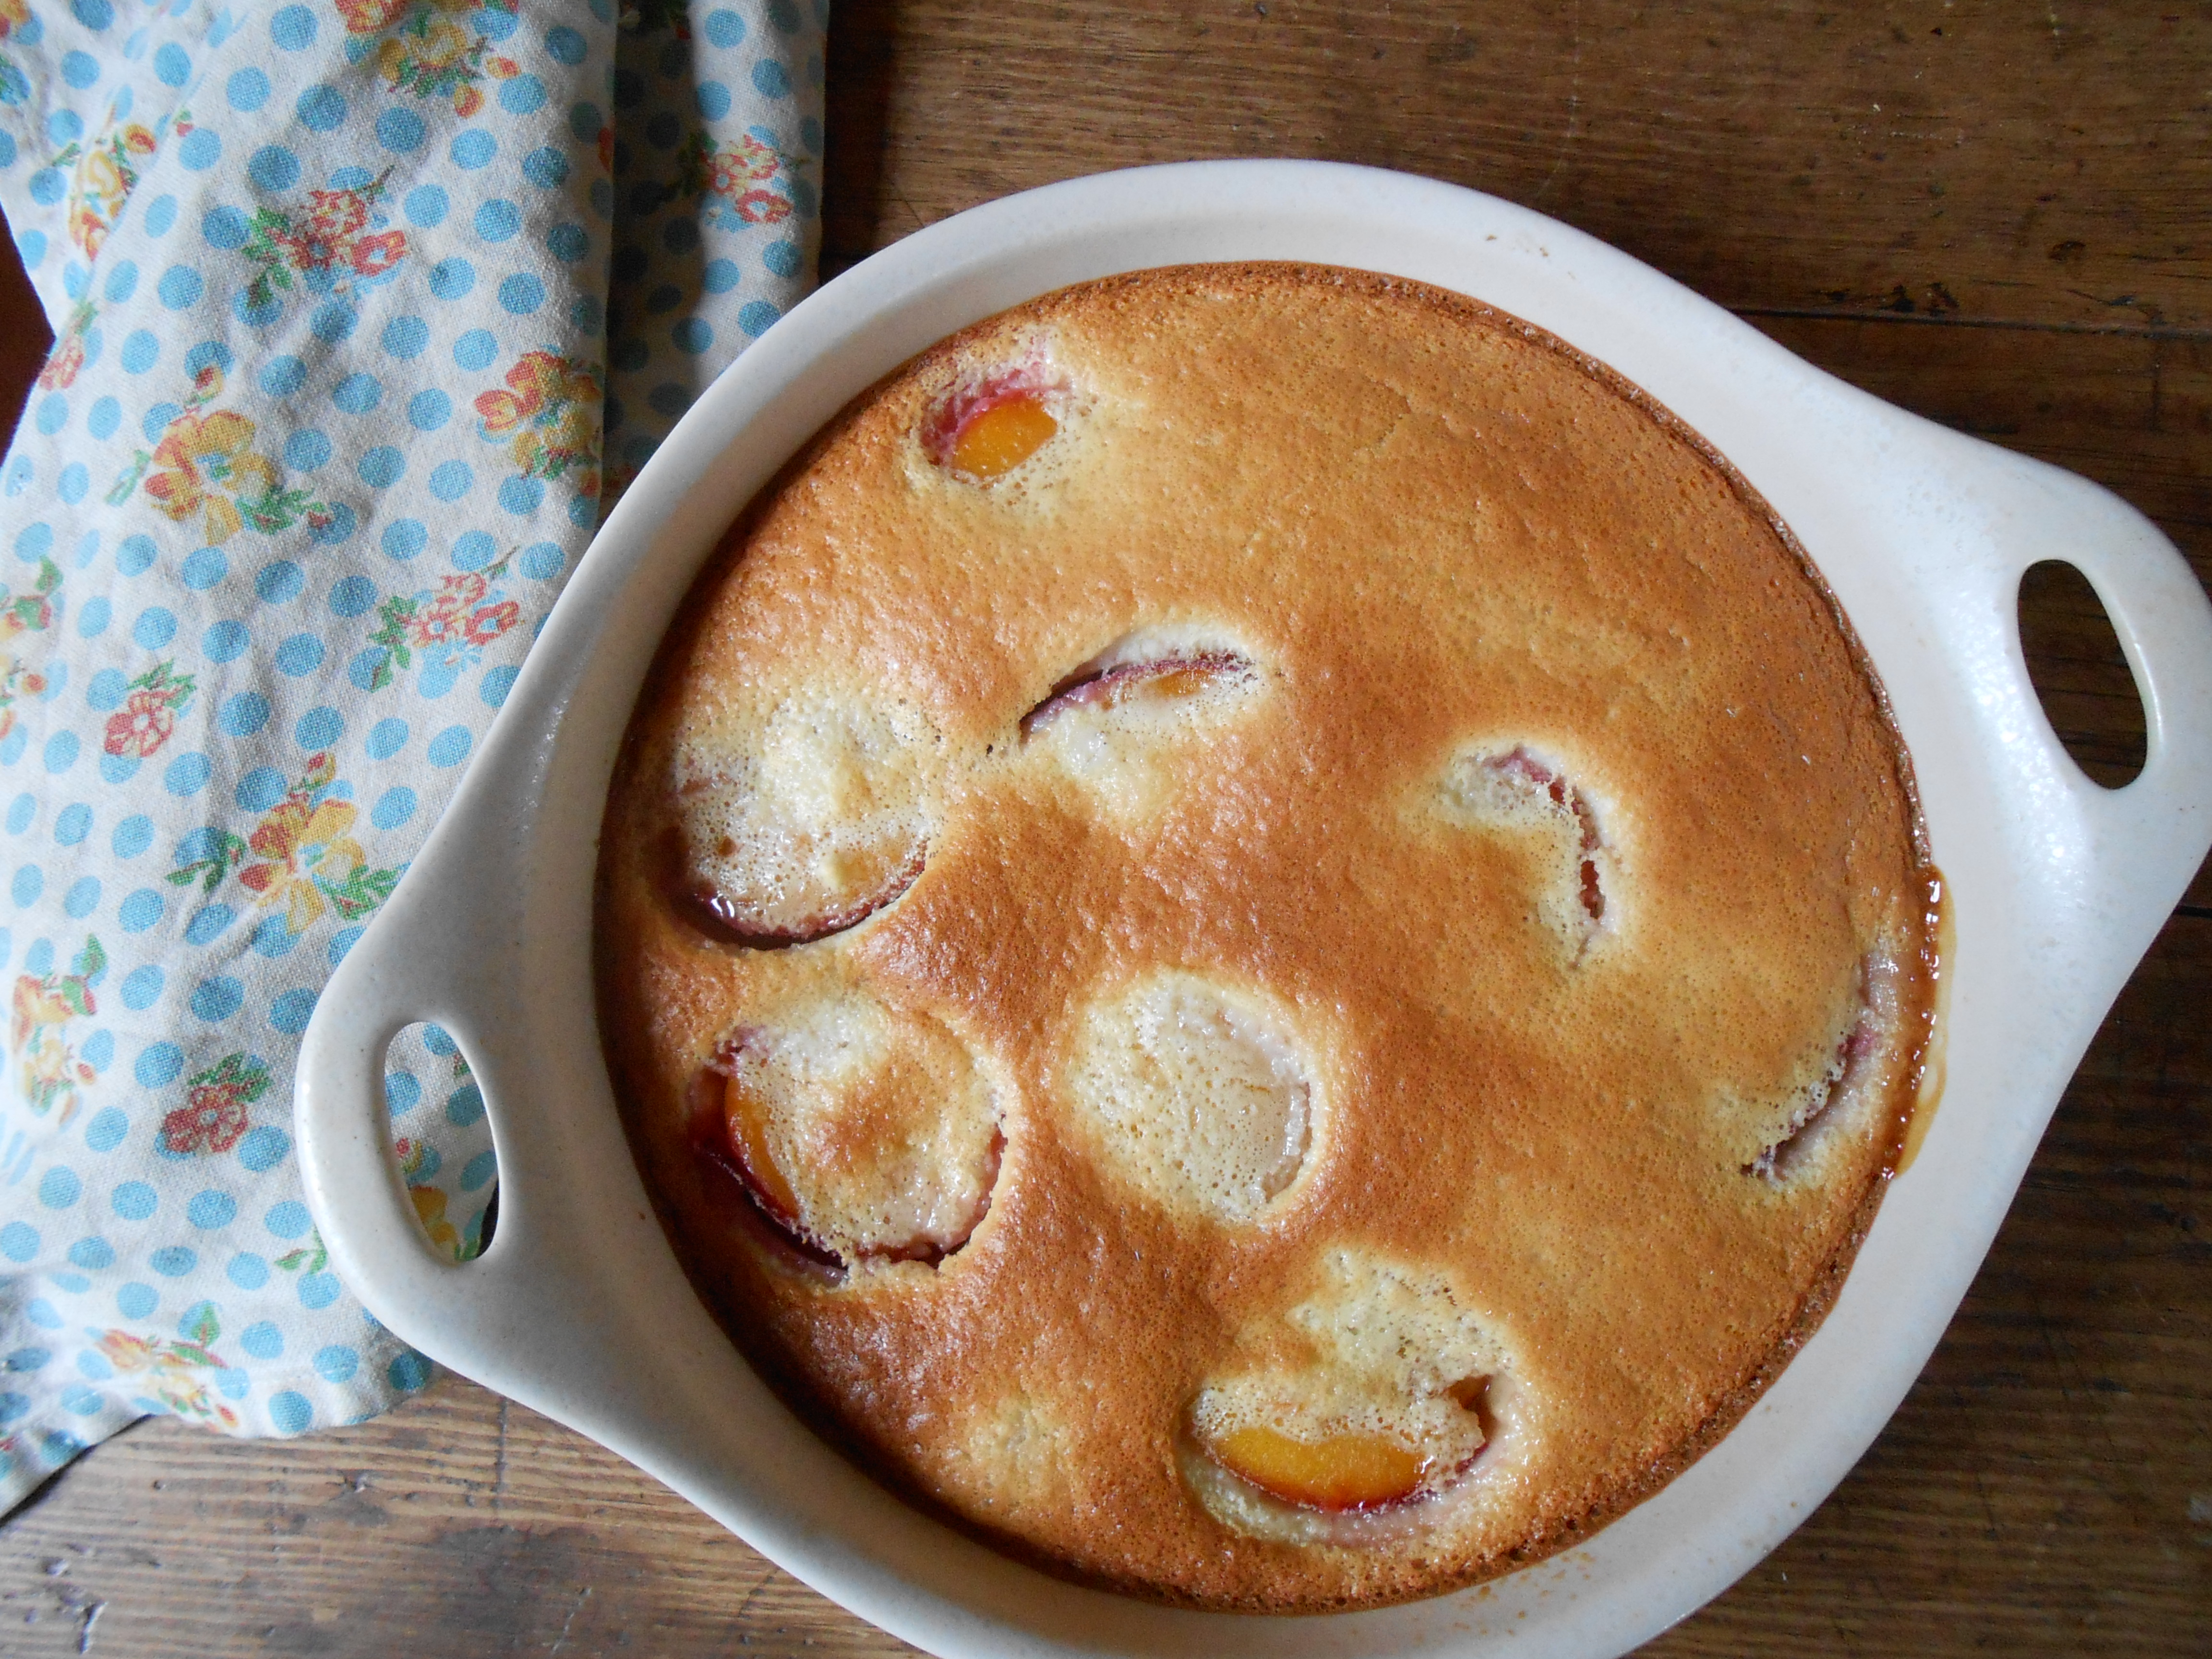
apricot clafoutis
August 13, 2015 § 68 Comments
There are three very temperamental wild apricot trees down the street and during the six years we have lived here in the Cottage Grove neighborhood of West Seattle they have only produced two seasons of soft juicy fragrant apricots. Nobody takes care of these trees and it is difficult to tell whose property they are on. For all one knows maybe this is the reason for their oversensitive nature. Perhaps it is up to me to give them a little affection and show my appreciation for the fruit they unselfishly bear for no one other than a passer-by who happens to notice.
If you happen to come across six juicy ripe apricots here is a wonderfully easy dessert you can put together for your family or guests. You may dust the clafoutis with powdered sugar if you like. We prefer ours without. And it is delightful served warm with a ball of vanilla bean ice cream on the side.
Recipe adapted from William-Sonoma recipe catalog.
I n g r e d i e n t s
- 2 tablespoons unsalted butter
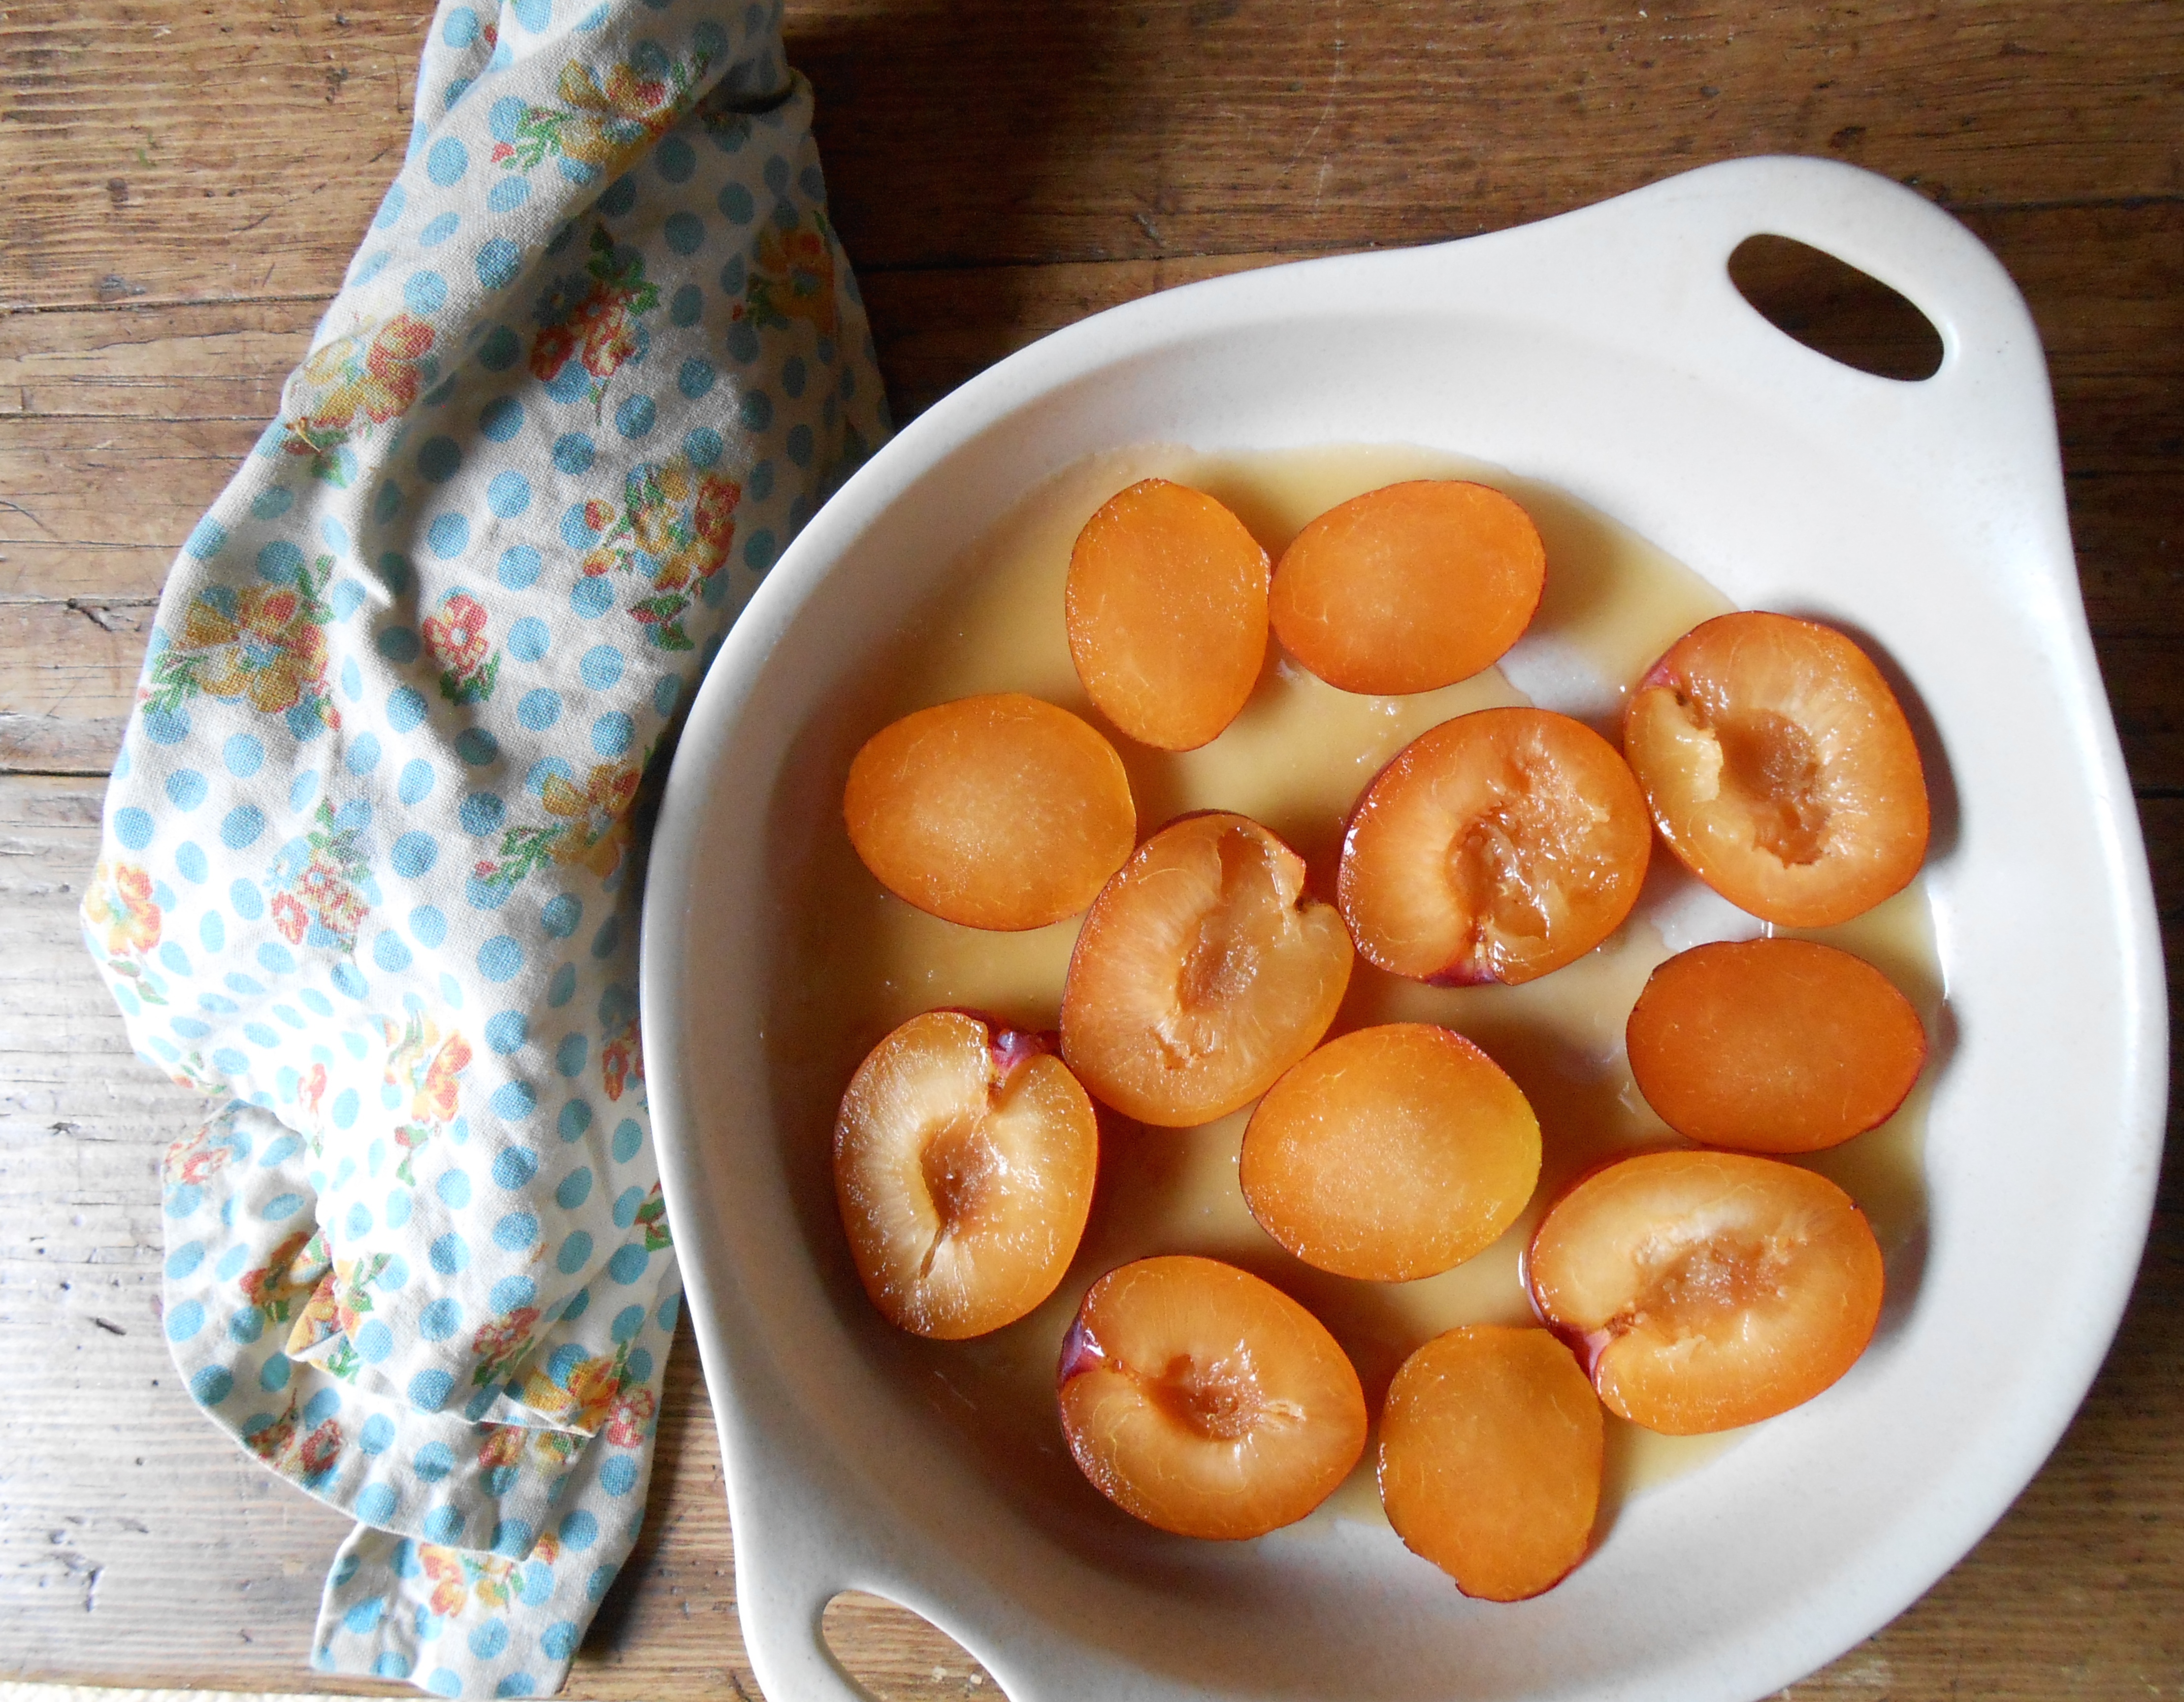
- 6 apricots, pitted and halved
- 2 eggs
- 3/4 cup, plus 2 tablespoons whole milk
- 6 tablespoons sugar
- 1 teaspoon finely grated lemon zest
- 1 teaspoon vanilla extract
- Pinch of fine sea salt
- 1/3 cup all-purpose flour
M e t h o d
Preheat oven to 375°F. Add 2 tablespoons of butter to your baking dish and place in the oven for a couple of minutes, until the butter is hot and bubbly. Arrange the apricots in an even layer in the bottom of the dish. In a blender, process the eggs, milk, sugar, lemon zest, vanilla, salt and flour until smooth. Pour the batter over the apricots. Bake until the clafoutis is puffed and golden brown, about 45 minutes. Let cool slightly on a wire rack.
tiramisù
February 20, 2014 § 77 Comments
There are loads of tiramisu recipes out there, but this one, borrowed from Jovina from jovinacooksitalian is straightforward and when you have a teenage boy with a love for chocolate, but not a love for coffee, this is your cake. No coffee in this tiramisu. The best part, it has only six ingredients and after mixing you simply put it in the refrigerator for two hours. A refrigerator cake…

I brought the ingredients home a couple of days before and let me just say we have all heard stories of mother’s who hide cookies and treats in the house so the kids don’t eat them all in one sitting. Although I have been surprised to see a whole package of chips devoured in a blink of an eye, for the most part, I would rather not hide refreshments from the young man. Now, as case in point, the ladyfingers. He found the ladyfingers in the cupboard and was having a sweet time dipping them in milk, just long enough for perfect absorption and he was already a half a dozen in when I discovered his fun. My first thought, the tiramisu! He looked up at me and said, “These are great! What are they?” and then proceeded to happily give me a lesson on how to perfectly time the dipping without letting the cookie dissolve in the milk. I sat down and dipped one, perfectly timed of course and yes! he’s right, they are delicious! Then his friend stopped over and joined in. At this point I relinquished my tiramisu idea, well at least until I run to the market and load up on ladyfingers. Oh, and it was Valentine’s Day. Yes, this was going to be my “special” Valentine’s dessert. Perhaps a bowl of leftover ladyfingers on the table after dinner will suffice.

When it was all said and done we were only down by eight, yes, I counted. I made the tiramisu anyway and it was wonderful. The process is so easy; melted chocolate, mascarpone and heavy cream whipped, chilled and dusted with cocoa. And lady fingers, don’t forget the layers of lady fingers. Silky, creamy, chocolatey and rich; it was like eating the centers out of a half-dozen truffles and we loved it. Thank you lovely Jovina for the recipe and the inspiration to make a dessert I have loved for many years.
I n g r e d i e n t s
- 2 tablespoons unsweetened cocoa powder, plus more for garnish
- 1 1/2 cups heavy cream
- 4 ounces semisweet chocolate, chopped
- 8 ounces mascarpone cheese, room temperature
- 3/4 cup powdered sugar
- 24 ladyfinger cookies (from a 7-ounce package)
M e t h o d
In a medium bowl, mix cocoa powder with 1 1/2 cups very hot water until dissolved; set cocoa mixture aside. In a small microwave-safe bowl, place 1/4 cup cream and chocolate; microwave in 1-minute increments and stir until melted. Cool to room temperature.
Transfer cooled chocolate mixture to a mixing bowl; add cheese and sugar. Using an electric mixer, beat until blended. Add remaining cream; beat filling until fluffy, about 2 minutes. Spread 1 cup of chocolate filling in the bottom of a 2-quart serving dish. One at a time, dip 6 ladyfingers in cocoa mixture, then arrange in a single layer in the bottom of the dish; spread with 1 cup of chocolate filling. Repeat with three more layers, ending with filling. Cover tiramisu and refrigerate at least 2 hours (or up to 2 days). Dust with cocoa powder or shaved chocolate before serving.
apple galette
February 3, 2014 § 51 Comments
After baking this blueberry crostata I experimented using other fruits hoping to get the same heavenly results. However, my efforts fell short when I tried to make an apple crostata; it turned out very dry and so did my enthusiasm. I gave up, until two weeks ago when I read this gorgeous post from The Rustic Plate and knew I had to try one more time to get it right.

I really love making this type of “pie” considering it is both rustic and quite frankly…couldn’t be easier to put together. The galette was nicely moistened by the apricot preserves and baked without butter. Keep it on the lighter side or serve with vanilla ice cream, lightly sweetened softly whipped cream or a dollop of creme fraiche, either alone or stirred into whipped cream.
Please visit Serena’s beautiful blog and see her wonderfully photographed steps in making this galette.
I n g r e d i e n t s
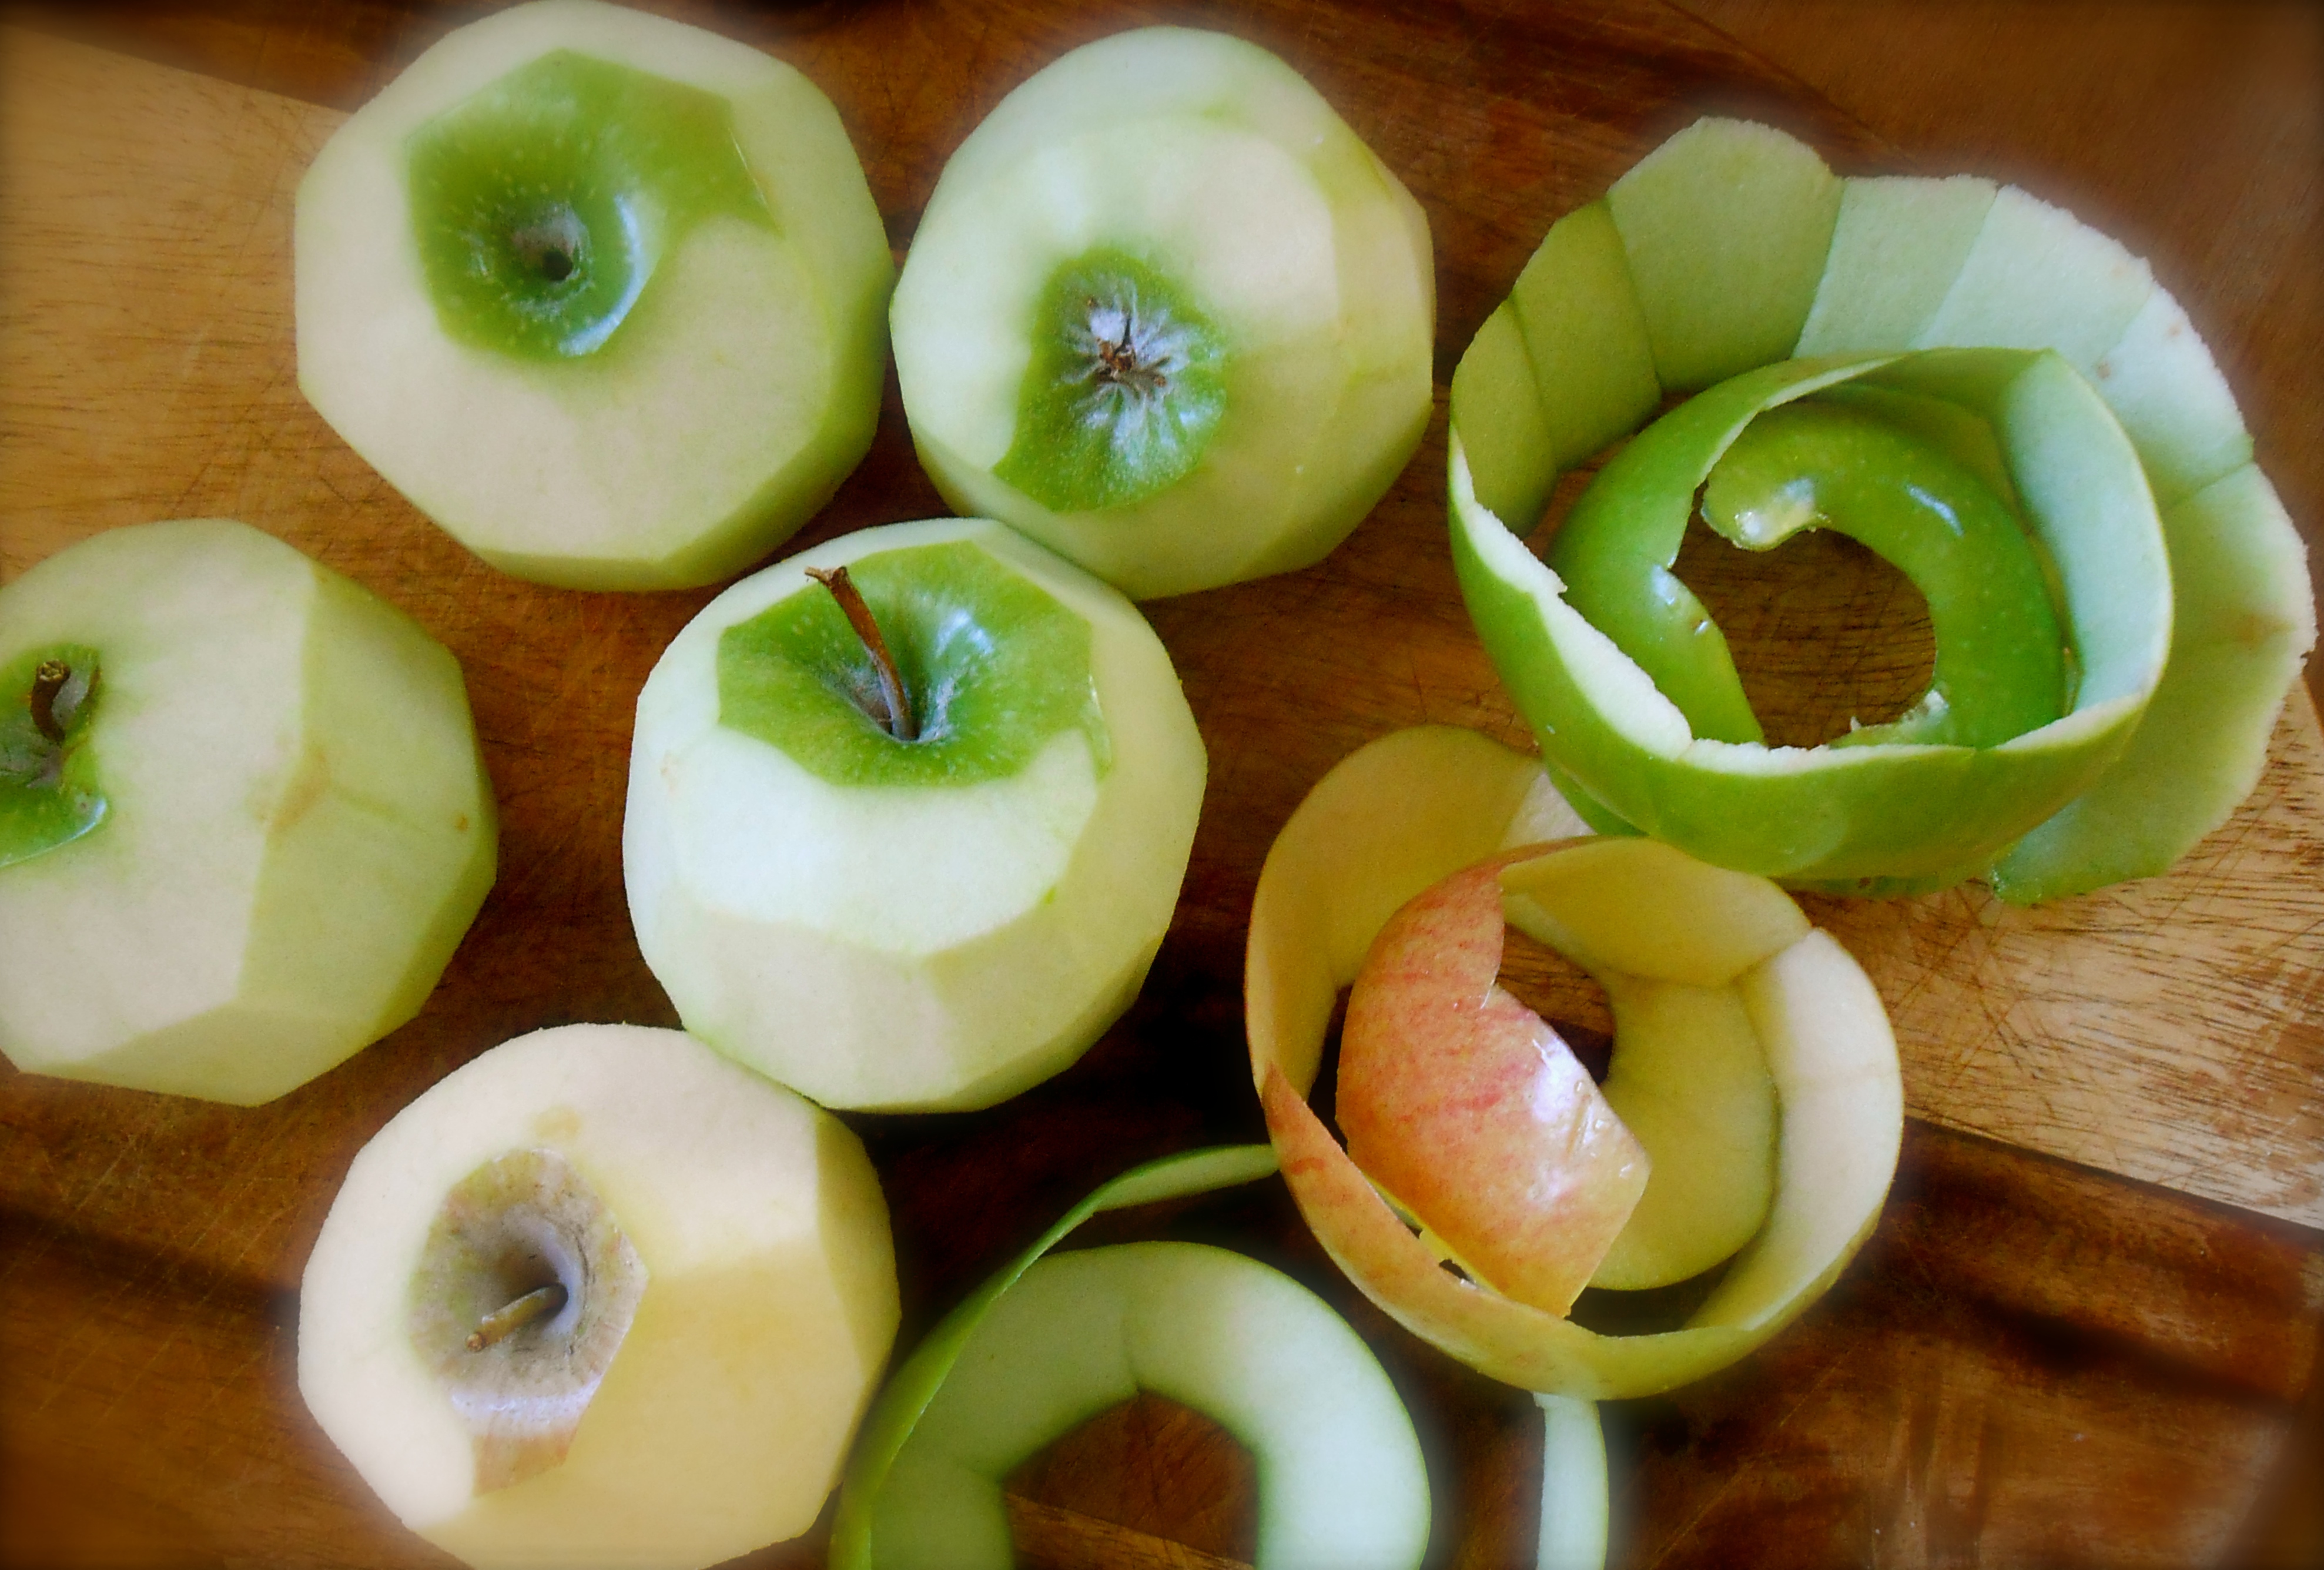
- 5 granny smith apples, peeled, cored and sliced
- 2 tablespoons sugar
- zest of a full lemon
- 1/4 cup apricot preserves
- a little milk for brushing the pastry dough
- a sprinkling of sugar on the edges of pastry dough
- basic pie crust recipe
M e t h o d
Preheat oven to 450°F. Place the apple slices in a bowl with the sugar and lemon zest. Mix well and set aside. Roll out your pie dough and place on parchment paper lined baking tray. Cover the center of the round with ¼ cup of apricot preserves, leaving a 1 – 1 ½ inch border plain. Starting from the outermost circle, begin to arrange the apple slices in a circular fashion, overlapping them slightly. Most likely you will create three overlapping circles of apple slices. Fold the crust over and around the edges to make a circle. Brush the crust with milk and give it a light sprinkling of sugar.
Lower the oven temperature to 425°F. Place the galette into the oven and bake for 20 minutes. Reduce the temperature to 375°F and continue baking until the crust is nice and golden, approximately 30 minutes.
mexican chocolate pound cake
January 23, 2014 § 68 Comments

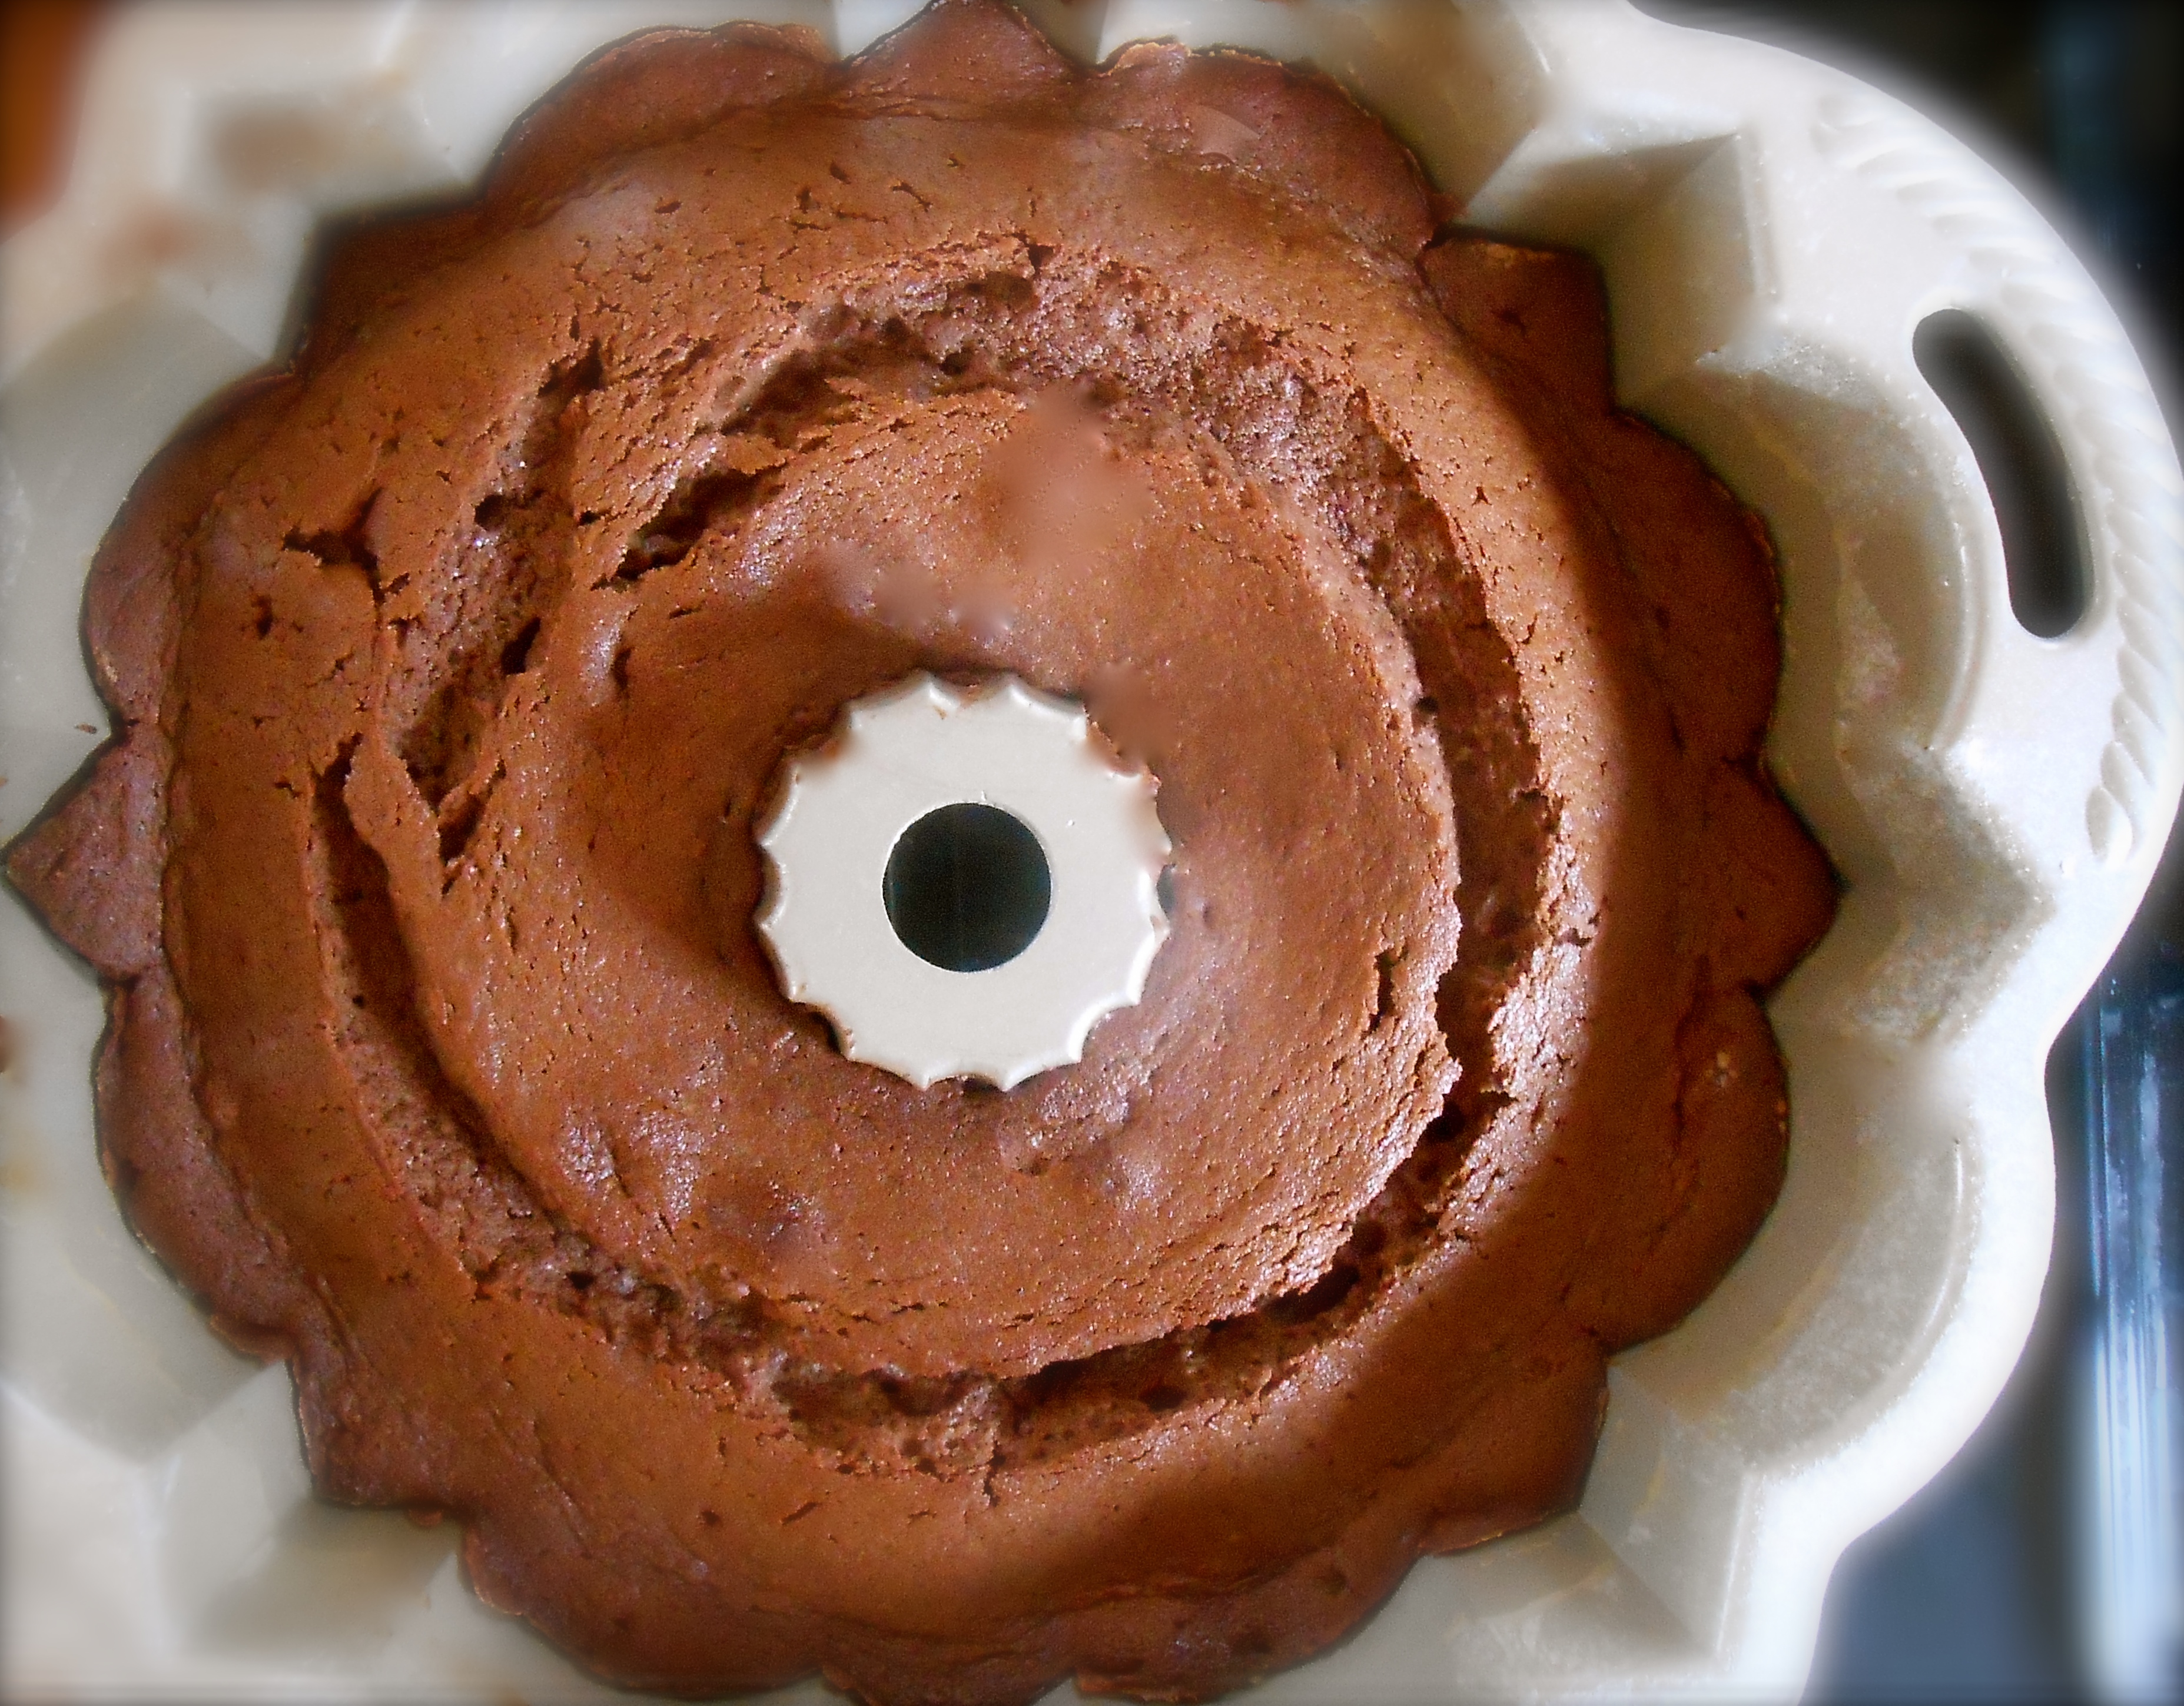
Mexican chocolate cake is a surprisingly delicious spicy cake if you are looking for something to do with your bundt pan.
I n g r e d i e n t s
- 1 – 8oz. chocolate bar, chopped
- 1 cup butter, softened
- 1 1/2 cups granulated sugar
- 4 large eggs
- 1/2 cup chocolate syrup
- 2 teaspoons vanilla extract
- 2 1/2 cups all-purpose flour
- 1 teaspoon ground cinnamon
- 1 teaspoon ground chile powder
- 1/4 teaspoon baking soda
- 1/8 teaspoon salt
- 1 cup buttermilk
- Powdered sugar – optional
Preheat oven to 325°. Melt the chocolate bar. Beat butter at medium speed with a heavy-duty electric mixer 2 minutes or until creamy. Gradually add granulated sugar, beating 5 to 7 minutes or until light and fluffy. Add eggs, 1 at a time, beating just until yellow disappears after each addition. Stir in melted chocolate, chocolate syrup, and vanilla until smooth. Combine flour and next 4 ingredients; add to butter mixture alternately with buttermilk, beginning and ending with flour mixture. Beat at low speed just until blended after each addition. Pour batter into a buttered and floured bundt pan. Bake at 325° for 1 hour and 10 minutes or until a long wooden pick inserted in center of cake comes out clean. Cool in pan on a wire rack 10 to 15 minutes; remove from pan to wire rack, and let cool completely (about 1 hour and 30 minutes). Sprinkle with powdered sugar, if desired.
blue cupcakes
September 5, 2013 § 52 Comments

We used to make these cupcakes quite often several years ago when my son was 9 or 10. It was always his delight to mix the “color” for the frosting. And you can imagine with a 9 year old mixing colors we had some interesting looking cupcakes back then, to say the least. Although I am not a fan of using “food coloring” in cooking, I do make an exception for these because they are so festive and exuberant.
This recipe comes from one of my favorite cookbooks “Apples for Jam” by Tessa Kiros. I love how she organized her recipes in the book according to color of the food. She offers some very good cooking advice as well as subtle attention to preparing meals with children in mind. Tessa’s cupcakes are “tiny and pink”, and as you can imagine pink was always out of the question for the young man.
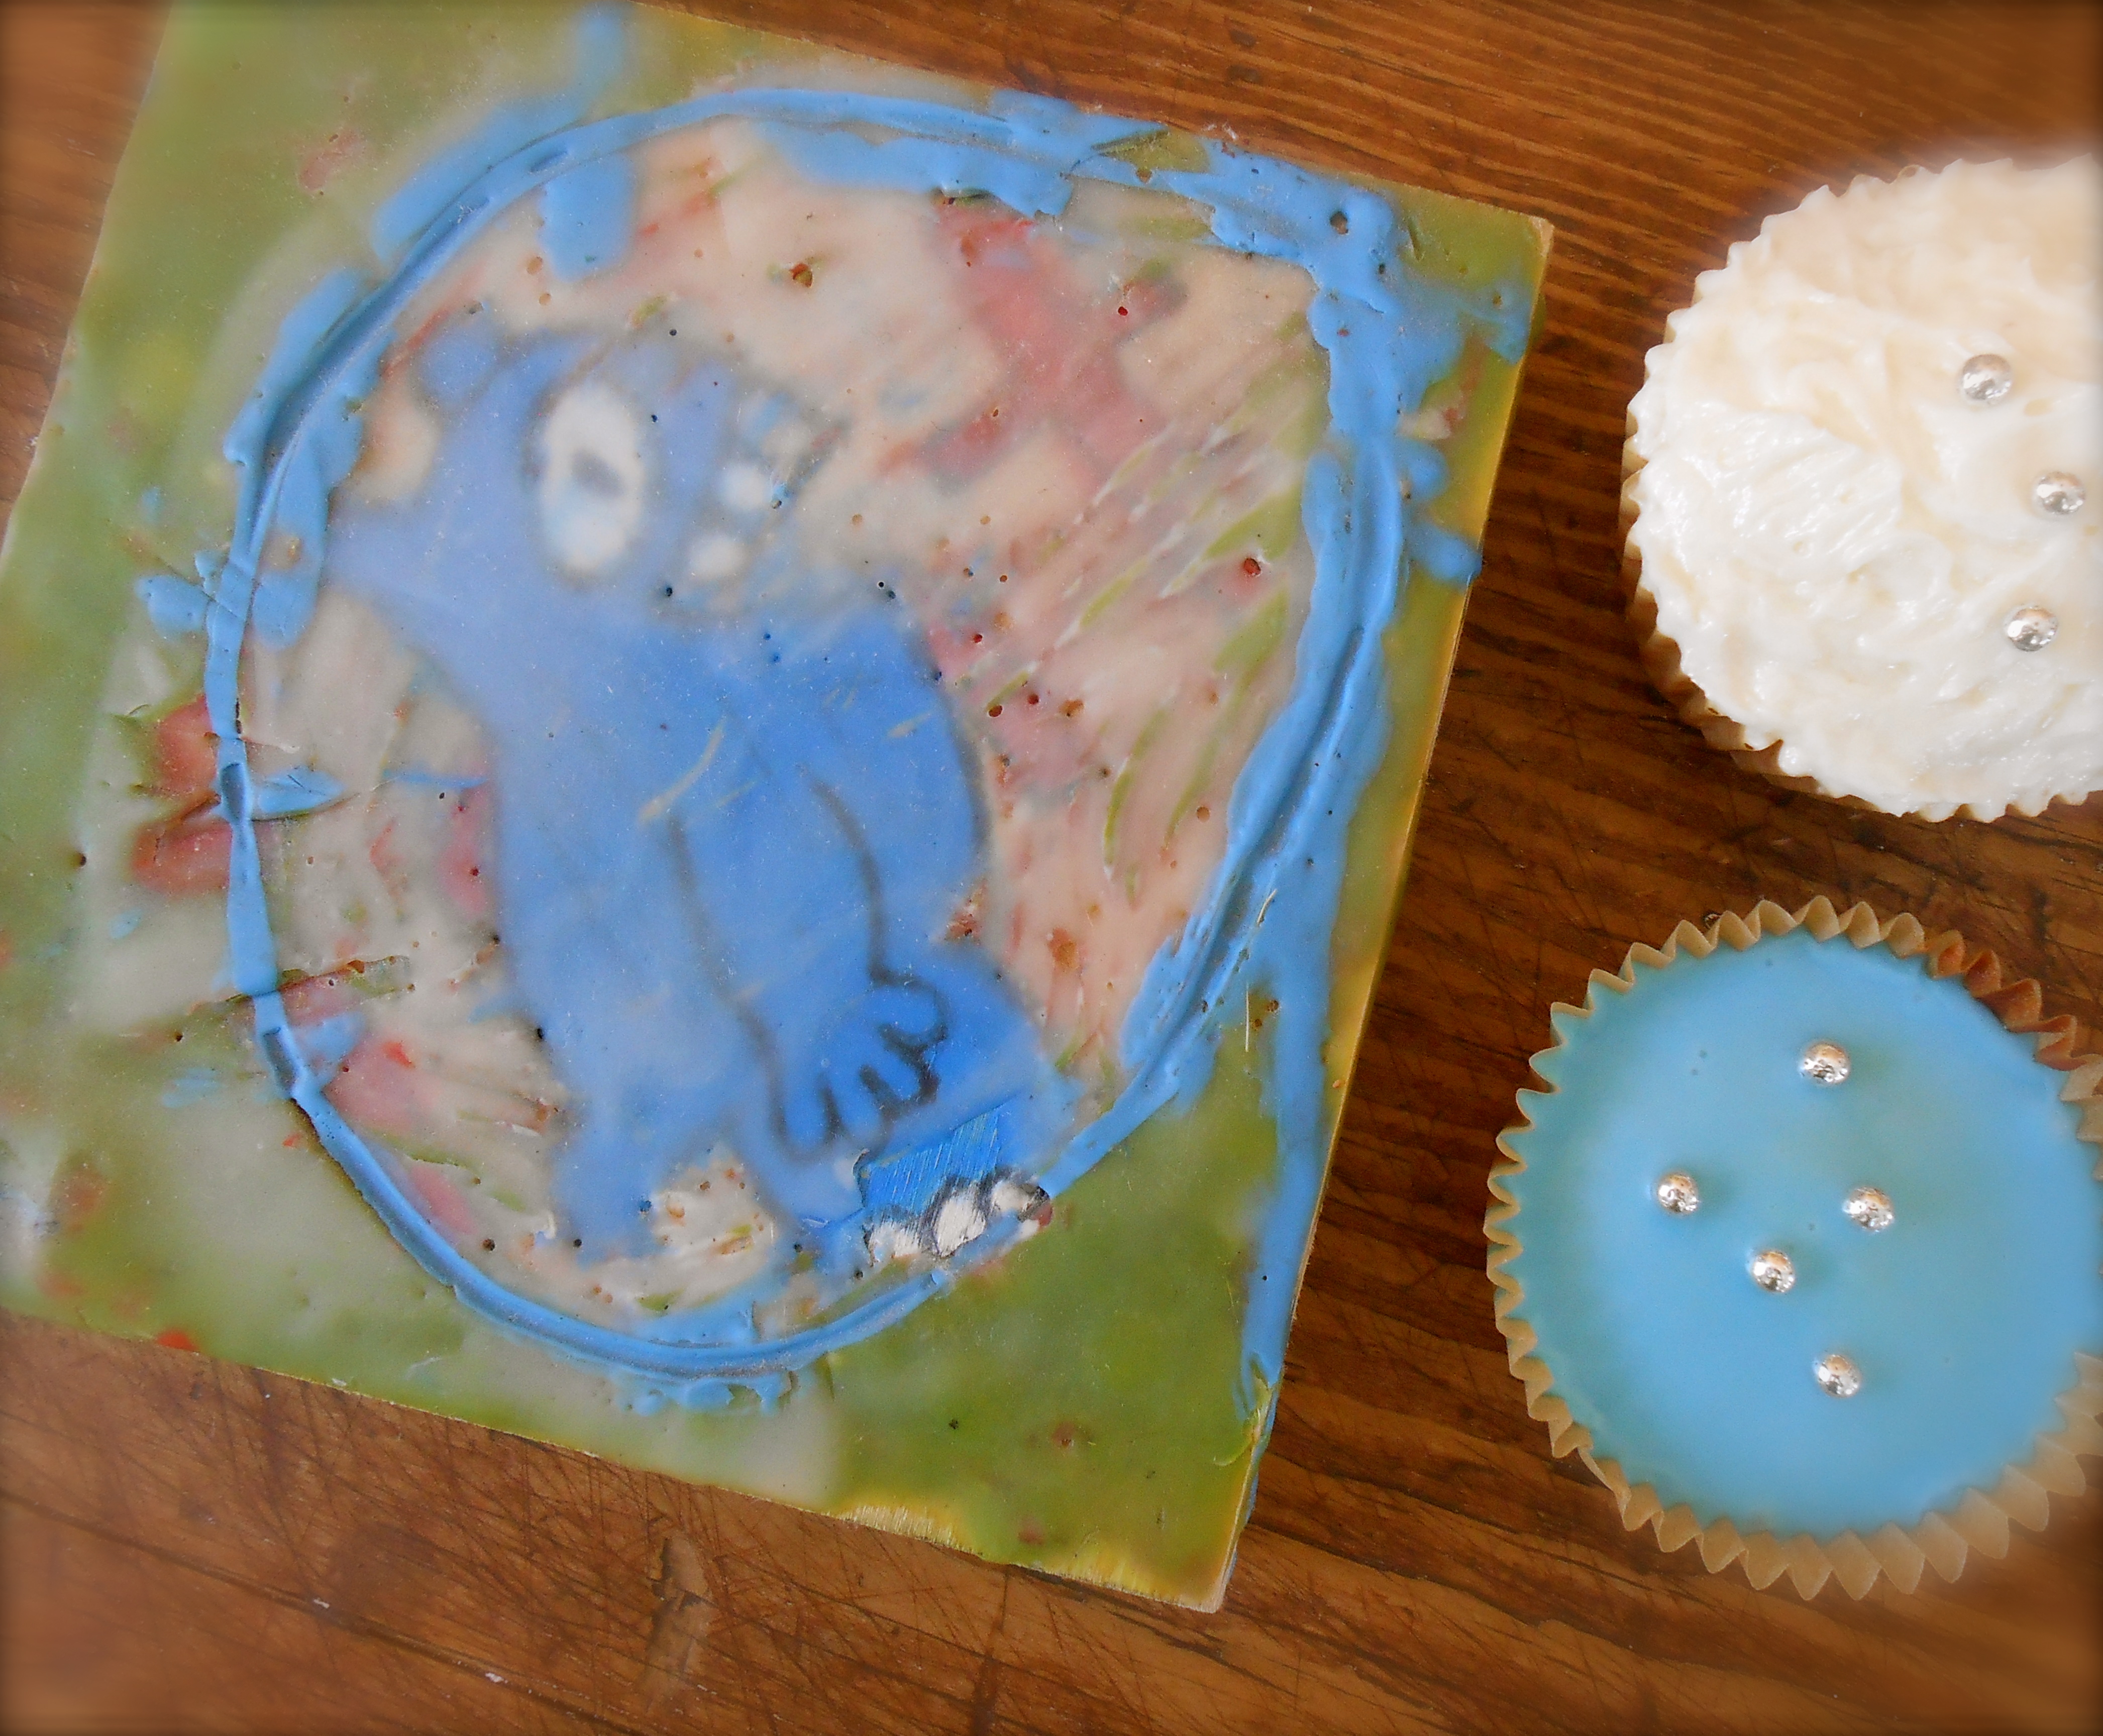
An encaustic painting by “little T”, he was only 9 years old…
I had a little leftover mascarpone and decided to whisk up a small batch of frosting too. The mascarpone frosting was so creamy and fluffy, delicious and buttery rich!
I n g r e d i e n t s
- 2 1/4 sticks of butter, softened (1/4 pound plus 2 tablespoons)
- 1 cup sugar
- 3 eggs
- 1 teaspoon vanilla
- 2 1/2 cups all purpose flour
- 1 1/2 teaspoons baking powder
- 3/4 cup milk
I c i n g
- 2 cups confectioners sugar
- food coloring….of your choice
- 4 tablespoons water
M a s c a r p o n e F r o s t i n g
- 4 ounces mascarpone cheese, room temperature
- 1/4 cup unsalted butter, room temperature
- 1 cup confectioners sugar
- 1/2 teaspoon vanilla
M e t h o d
Preheat oven to 350°F. In a large bowl beat together the butter and sugar. Add the eggs one at a time, beating well. Add the vanilla, then sift in the flour and baking powder. Mix well while adding the milk a little at a time. You should have a thick and creamy batter.
Spoon the batter into paper cupcake liners. Make sure to only spoon in enough so the cake does not puff up above the liner top when baked. The icing sits on the top nicely when the finished cake is level with the top of the liner. Place the liners into a muffin tin and bake for 15 minutes or until a toothpick comes out clean. Cool completely before frosting.
For the icing, put the confectioners sugar in a mixing bowl with a few drops of food coloring. Gradually stir in approximately 4 tablespoons of cold water and stir until your have a smooth, yet thick consistency. Drop about one teaspoon of icing on top of each cake and smooth around with the back of the spoon. (If the icing starts to thicken too much add a little more water to thin it out.) Sprinkle any decorations on before the icing dries.
For the mascarpone frosting, using a mixer fitted with a whisk, mix Mascarpone cheese and butter until light and fluffy. Add the confectioners sugar and vanilla and continue to whisk until well mixed.

Makes about 18.
cherry yogurt cake
August 28, 2013 § 68 Comments
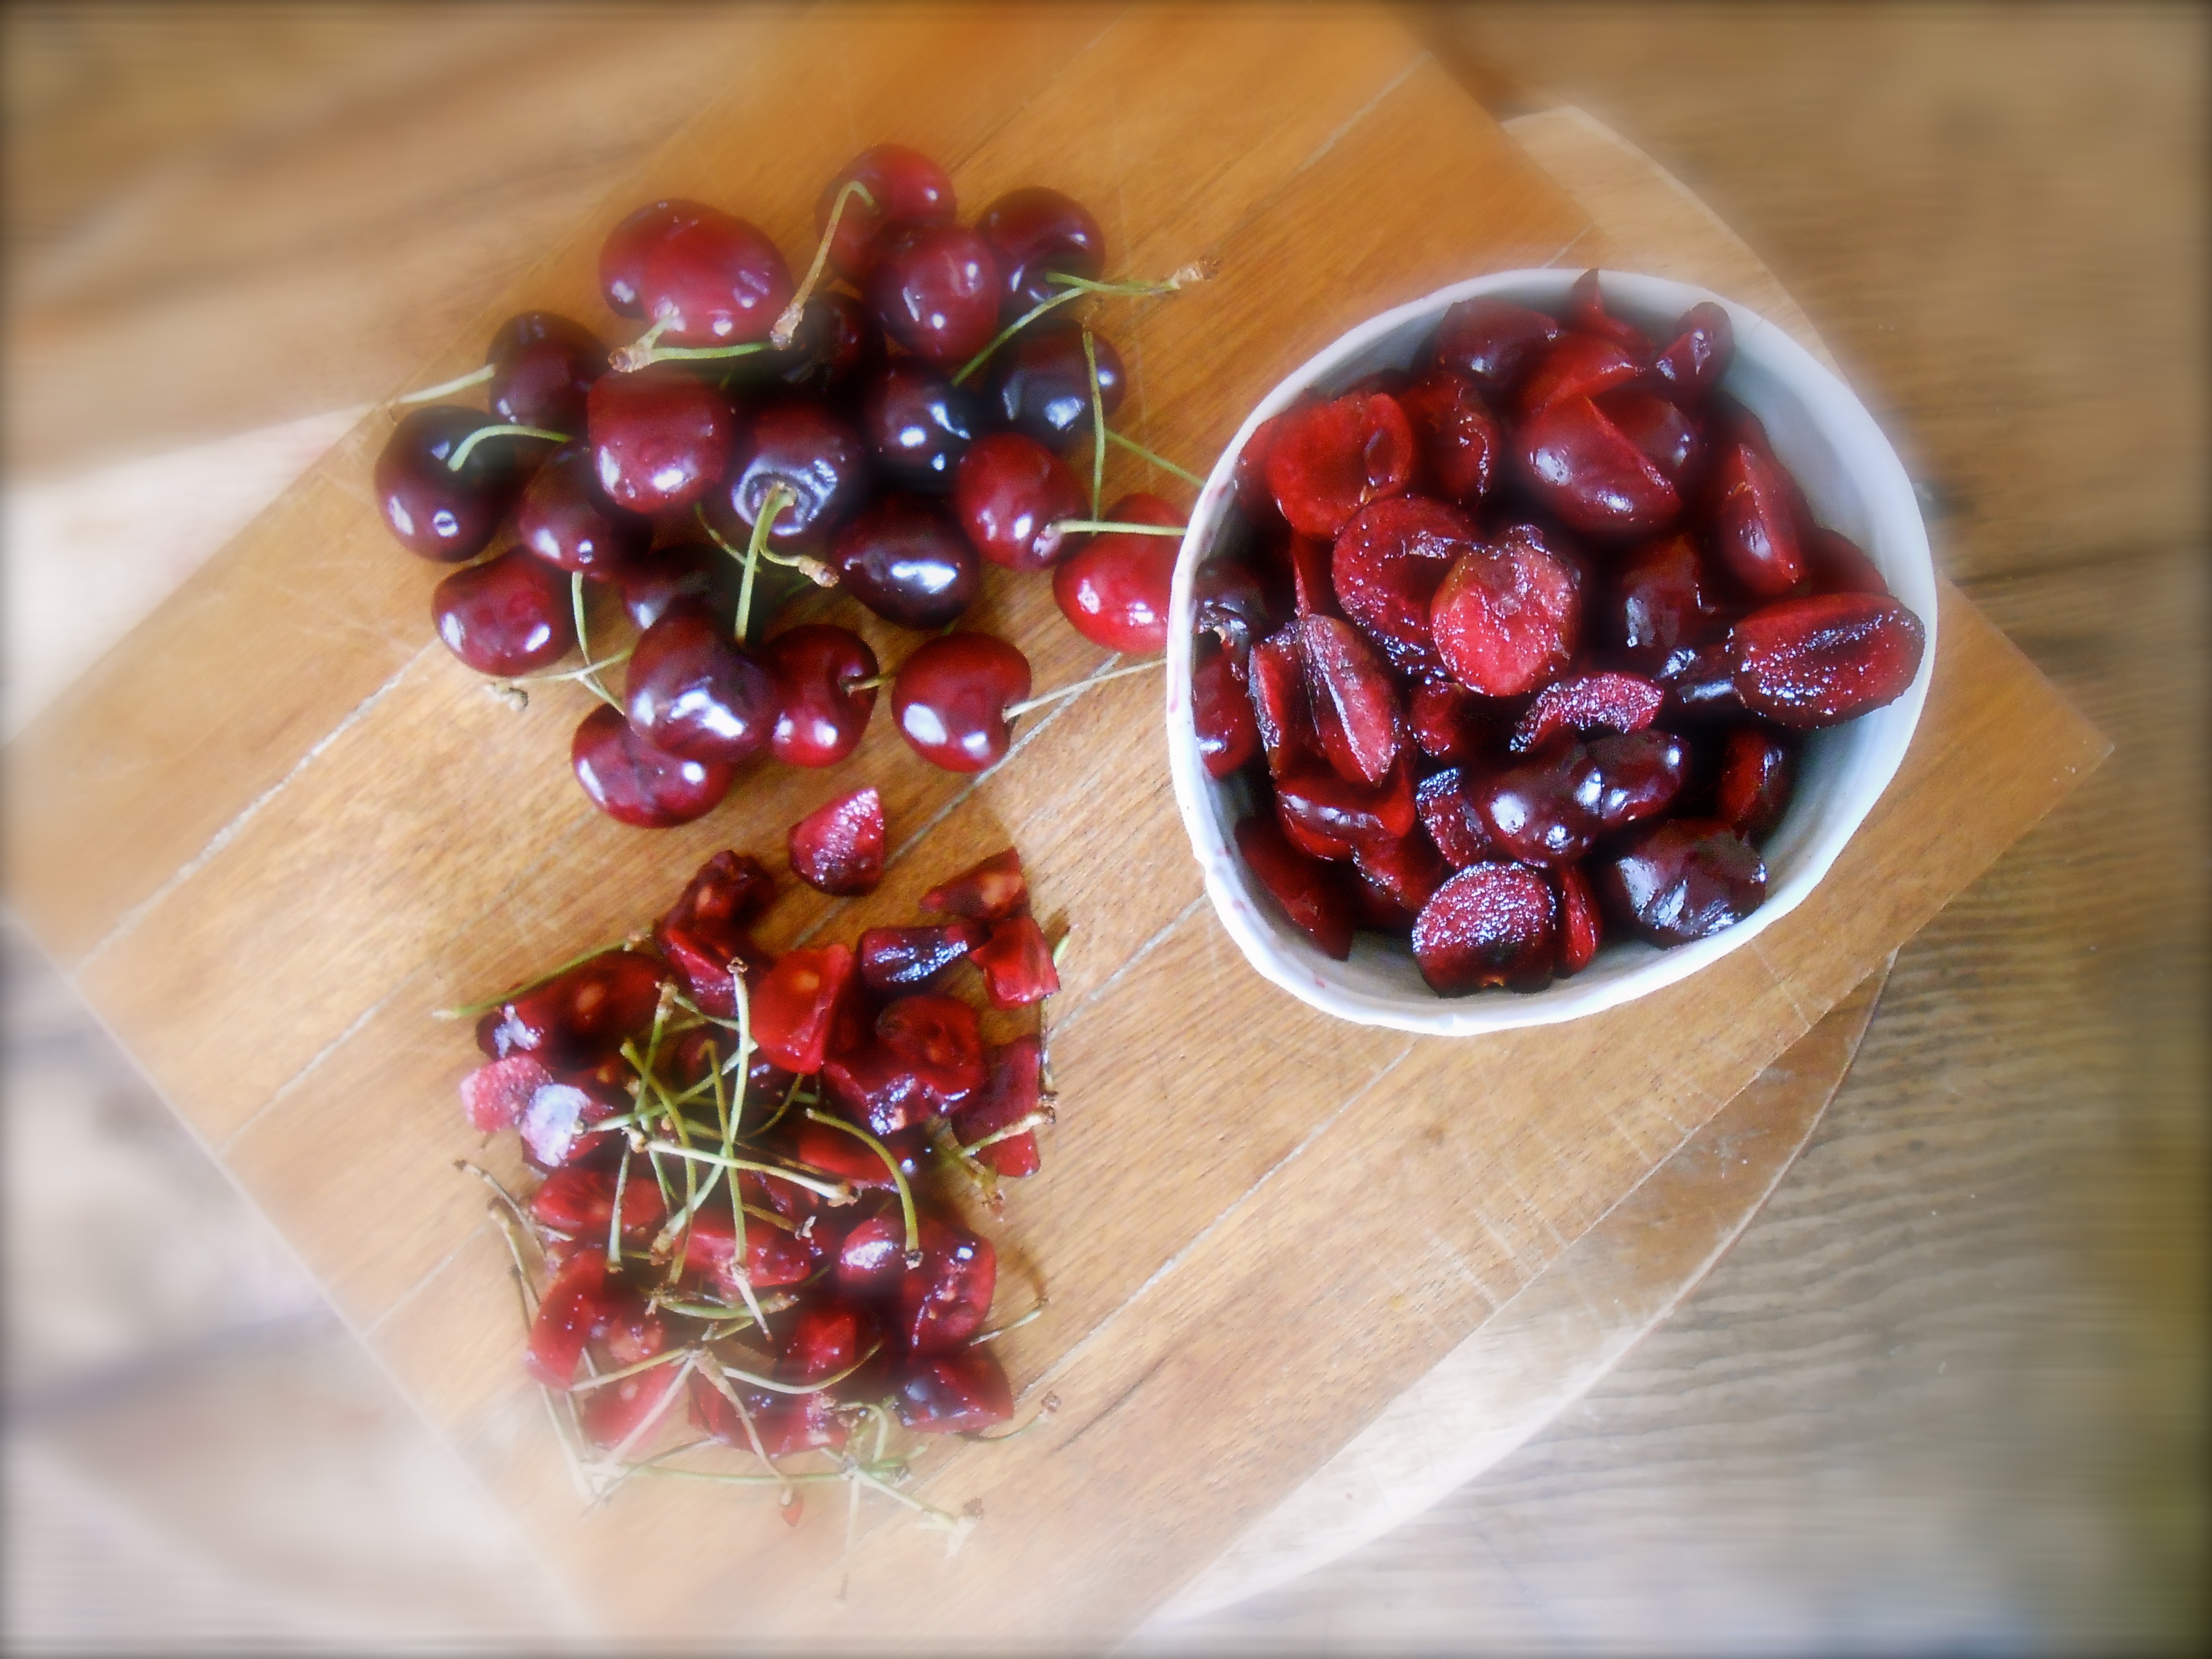
Here is a lovely breakfast cake which could be made with just about any fruit. I happen to have a nice bunch of cherries in the refrigerator and thought of making either a bread or cake for breakfast. When it comes to sweets I tend to keep it very simple. And in my usual “less ingredients is best” here’s what I came up with.
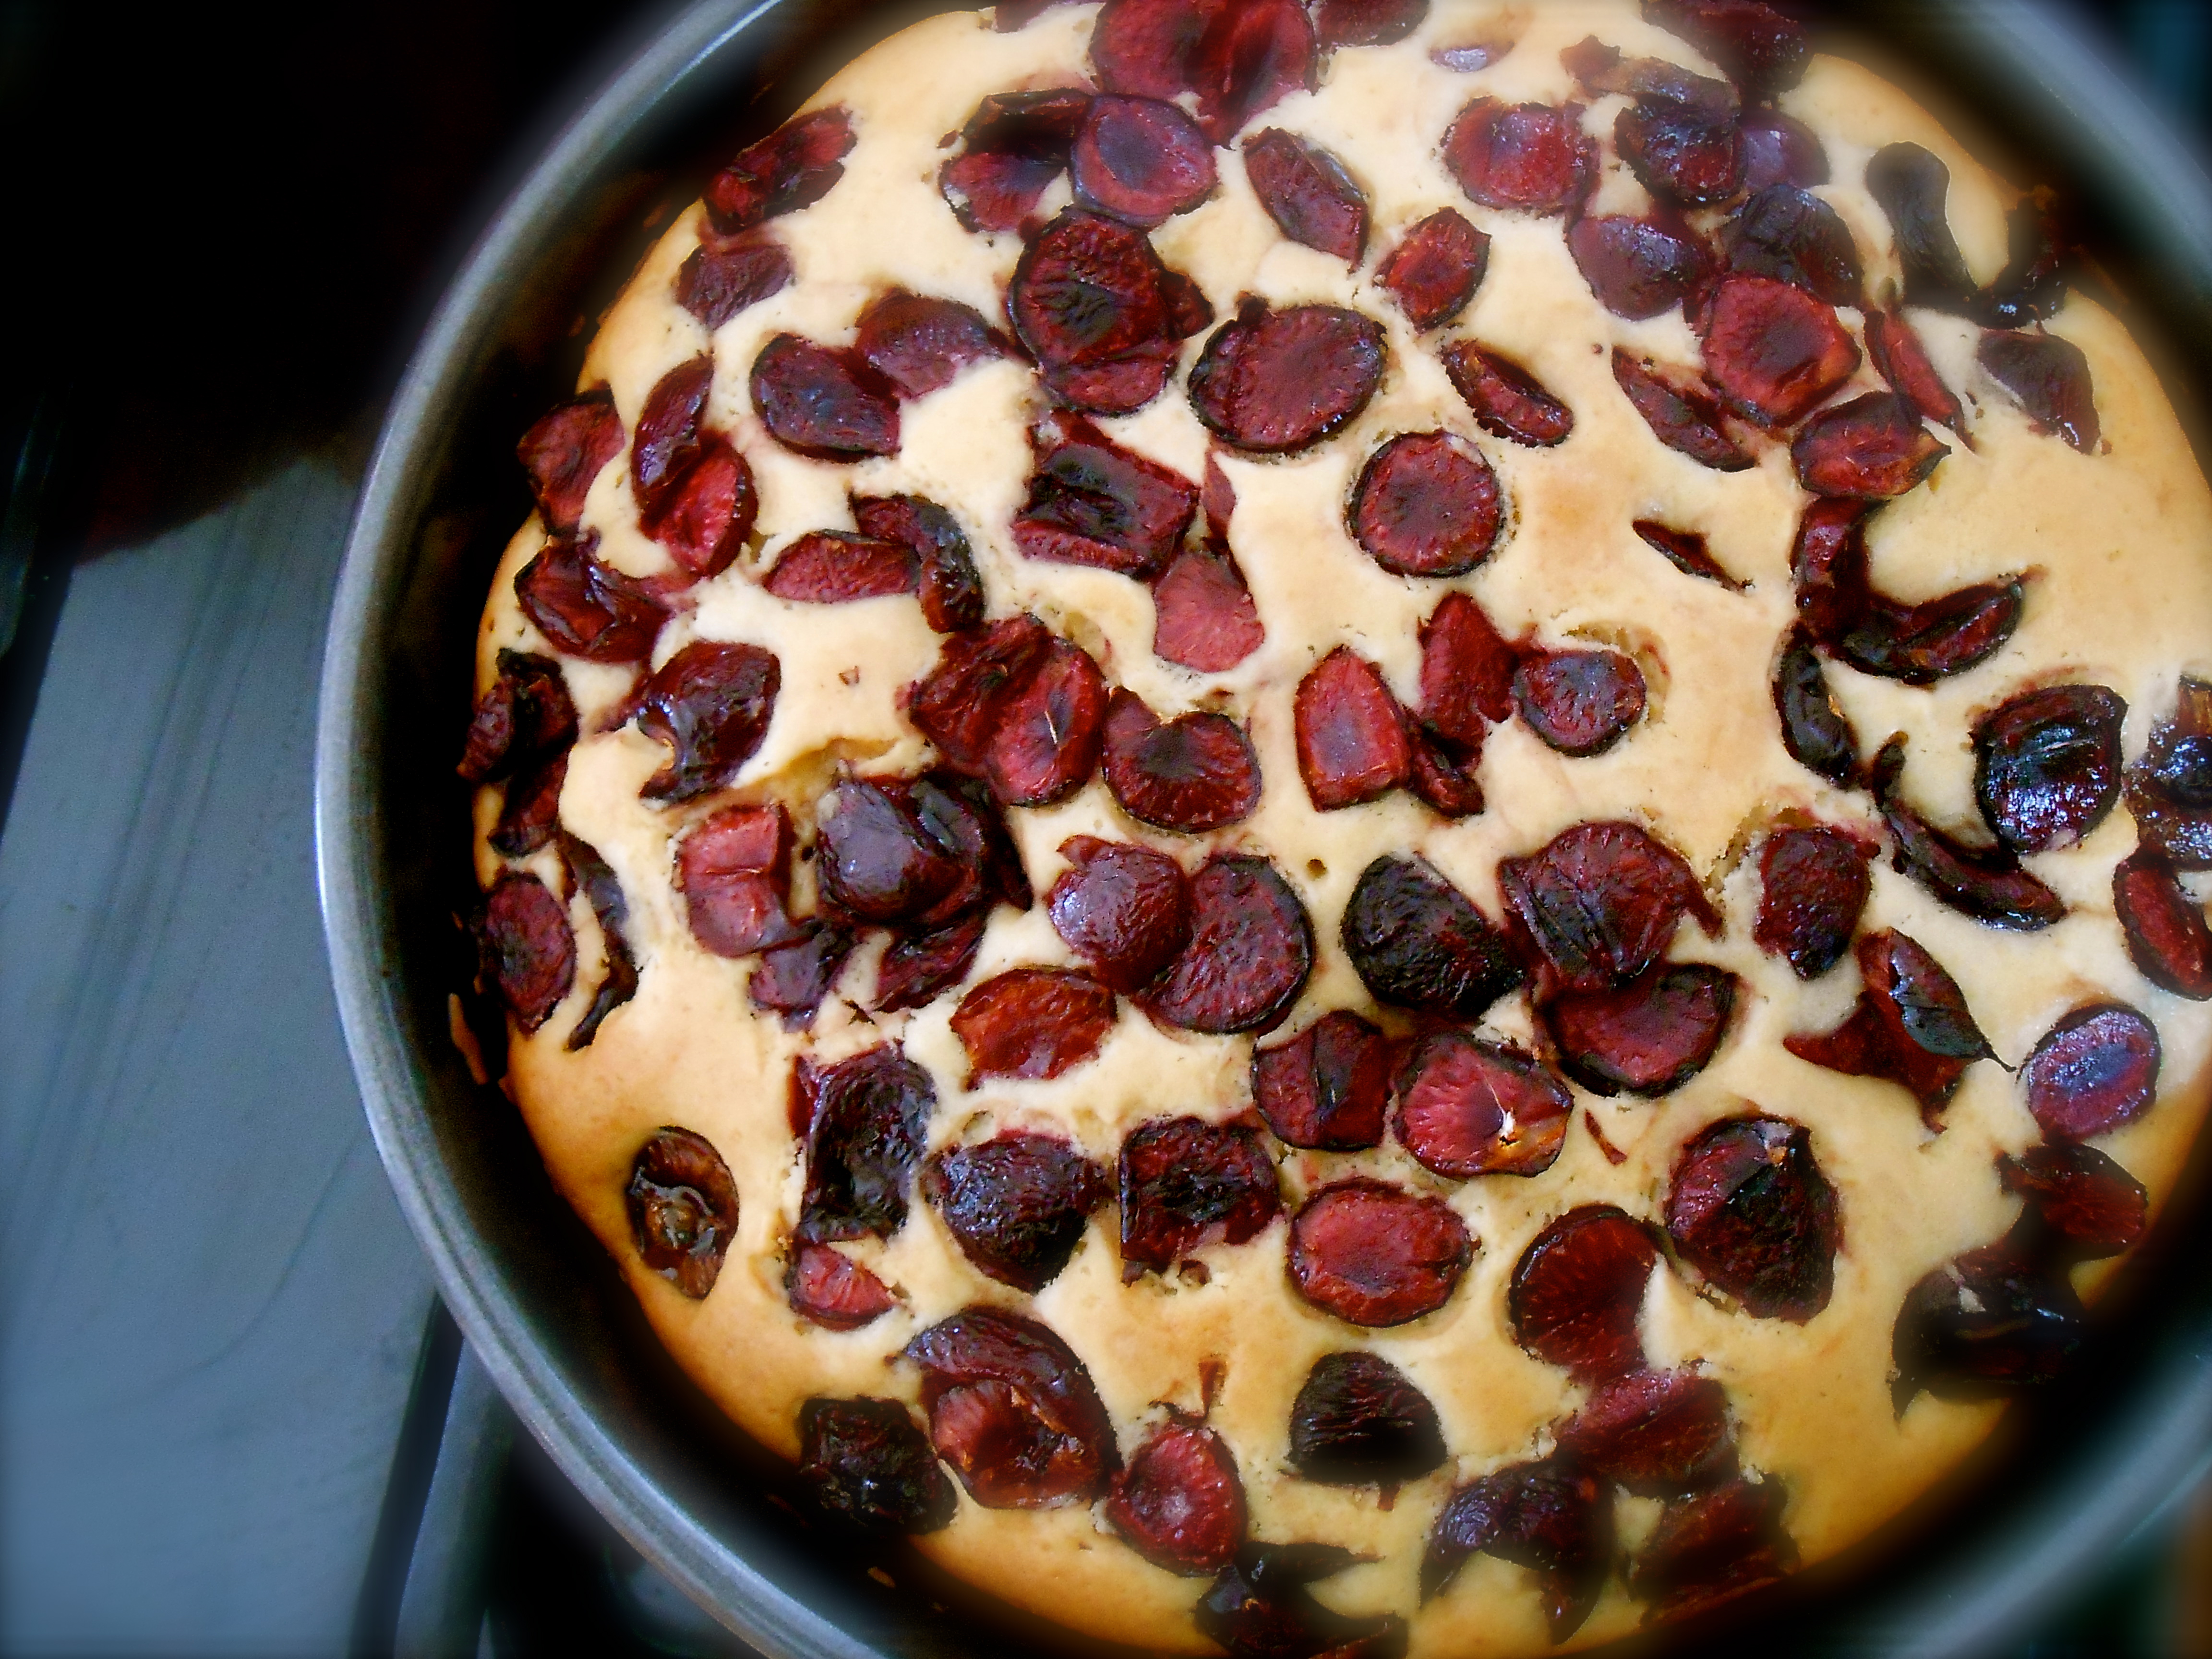
c h e r r y y o g u r t c a k e
I n g r e d i e n t s
- 1/2 cup butter, softened
- ¾ cup sugar
- 2 eggs
- 2 cups flour
- 2 tsp baking powder
- 3/4 cup vanilla yoghurt
- 1 cup fresh cherries, pitted and halved
M e t h o d
Preheat oven to 350°F Prepare a cake pan.
Beat butter and sugar together until light and fluffy. Add eggs, mix well. Mix in flour and yogurt. Spread mixture into your greased cake pan. Sprinkle cherries on the top and then pat them down gently with your hand. Bake for 50 minutes or until a toothpick comes out clean.
peach buckle
August 15, 2013 § 44 Comments
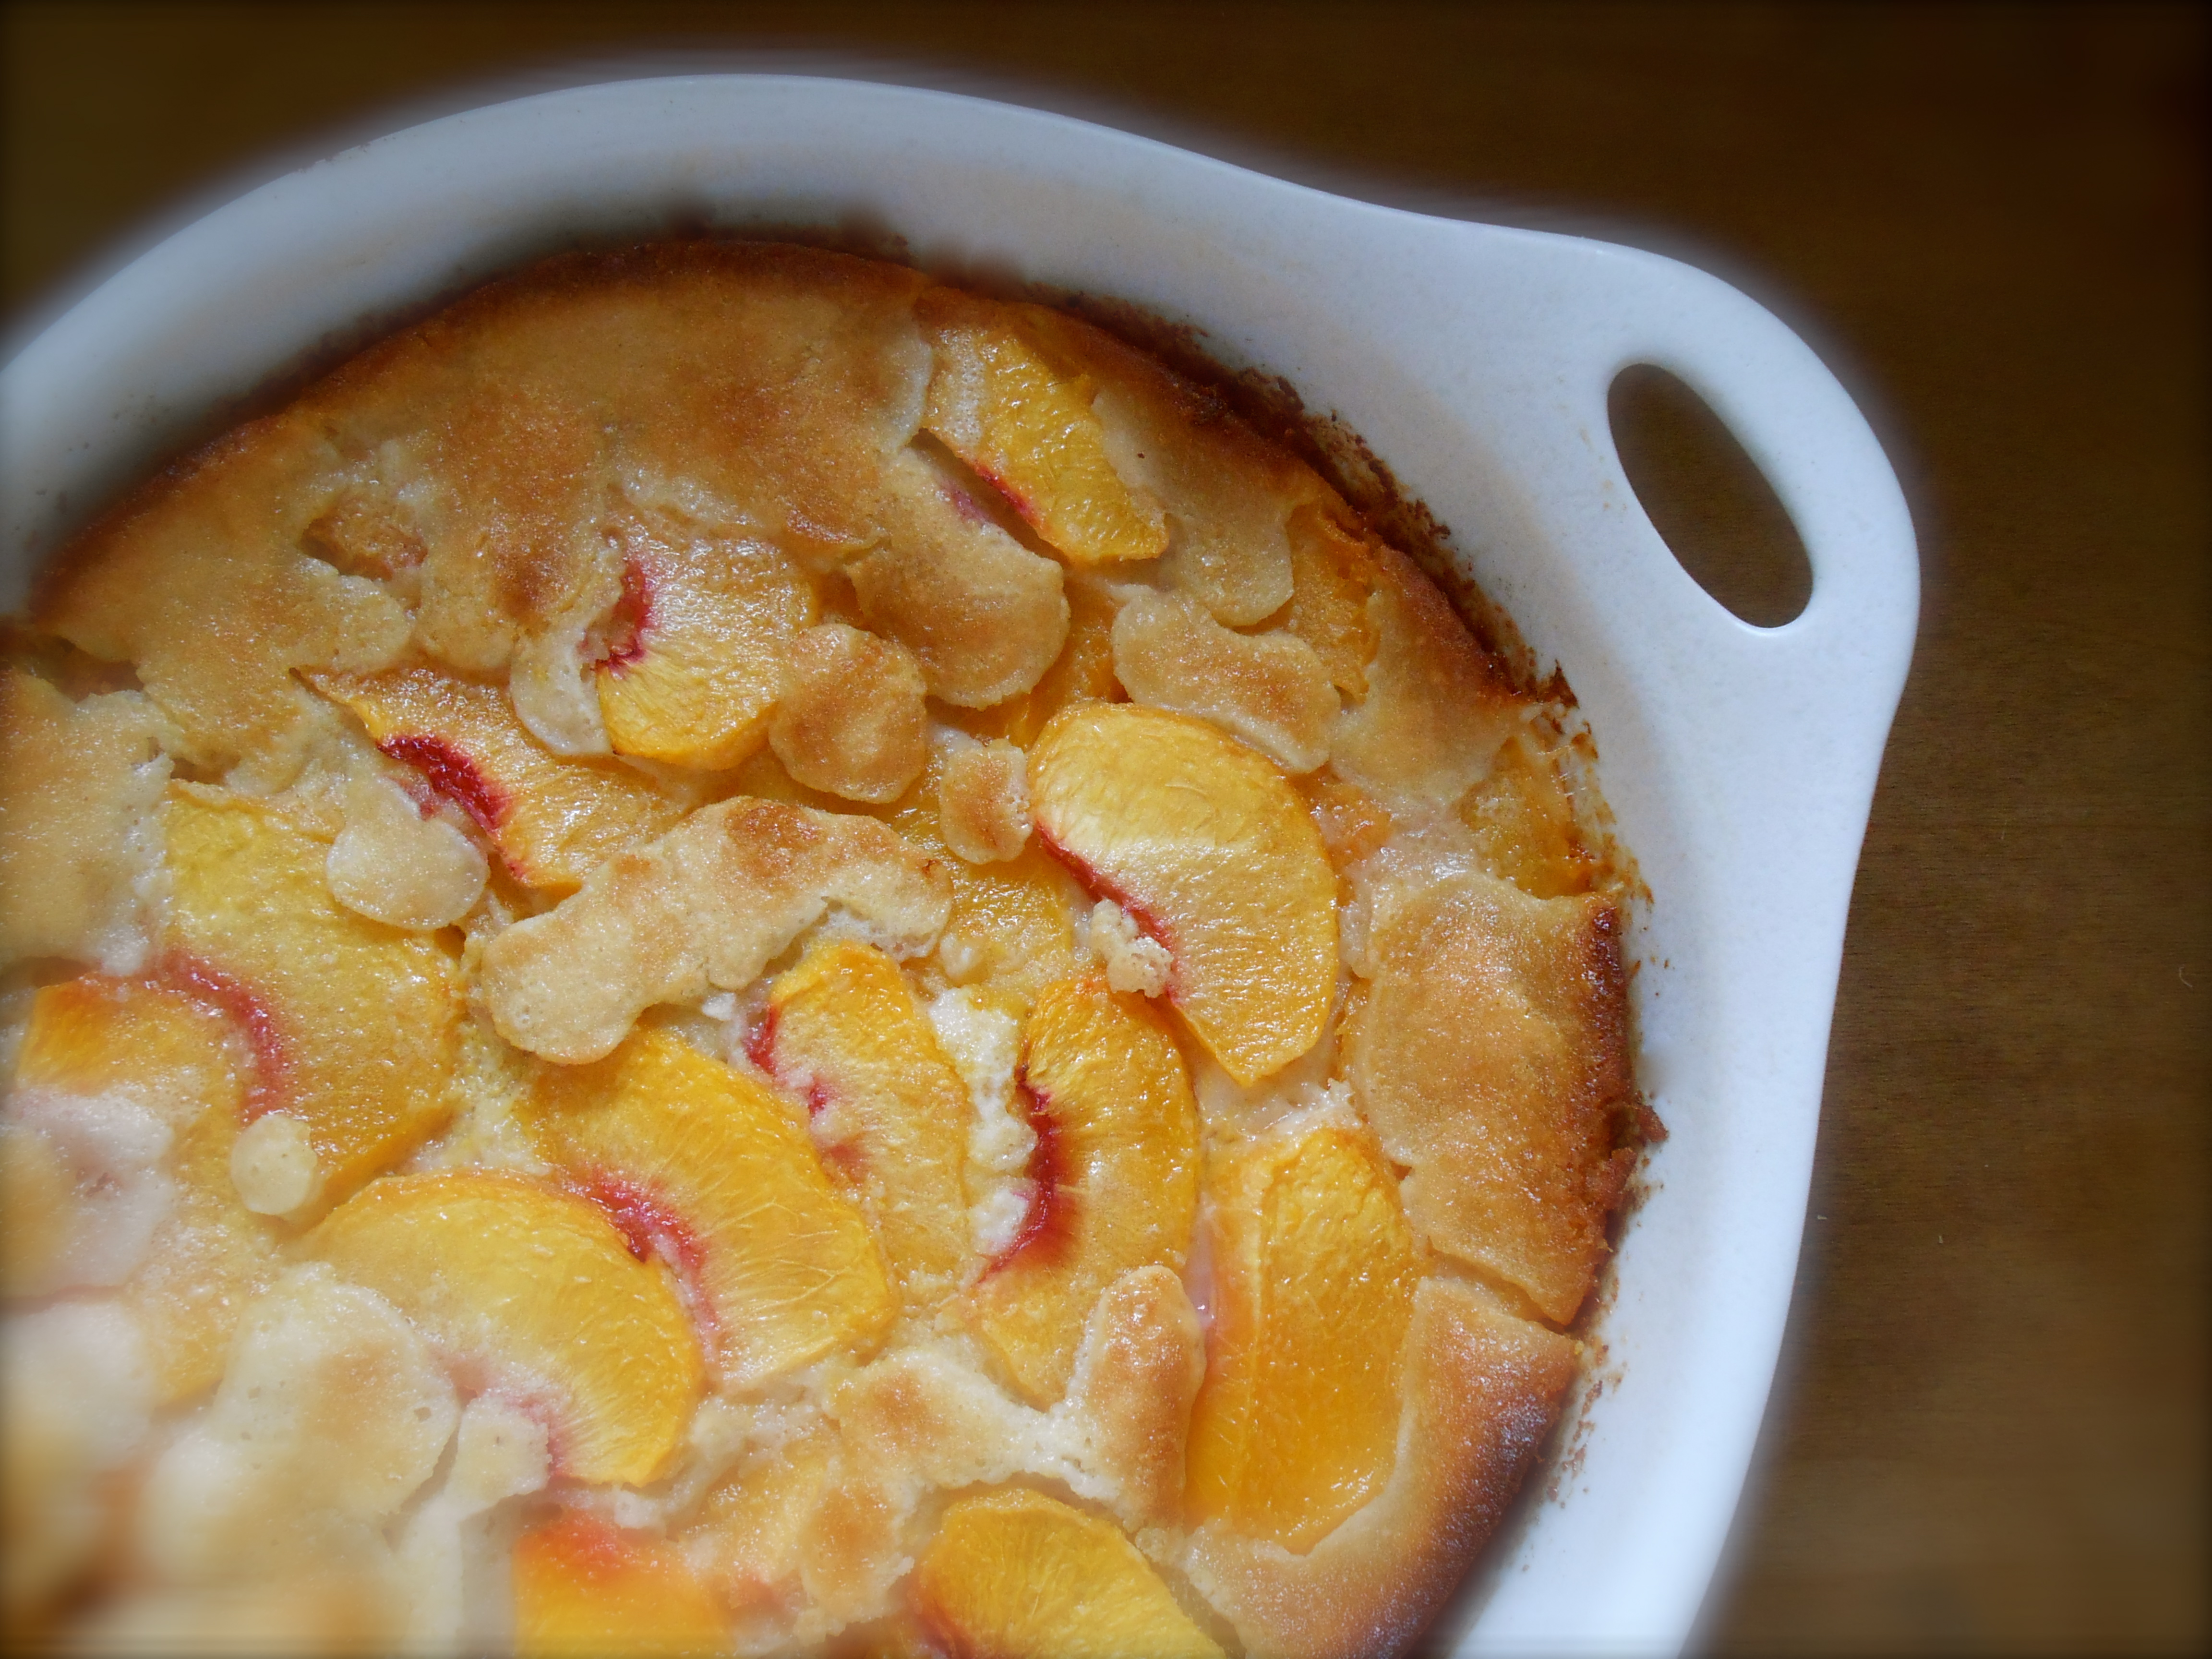
I didn’t think it was possible but I think I hit my fresh peach threshold. I have been eating as many as two to three fresh juicy ripe peaches every day for the past week, or so. Peaches are still abundant at the market and I never make it out the market door without 4 or 5 in my hands. Time to turn on the oven and start baking some peaches! Being the rustic baker I am, naturally I would make a cobbler, crostata, galette or a buckle. A buckle?
My mom loved cobblers and she taught me how to make a very good blackberry cobbler, which I will be making soon. I already made a lovely blueberry crostata and posted it. So, for now a peach buckle. A buckle is assembled with the cake on the bottom and the fruit on top. As it bakes the fruit slightly sinks to the bottom while the cake rises around the fruit, causing it to “buckle”. Simple, rustic and absolutely delicious. You may want to serve it warm straight from the pan with either a splash of cream or ice cream.
I n g r e d i e n t s
- 1 stick butter, melted
- 1 cup sugar
- 1 cup flour
- 2 teaspoons baking powder
- 1/4 teaspoon salt
- 1 cup milk
- 1 teaspoon vanilla
- 3 ripe, juicy peaches, peeled, pitted and sliced

m e t h o d
Heat oven to 375°F.
Pour melted butter into a 2 quart baking dish. In a mixing bowl, combine sugar, flour, baking powder and salt. Mix to blend. Stir in the milk and vanilla until blended. Pour the batter over the melted butter. Arrange the peach slices over the batter and bake for 30 minutes or until browned. The top will be brown and the cake will begin to pull away from the sides of the pan.
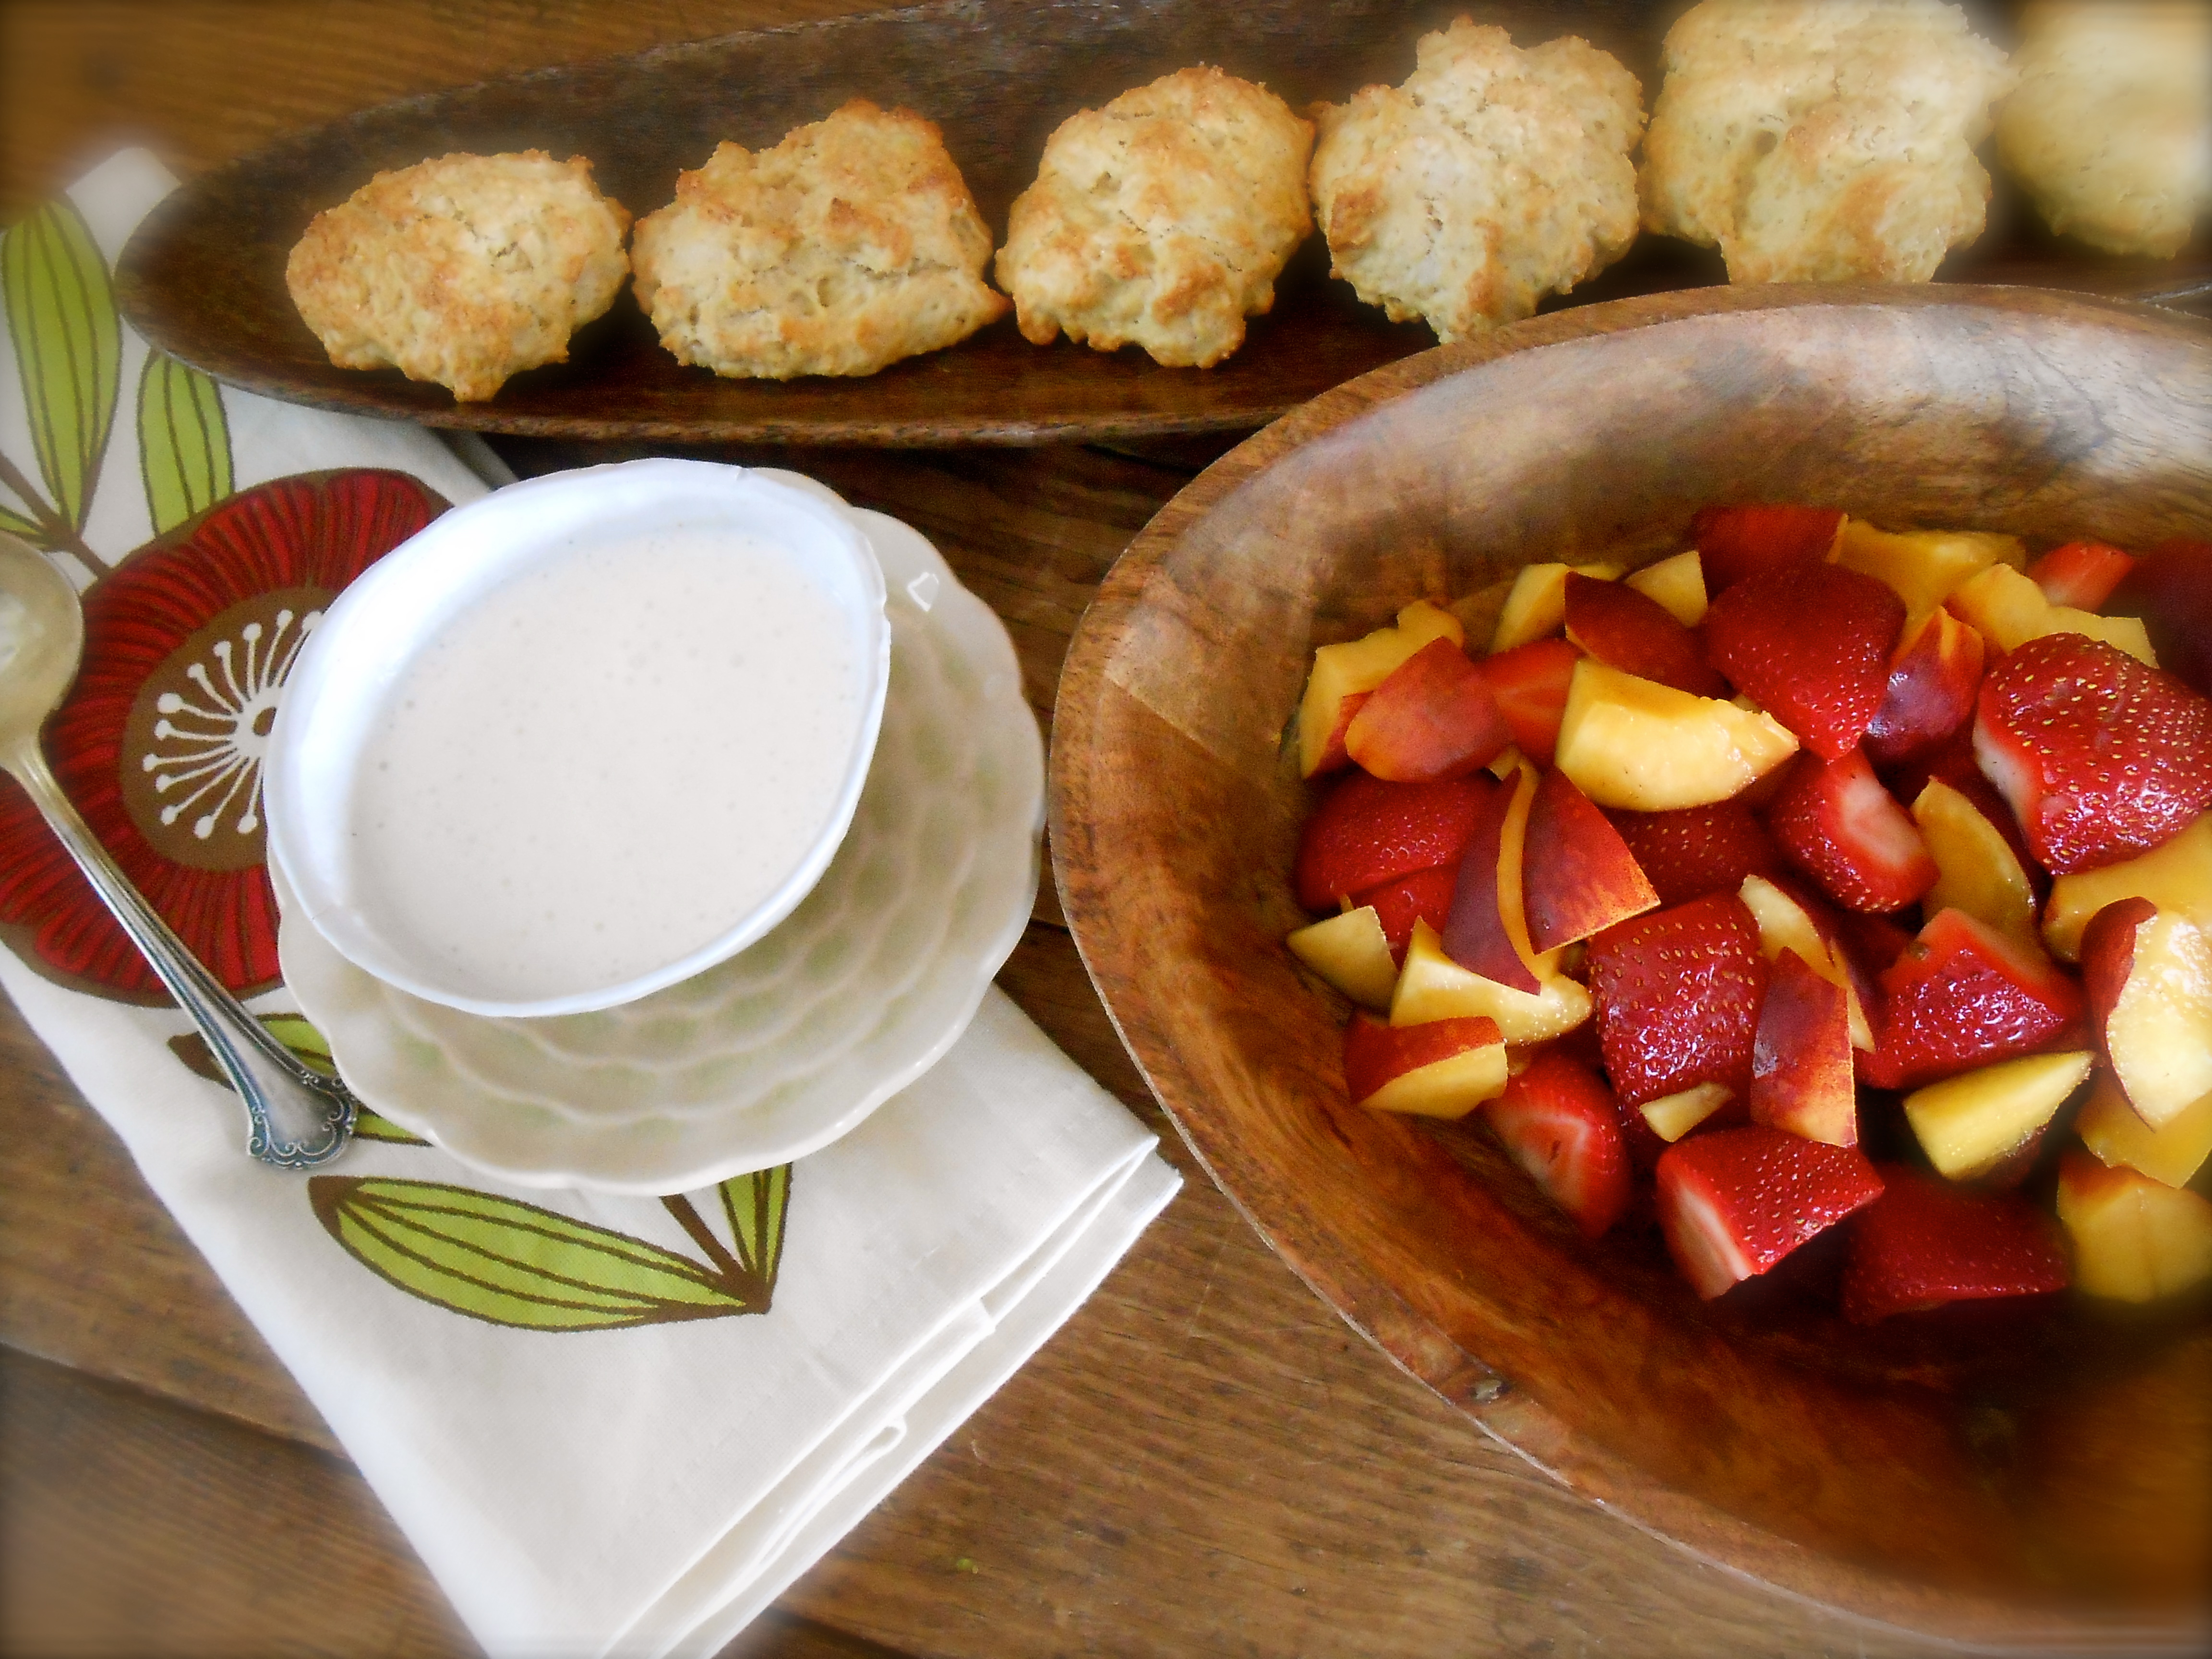
peaches and strawberry shortcake
August 7, 2013 § 52 Comments
Juicy tree ripen peaches are showing up at the markets right now! I just purchased my first bunch and every one of them were ripe, sweet, juicy and ready to eat. We have a market here in Seattle featuring the most delicious organic peaches from both Washington and California State. They put together a website with valuable peach information as well as some nice recipes too. If you love peaches as much as I do take a look here. It is very uplifting to walk through the door of this market and not only see…but smell the peaches during Peach-O-Rama!
Peaches and cream or strawberry shortcake? Here I combined both for a fresh summer treat. These rustic cakes are very moist and not too sweet. And I added honey to sweeten up the fruit just a little. For us this is a bit heavy following a sit down dinner. Occasionally we have had this as a mid day treat, instead of lunch.
I n g r e d i e n t s
- 3 cups all-purpose flour
- 1 tablespoon baking powder
- 1 teaspoon baking soda
- 1/2 teaspoon fine sea salt
- 1/2 cup sugar
- 3/4 cup (1 1/2 sticks) cold unsalted butter, cut into pieces
- 1 cup whole milk
- 1 pint strawberries, cleaned and halved
- 3 plump juicy peaches, diced
- 1 tablespoon honey
- 1 cup heavy whipping cream
- 1 teaspoon vanilla
- 1 tablespoon confectioners sugar
s h o r t c a k e
Heat oven to 400° F. Whisk together the flour, baking powder, baking soda, salt, and 1/2 cup sugar in a large bowl. Add the butter. Using your fingers blend until crumbly. Add the milk and stir until just combined (do not over mix)
Drop 6 large mounds of the dough 1 inch apart on a parchment lined baking sheet. Brush with 2 tablespoons of heavy cream and sprinkle with a little sugar. Bake, rotating the baking sheet halfway through, until golden, 18 to 20 minutes. Transfer to a wire rack to cool completely.
f r u i t
Combine strawberries, peaches and honey in a bowl and mix well breaking up slightly to create a little juice.
w h i p p e d c r e a m
In a large bowl, whip cream until stiff peaks are just about to form. Beat in vanilla and sugar until peaks form.
Assemble cakes as desired making sure to give each a generous amount of whipped cream.
Serves 6.
simple blueberry crostata
June 6, 2013 § 63 Comments

I can not express how much I enjoy reading all of the amazing food blogs I am conversant with! I started my little blog a few months ago and the myriad of information I have acquired in this short time is genuinely treasured. I realized right away I was overwhelmed because I want to cook so many of the delicious dishes and desserts I delight in everyday. My bookmark bar is out of control! I sincerely appreciate the inspiration and enlightenment from all of my new found internet friends.
Last week I saw this sweet post from The Suburban Soapbox. I loved reading this because while celebrating her 100th post, she fired up her oven when it was 95° to make this crostata! Bookmarking the page I decided right then I was going to make the crostata too. The next day when I stopped by Whole Foods I noticed they were having a one day sale on blueberries. Instantly I thought “Crostata”! $1.99 a tub for organic blueberries from California. I bought three tubs and over the course of the weekend I made two crostata’s! They were sensational! I think I ate 1/2 of the second one all by myself!

Here’s the recipe exactly as Kellie posted it. However, I know you would enjoy a visit to her blog.
I n g r e d i e n t s
- 3 1/2 cups blueberries, washed and drained throughly
- 1 1/2 tablespoons all-purpose flour
- 1 tablespoon granulated sugar
- zest and juice from one large lemon
- 1 ready-made pie crust rolled out into a circle
Crumb Topping
- 1/4 cup all-purpose flour
- 1/4 cup granulated sugar
- 4 tablespoons salted butter
M e t h o d
Preheat your oven to 450 degrees.
In a large bowl, combine the blueberries, flour, sugar, lemon zest and juice thoroughly. Set aside. Line a baking sheet with parchment paper and roll out the dough. In a small bowl, combine the flour, sugar and butter together for the topping using a pastry blender or fork until large clumps form. Pour the blueberry mixture into the center of the dough making a mound and leaving a one inch border around the edge of the crust. Crumble the topping mixture over the blueberries evenly. Fold the crust up over the edge of the blueberries pinching to create pleats. Repeat the process until all the edges have been folded up over the blueberries.
Bake for 20-25 minutes or until the crust is golden brown. Remove from the oven and let cool for 10 minutes on the baking sheet. Transfer to a wire cooling rack to cool completely.
Can be served warm or at room temperature.
carrot cake with coconut cream cheese frosting
March 16, 2013 § 13 Comments
We had a birthday in our house! Two weeks ago, our boy turned 15 years old! After pressing him over and over regarding what kind of cake he would like, he asked for a carrot cake. I was delighted! I knew exactly where to acquire the perfect carrot cake recipe. My employer. She is a fabulous baker! She shared a recipe she has been perfecting for years. It is dated 2003 and I think the recipe originally came from Bon Appetite. She took a few ingredients out and added a few in. Here it is. Perfect coconut cream cheese frosted carrot cake.
Also…Happy Birthday to my sister today!

This cake can be prepared one day ahead.
Sweetened cream of coconut is available in the liquor section of most supermarkets. (think, pina colada)
Cake
- 2 1/3 cups sifted all purpose flour (sifted, then measured)
- 1 cup sweetened flaked coconut
- 2 teaspoons cinnamon
- 2 1/2 teaspoons baking powder
- 1 teaspoon salt
- 1/2 teaspoon baking soda
- 2 cups sugar
- 1 cup vegetable oil
- 4 large eggs
- 2 teaspoons vanilla extract
- 2 cups finely grated peeled carrots
- 1 cup apple sauce
Frosting
- 3 8-ounce packages cream cheese, room temperature
- 3/4 cup (1 1/2 sticks) unsalted butter, room temperature
- 2 cups powdered sugar
- 3/4 cup canned sweetened cream of coconut (such as Coco Lopez)
- 1 teaspoon vanilla extract
- 1/2 teaspoon (scant) coconut extract
For Cake: Preheat oven to 350˚ F. Butter three 9-inch-diameter cake pans with 1 1/2-inch high sides. Line bottom of pans with parchment paper. Combine 1/3 cup flour and flaked coconut in processor. Process until finely combined. Whisk remaining 2 cups flour, cinnamon, baking powder, salt and baking soda in medium bowl to blend.
Using electric mixer, beat sugar and oil in large bowl to blend. Add eggs 1 at a time, beating well after each addition. Beat in vanilla. Beat in flour-spice mixture. Stir in coconut mixture, then carrots.
Divide batter among pans. Bake until tester inserted into center of cakes comes out clean, about 30 minutes. Cool in pans on racks 1 hour. Run knife around edge of pans to loosen cakes. Turn cakes out onto racks; cool completely.
For Frosting: Beat cream cheese and butter in large owl until smooth. Beat in powdered sugar, then cream of coconut and both extracts. Chill until firm enough to spread, about 30 minutes.
Place 1 cake layer, flat side up, on platter. Spread 3/4 cup frosting over top of cake. Top with second cake layer, flat side up. Spread 3/4 cup frosting over. Top with third cake layer, rounded side up, pressing slightly to adhere. Spread think layer of frosting over top and sides of cake.
Here’s where I tried something I’ve never done before…
I attached one mixer head to my electric mixer. Turned it on and very lightly touched the top of the frosting to give it a swirly effect! I was very careful not to put too much pressure on the cake.
Can be made a one day ahead. cover with cake dome and chill. Let stand at room temperature one hour before serving.
